Onion Noodles: One of life’s simple pleasures.

Onion NoodlesLately, I’ve noticed that during times of great pressure and stress, my natural inclination is to arm myself with some of life’s simple pleasures. I take more naps, I spend more time outside partaking in a range of activities, and I unapologetically partake in comfort foods. To me, comfort foods are those dishes that bring an element of nostalgia, and remind me of more carefree times. Maybe it is my Abuela’s creamy arroz con leche, or a piece of fresh baked toast smeared with smashed avocado. For Kenny, it’s usually meat and potatoes (surprise, surprise), or a similarly basic starch. In both cases, the best comfort foods are almost always very simple, simple, simple.

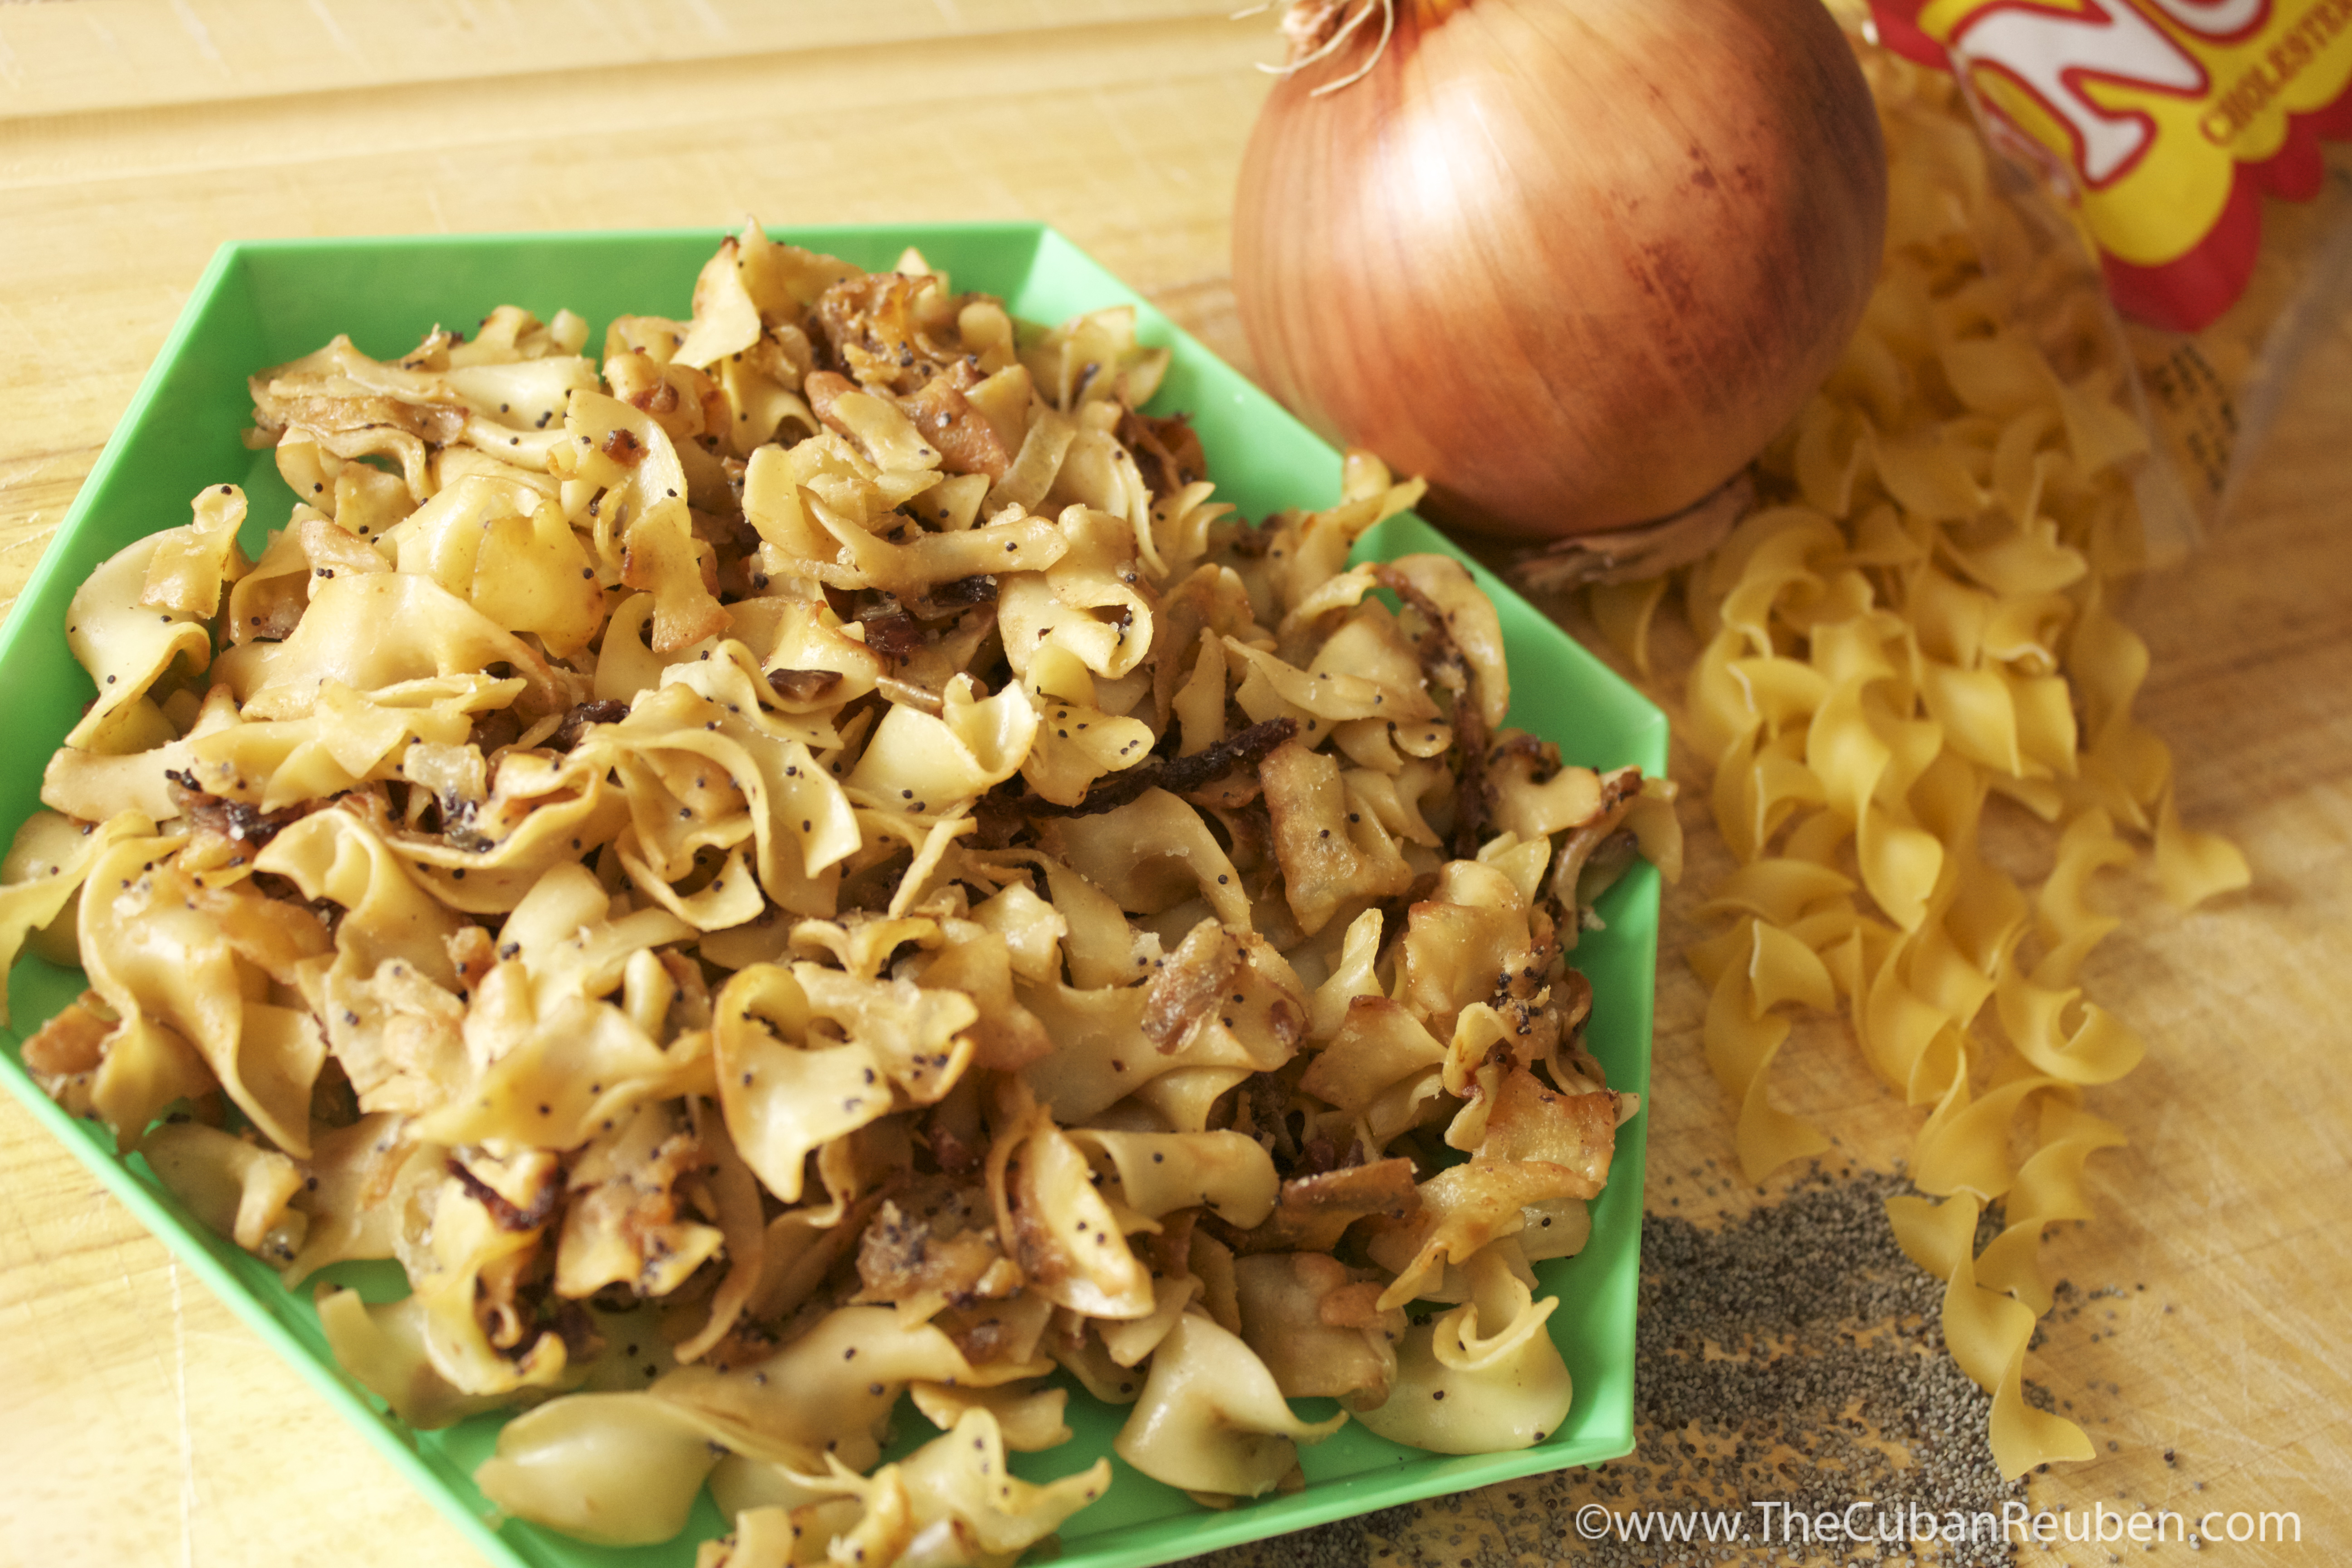
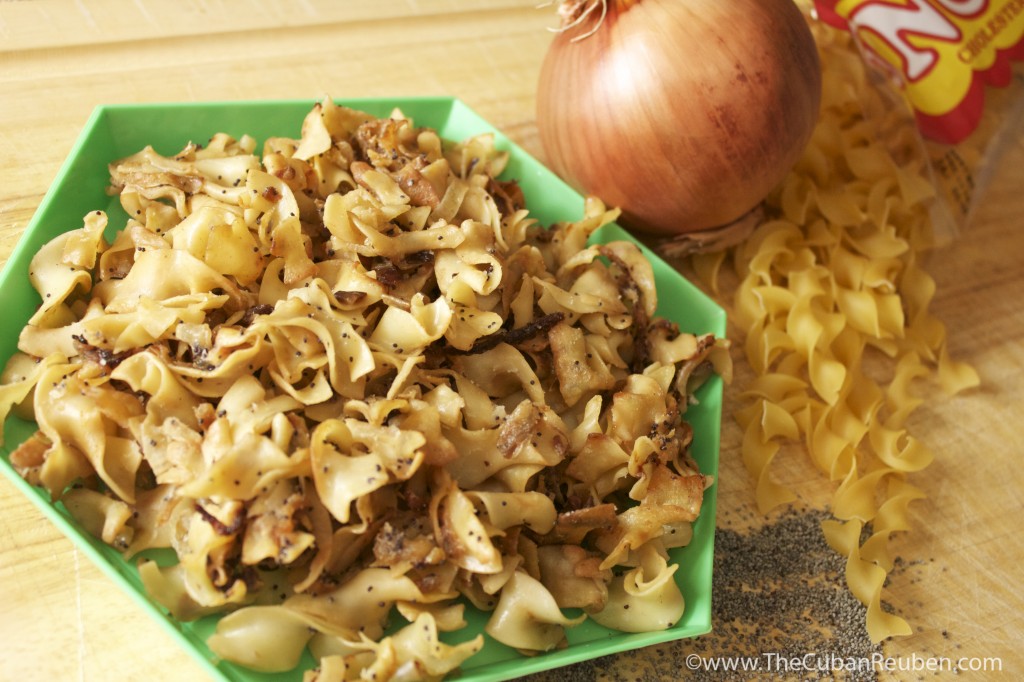
There’s no rule that says good food must be complex. Take onion noodles, for example. There are only 5 ingredients in my mother-in-law’s recipe, yet it is one of my husband’s all-time favorite dishes. In addition to the famous chocolate cake, it’s the only other dish he requests every year for his birthday celebration, without fail. What’s so good about onions and noodles? More like, what’s bad about onions and noodles?

Sliced Onions
Lots of sliced onions, ready for the saute pan.

Imagine if someone shook an onion bagel over your dish of buttered noodles, and crisped the edges like the best part of a kugel. Then you can sort of grasp the intended flavor and texture of this dish. But the brilliance is really in its simplicity. That being said, my husband never fails to inform me that my onion noodles don’t look the same as when his mom makes them.

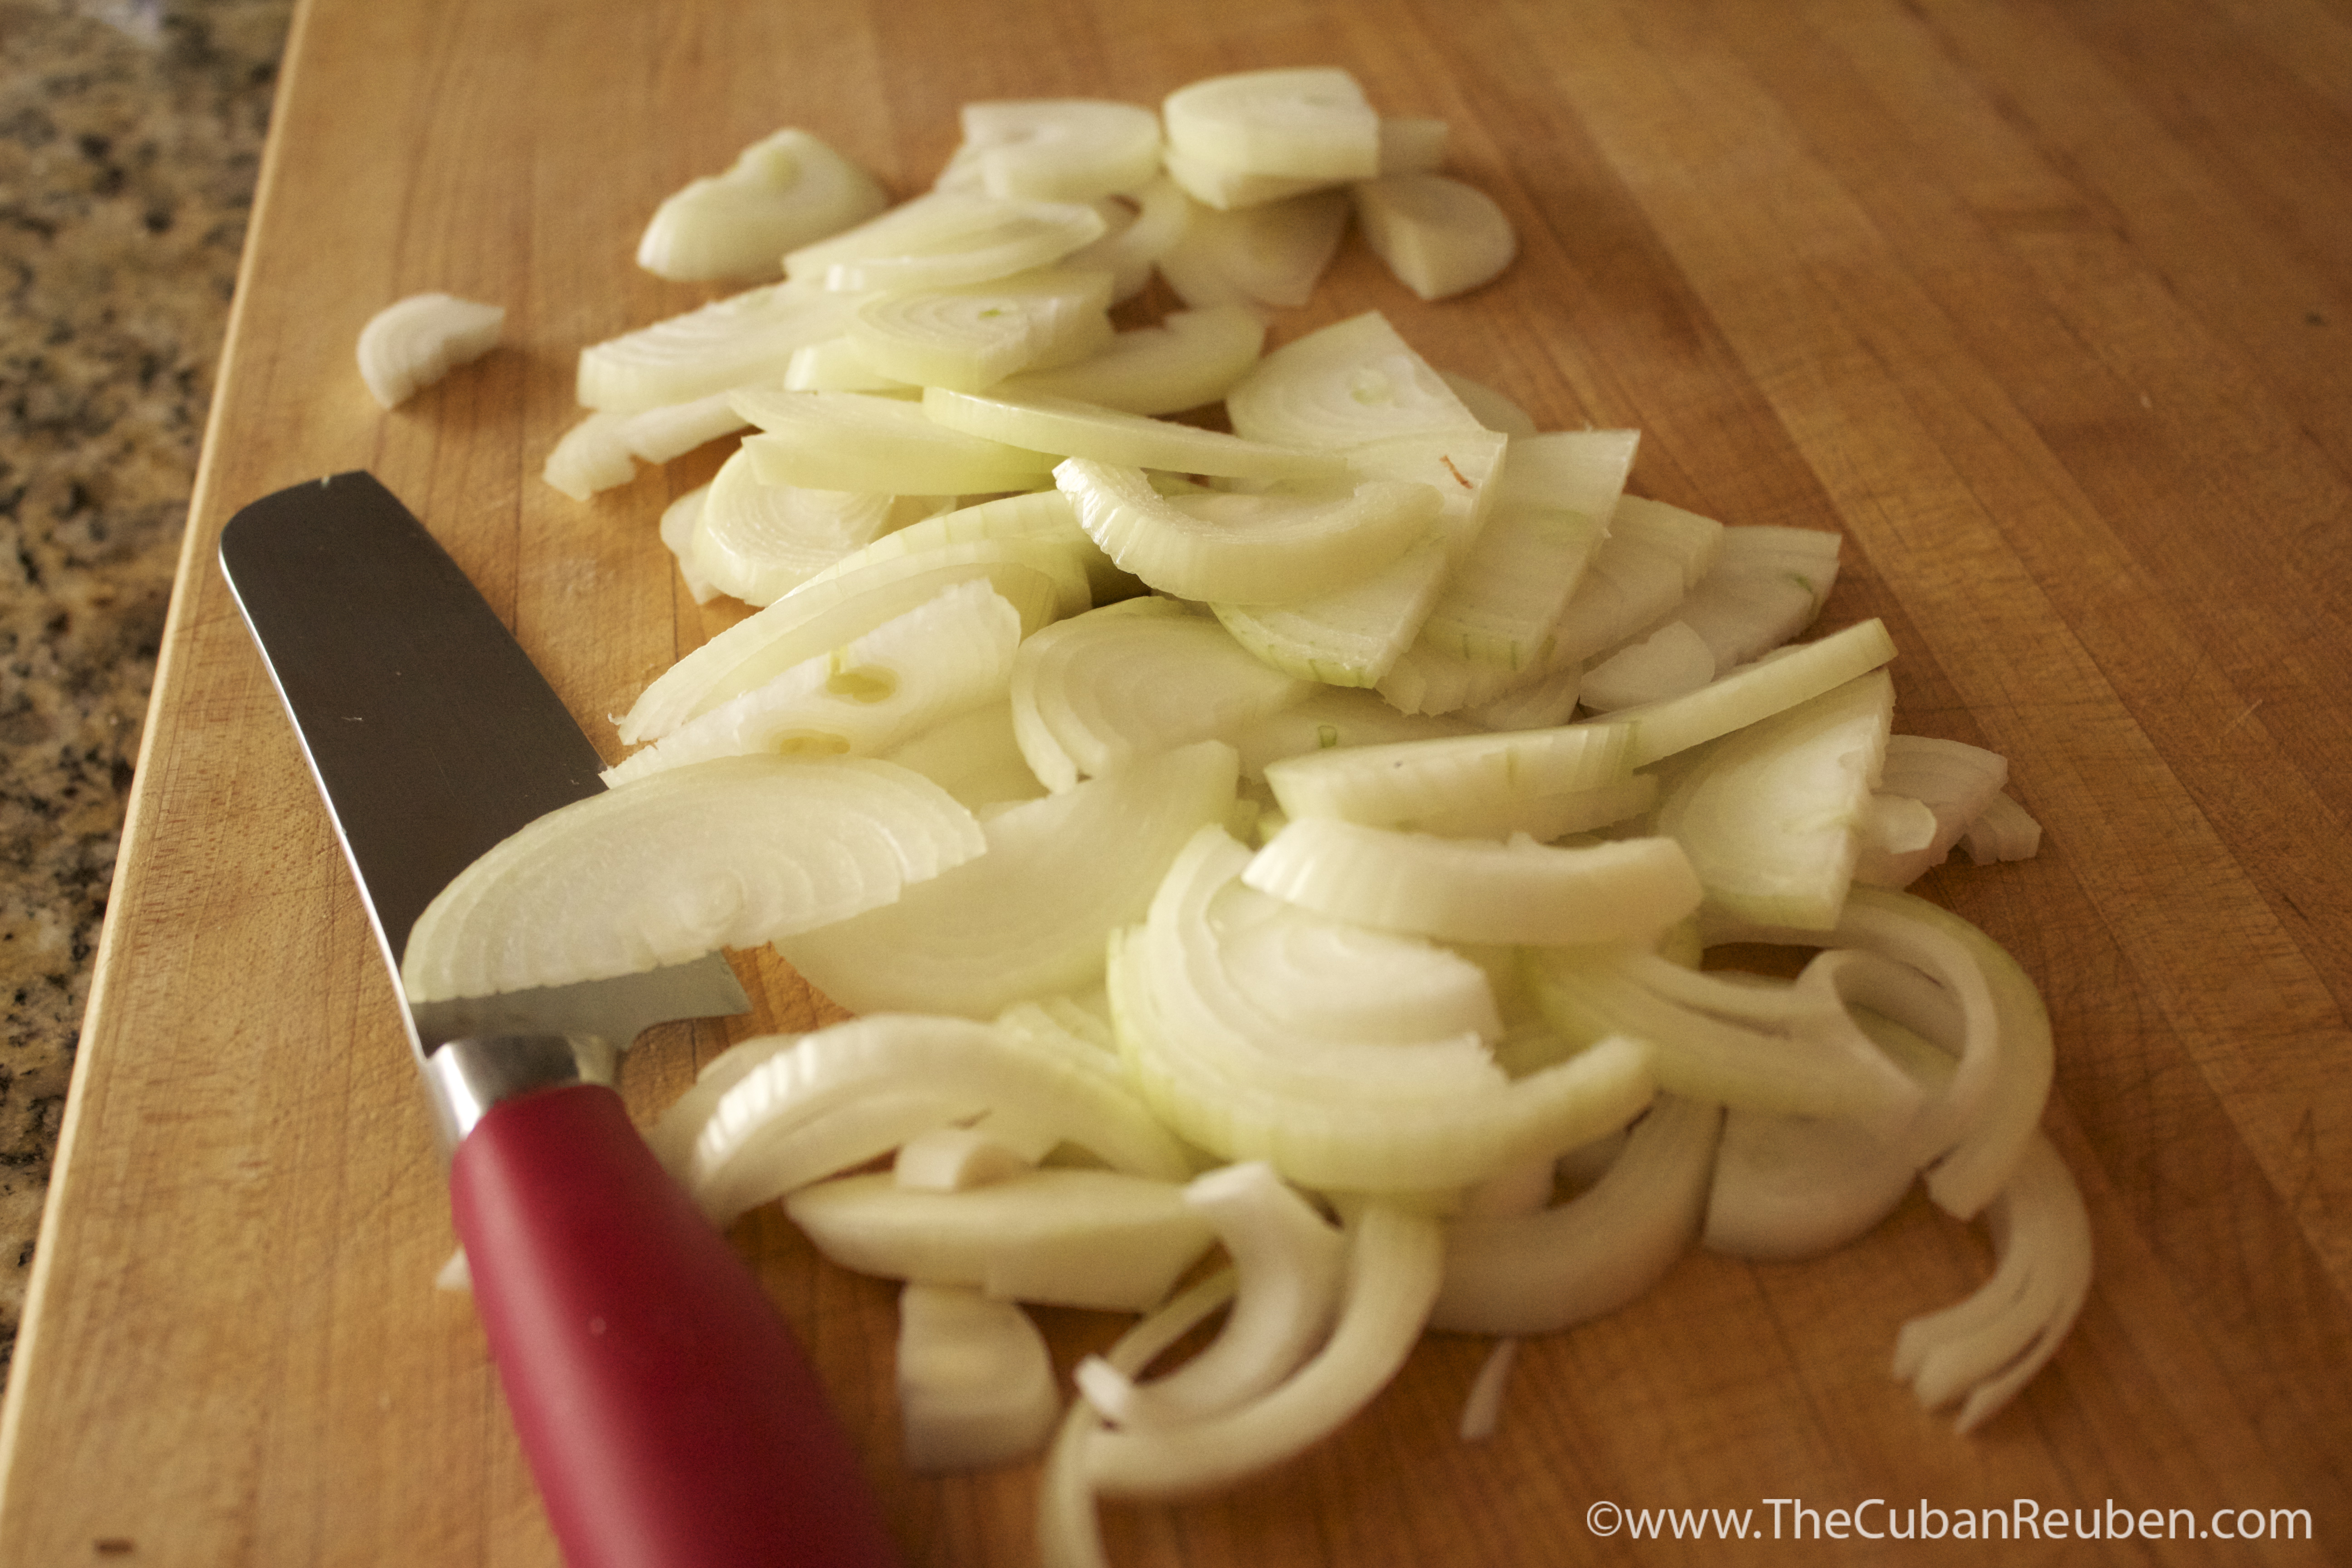
After a little trial and error, I think I’ve figured out why my version turns out more golden brown than Kenny is used to. To put it bluntly, making this dish the best that it can be requires a certain degree of patience. And well… patience has never been a virtue of mine. While I certainly take the time to really slowly caramelize the onions until they are a soft brown, by the time I add the noodles, the inviting aroma takes over, and my patience for letting the noodles sit and crisp wanes.  There in lies the difference. Bette Jo let’s her noodles sit and crisp in the pan before she stirs them ever so gently, whereas I am less patient, stirring a bit more frequently, and the brown from the caramelized onions disperses throughout the noodles, tinting them a brownish hue. That, and like a good little Cuban-American, I add a little garlic to the recipe.

Either way, the two versions more or less taste the same, but between you and me… those crunchy bits that Bette Jo achieves by being patient? They are without a doubt worth the wait. As an extra tip, I advise that you serve these alongside something saucy, so the noodles can serve as a vehicle for heightened flavor. And make extra. Trust me on this one.

** It’s just been brought to my attention that this recipe was introduced to Bette Jo by her sister, Myndel. Looks like we’re not the only one who think this is comfort food!

Onion Noodles
 
Author:
Recipe type: Side Dish
Cuisine: Jewish
Serves: 4-6
Prep time:
Cook time:
Total time:
 
Old-world comfort food, whose crispy edges will have your guests begging for more.
Ingredients
  • ½ stick of butter or margarine
  • 2 medium onions, sliced
  • 1-2 cloves of garlic, finely minced (*Optional)
  • Poppy seeds
  • Seasoned salt
  • 1 8oz package of wide egg noodles, cooked al dente
Instructions
  1. In a large frying pan, heat the butter (or margarine) over medium heat. Add the onions, and saute until light brown. Add the garlic, poppy seeds and season salt. Stir to combine.
  2. Once the onions are golden brown, add the noodles, stir to combine, and let sit until the bottom side of the noodles crisp. Stir, and let the other side get some color. Once desired color and crispness is reached, serve immediately.
Notes
The garlic is definitely optional, but I think it adds an extra layer of flavor.


Enhanced by Zemanta

The Only Challah Recipe You Will Ever Need, Amen.

Shabbat Challah
Shabbat Challah

I consider myself a connoisseur of all things challah, but for whatever reason, the thought of producing my own always eluded me. After trying many a challah in my hometown, I found the unequivocally most aromatic, decadent, light and airy strands of braided dough at my local Cuban bakery, Porto’s. I am well aware that a Cuban bakery is not naturally the first place to come to mind when in search of the best challah in town, but trust me when I tell you that these people know bread. Sadly, a few years back, I moved to another part of town, and have since been chasing the memory of that yellow-tinged, sweet-as-honey loaf. On the rare occasion when I found myself in that part of town, my insides would do a little happy dance, since it was a forgone conclusion that I’d stop at the bakery. However, no nearby purveyor of fine baked goods was able to replicate the craving-inducing, funny sounding bread I so longed for. Therefore, I set on the challenge of finding a recipe to replicate it myself.

Close up of the detail on my 6-strand braided challah.

Deb Perlman, of SmittenKitchen.com fame, adapted a challah recipe from Joan Nathan, and I am pretty sure she hit the jackpot. After a bit of trial and error with her recipe,  I have found that what works best for me is to make smaller, more controlled batches, which in turn, yield smaller, more uniform loaves. Rather than follow her recipe to a tee, I always halve it now, and produce picture-perfect challahs to adorn my table or to gift to my ever-gracious neighbors. Much to my delight, many a Shabbat guest has mistaken my handiwork for its store-bought cousin…and I don’t usually jump at correcting their mistake.

This past Sunday was the final class in a series I taught at my synagogue on Jewish Holiday Cooking. While the previous classes featured dish upon festive dish typical for a number of Jewish holidays, this crowning jewel of a class was entirely devoted to the 6-strand braided loaf of challah.

My students' beautifully braided dough rises, waiting to be baked to golden perfection.
My students’ beautifully braided dough rises, waiting to be baked to golden perfection.

It was the perfect way to end the series, as many friendships were fostered in the class, and there was plenty of down-time for visiting while the dough was rising. Given my experience braiding challah, I warned my students that since this was their first time attempting the 6-strand braid, it may not look exactly as they expected, and that it only gets better with practice. As it turns out, my warning was for not, because they produced some of the most delicious challahs I’ve seen.

Challah class
Poppy and Sesame Seed Challahs made by my students.

By far, the best part of the class was the taste test. We all gathered around the table, noshed on several different varieties of freshly baked challah, and reminisced about our experience in the series. We laughed remembering silly mistakes that happened in the kitchen, and we shared stories about friendships that started there.

Chocolate challah
Chocolate Chip Challah, sprinkled with coarse sugar, prepared by my students.

With my students’ encouragement, I think I will likely teach the series again. Though, it will definitely be hard to top this group of students. They came from all walks of life, but shared a common enthusiasm for cooking. They impressed me with their skills, and even taught me a thing or two about their personal family’s cooking cultures. As I shared with them on the very first class, every family has their own culinary traditions, and I am honored that I got to share mine with them.

Holiday loaf
A High Holiday rounded loaf of challah, prepared by my students.

5.0 from 25 reviews
Traditional Challah
 
Author:
Recipe type: Side Dish
Cuisine: Jewish
 
Neighbors will come knocking when your house smells like this fresh-baked challah. Be warned.
Ingredients
  • 2¼ tsp dry active yeast
  • 1½ tsp plus ¼ cup sugar
  • ¾-1 cup warm water
  • ¼ cup vegetable oil
  • 4 eggs, divided
  • 1 egg yolk
  • 1½ tsp table salt
  • 4 cups flour (or less)
Instructions
  1. In the bowl of your stand mixer, add yeast, 1½ tsp sugar, and between ¾ to 1 cup of warm water, and mix until dissolved. Let sit for 10 minutes.
  2. Mix in vegetable oil, 2 eggs (1 at a time) and egg yolk, with remaining sugar and salt.
  3. Slowly add flour, ½ cup at a time.
  4. When the dough holds together, switch to the bread hook, and knead until smooth.
  5. Transfer dough to a greased bowl, cover with plastic wrap, and let rise in a warm place for at least 1 hour.
  6. Punch dough down, and leave it to rise again for 2 hours.
  7. You can now either make 1 large challah or 2 smaller challahs. To make one large challah, cut dough into 6 pieces, and roll into approximately 12 inch strands. Pinch the top of the strands together. Take the strand all the way to the right, and move it over to the left by 2 strands. Take the strand that is second to the left, and move it all the way over to the right. Take the strand that is all the way over to the left, and move it to the right by 2 strands. Take the strand that is second from the right, and move it all the way to the left. Repeat this process until the challah is completely braided. Pinch ends, and tuck them under the loaf. Place braided loaf on a cookie sheet lined with parchment paper.
  8. Use one egg to brush an egg wash over the top of the loaf.
  9. Let sit for one hour.
  10. Use another egg to brush a second coat of egg wash. (At this point, you can sprinkle poppy seeds, sesame seeds, or any other seeded topping you want).
  11. Bake at 350 for 20-25 minutes, or until golden brown.


Enhanced by Zemanta
%d bloggers like this: