Fresh Tomato Bruschetta with Grilled Crostini

Fresh Tomato Bruschetta with Grilled Crostini

I’m often asked how I got started teaching cooking classes, especially when my career is in a completely different field. Usually, I just tell people that I am very passionate about food and cooking, and I like sharing that passion with other people, but that is really the short answer. The real story is a bit more detailed than that.

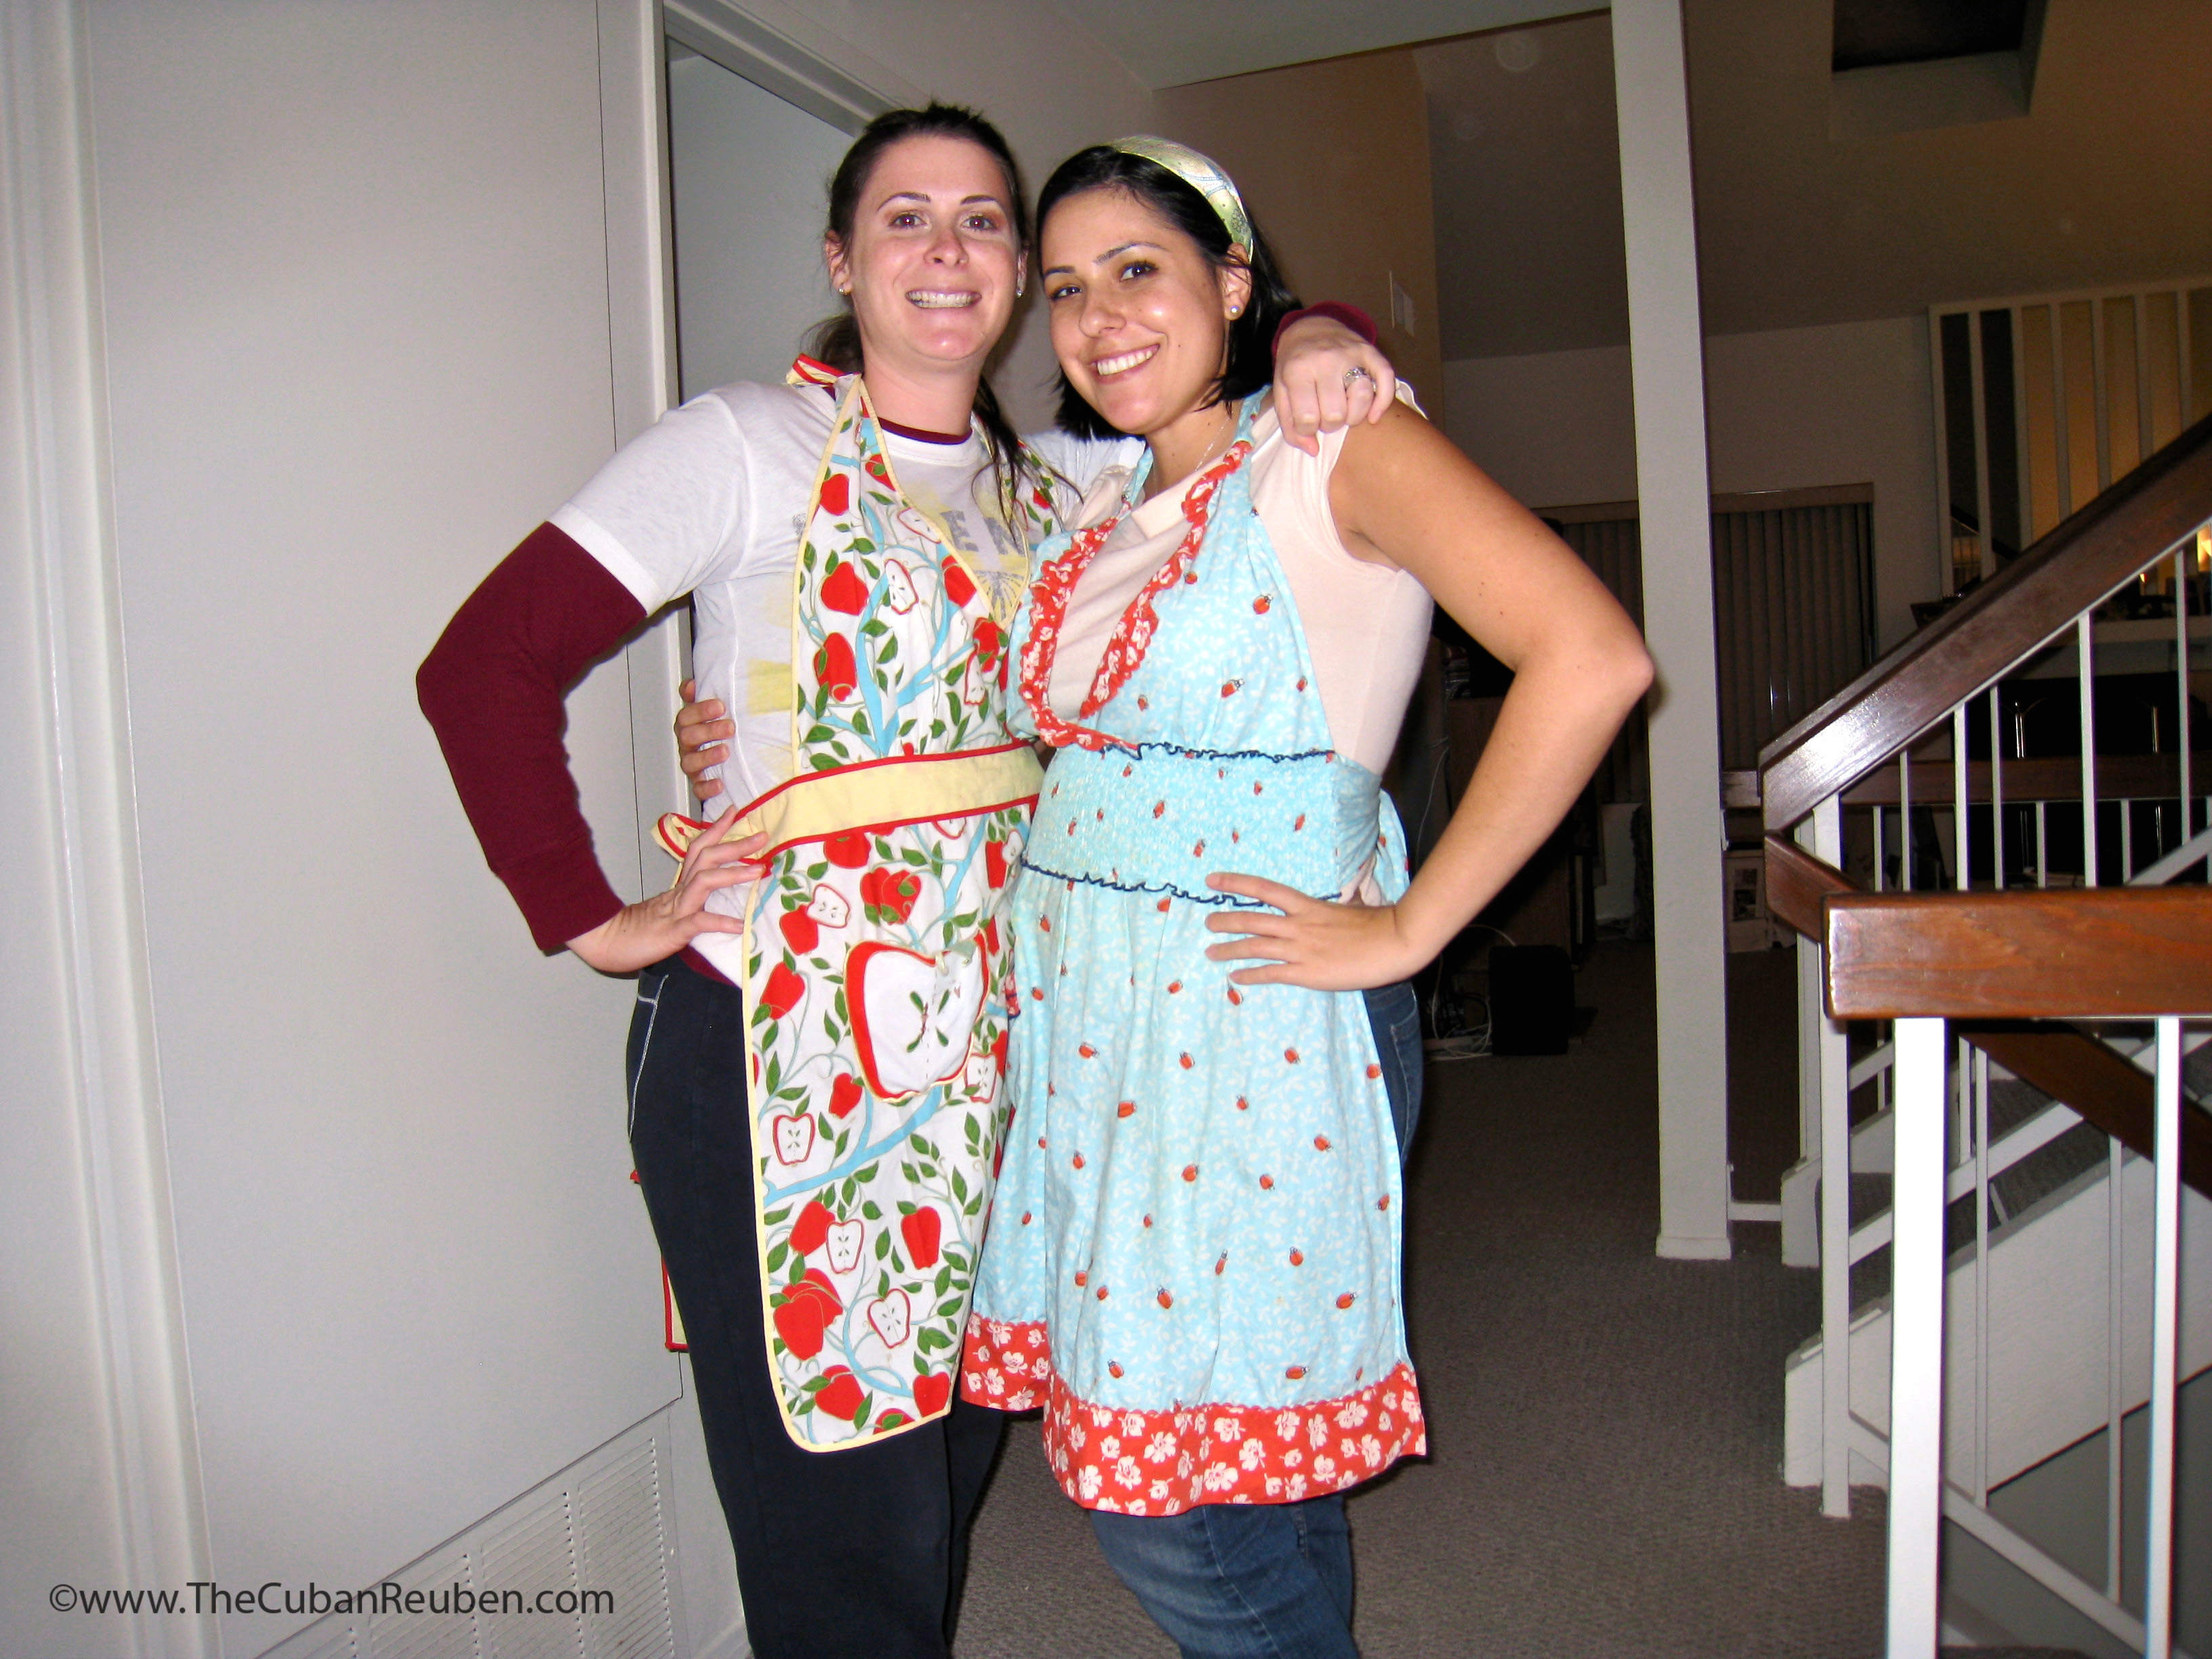
It all started at a casual dinner where many of our closest family friends got together to share a meal. My lifelong friend had developed a bit of a reputation for her fear and distaste of the kitchen, and as was routine, was the butt of some jabbing jokes about the type of wife she would be, since she recently got married. These jabs and teasing were always done in good fun, but I sensed that they had begun to sting a little. So, I took my friend aside, and in secret, we scheduled a date for her to come over to my house for a fun cooking lesson. Soon, we were meeting monthly.

My goal for each lesson was to teach her an appetizer, soup or salad, main dish and dessert, so that if she were called to make any of those dishes for a potluck of sorts, she would have something she could fall back on. I kept all the recipes in a binder, with the hopes that at the end of the day, she would have her own “cookbook”  with recipes she felt confident making on her own. As her confidence grew in the kitchen, she started sharing our secret with our other friends, and little by little, everyone wanted in. What started as one-on-one lessons quickly grew to couples’ date nights and children’s classes, as well.

The two young chefs.

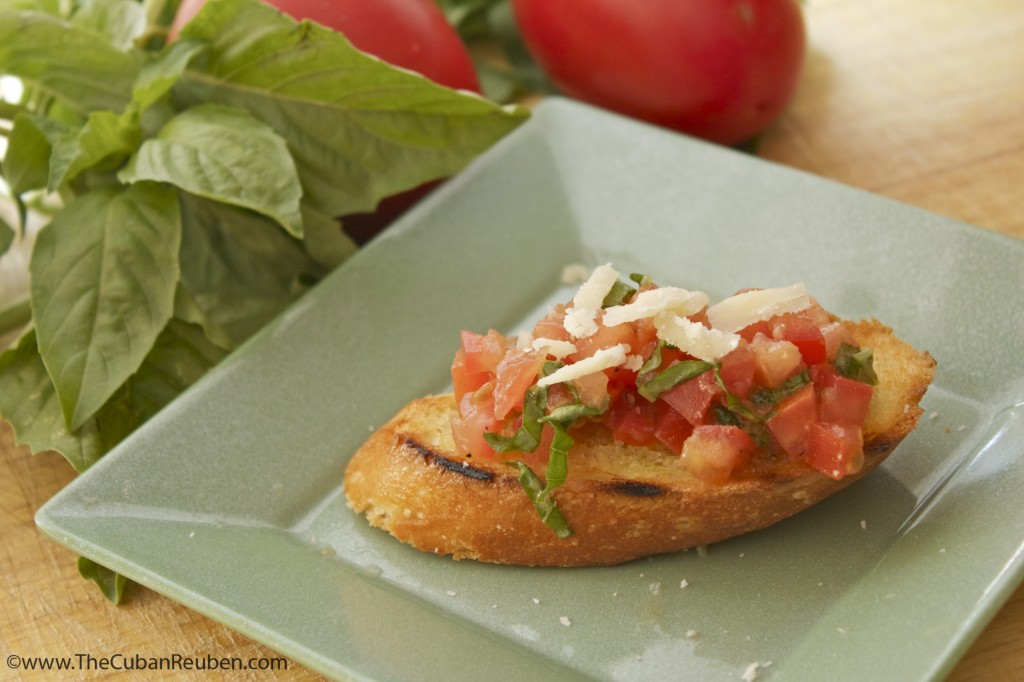
A few months after we initially started meeting, my friend arrived to a family party with an appetizer in tow. She had tried her hand at the very first dish we made together: Fresh Tomato Bruschetta with Grilled Crostini. She shared with me that her husband served as her sous chef, and together, they prepared this dish. I have to say that I was absolutely beaming with pride as the party guests tasted and enjoyed every bite of her appetizer until there was none left to speak of. What’s more, now that my friend is the mother of two beautiful munchkins, her confidence in the kitchen has grown in such a way that she happily makes her own baby food for the kids.

Yes, I have a passion for food and for cooking. And yes, I really do love sharing that passion with others. But watching my friends and loved ones succeed at something they were once afraid to try is precisely what fuels me from class to class.


5.0 from 1 reviews
Fresh Tomato Bruschetta with Grilled Crostini
 
Author:
Recipe type: Appetizer
Cuisine: Italian
Serves: 8
Prep time:
Cook time:
Total time:
 
Kosher salt activates the natural juices in the tomatoes, and makes this appetizer a simple and delicious crowd-pleaser.
Ingredients
Bruschetta
  • 4 Roma tomatoes, diced
  • 7-8 fresh basil leaves
  • 1 clove of garlic, finely minced
  • 1 tbs extra virgin olive oil
  • 1 three-finger pinch of kosher salt
  • fresh ground pepper
  • shaved parmesan cheese
Crostini
  • 8 diagonally sliced pieces of French baguette
  • extra virgin olive oil
  • Kosher salt
  • Fresh ground pepper
Instructions
Bruschetta
  1. In a bowl, add the diced roma tomatoes. Stack the basil leaves, roll them into a cigar, and run your knife, making thin slices. Add the sliced basil to the tomatoes. Finely mince the garlic (I use a microplane zester for this). Add olive oil, salt, and pepper.
  2. Gently stir and combine all ingredients. Cover and refrigerate for 1 hour.
  3. Serve over grilled crostini and top with parmesan cheese.
Crostini
  1. Brush olive oil over the bread pieces, and sprinkle with salt and pepper. Place on grill over medium to high heat, and cook until grill marks appear.
  2. Top with bruschetta, and serve.
Notes
Make sure you use good quality parmesan cheese, and not the powdery stuff that comes from the green can. It really makes all the difference.


Enhanced by Zemanta

The Only Challah Recipe You Will Ever Need, Amen.

Shabbat Challah
Shabbat Challah

I consider myself a connoisseur of all things challah, but for whatever reason, the thought of producing my own always eluded me. After trying many a challah in my hometown, I found the unequivocally most aromatic, decadent, light and airy strands of braided dough at my local Cuban bakery, Porto’s. I am well aware that a Cuban bakery is not naturally the first place to come to mind when in search of the best challah in town, but trust me when I tell you that these people know bread. Sadly, a few years back, I moved to another part of town, and have since been chasing the memory of that yellow-tinged, sweet-as-honey loaf. On the rare occasion when I found myself in that part of town, my insides would do a little happy dance, since it was a forgone conclusion that I’d stop at the bakery. However, no nearby purveyor of fine baked goods was able to replicate the craving-inducing, funny sounding bread I so longed for. Therefore, I set on the challenge of finding a recipe to replicate it myself.

Close up of the detail on my 6-strand braided challah.

Deb Perlman, of SmittenKitchen.com fame, adapted a challah recipe from Joan Nathan, and I am pretty sure she hit the jackpot. After a bit of trial and error with her recipe,  I have found that what works best for me is to make smaller, more controlled batches, which in turn, yield smaller, more uniform loaves. Rather than follow her recipe to a tee, I always halve it now, and produce picture-perfect challahs to adorn my table or to gift to my ever-gracious neighbors. Much to my delight, many a Shabbat guest has mistaken my handiwork for its store-bought cousin…and I don’t usually jump at correcting their mistake.

This past Sunday was the final class in a series I taught at my synagogue on Jewish Holiday Cooking. While the previous classes featured dish upon festive dish typical for a number of Jewish holidays, this crowning jewel of a class was entirely devoted to the 6-strand braided loaf of challah.

My students' beautifully braided dough rises, waiting to be baked to golden perfection.
My students’ beautifully braided dough rises, waiting to be baked to golden perfection.

It was the perfect way to end the series, as many friendships were fostered in the class, and there was plenty of down-time for visiting while the dough was rising. Given my experience braiding challah, I warned my students that since this was their first time attempting the 6-strand braid, it may not look exactly as they expected, and that it only gets better with practice. As it turns out, my warning was for not, because they produced some of the most delicious challahs I’ve seen.

Challah class
Poppy and Sesame Seed Challahs made by my students.

By far, the best part of the class was the taste test. We all gathered around the table, noshed on several different varieties of freshly baked challah, and reminisced about our experience in the series. We laughed remembering silly mistakes that happened in the kitchen, and we shared stories about friendships that started there.

Chocolate challah
Chocolate Chip Challah, sprinkled with coarse sugar, prepared by my students.

With my students’ encouragement, I think I will likely teach the series again. Though, it will definitely be hard to top this group of students. They came from all walks of life, but shared a common enthusiasm for cooking. They impressed me with their skills, and even taught me a thing or two about their personal family’s cooking cultures. As I shared with them on the very first class, every family has their own culinary traditions, and I am honored that I got to share mine with them.

Holiday loaf
A High Holiday rounded loaf of challah, prepared by my students.

5.0 from 25 reviews
Traditional Challah
 
Author:
Recipe type: Side Dish
Cuisine: Jewish
 
Neighbors will come knocking when your house smells like this fresh-baked challah. Be warned.
Ingredients
  • 2¼ tsp dry active yeast
  • 1½ tsp plus ¼ cup sugar
  • ¾-1 cup warm water
  • ¼ cup vegetable oil
  • 4 eggs, divided
  • 1 egg yolk
  • 1½ tsp table salt
  • 4 cups flour (or less)
Instructions
  1. In the bowl of your stand mixer, add yeast, 1½ tsp sugar, and between ¾ to 1 cup of warm water, and mix until dissolved. Let sit for 10 minutes.
  2. Mix in vegetable oil, 2 eggs (1 at a time) and egg yolk, with remaining sugar and salt.
  3. Slowly add flour, ½ cup at a time.
  4. When the dough holds together, switch to the bread hook, and knead until smooth.
  5. Transfer dough to a greased bowl, cover with plastic wrap, and let rise in a warm place for at least 1 hour.
  6. Punch dough down, and leave it to rise again for 2 hours.
  7. You can now either make 1 large challah or 2 smaller challahs. To make one large challah, cut dough into 6 pieces, and roll into approximately 12 inch strands. Pinch the top of the strands together. Take the strand all the way to the right, and move it over to the left by 2 strands. Take the strand that is second to the left, and move it all the way over to the right. Take the strand that is all the way over to the left, and move it to the right by 2 strands. Take the strand that is second from the right, and move it all the way to the left. Repeat this process until the challah is completely braided. Pinch ends, and tuck them under the loaf. Place braided loaf on a cookie sheet lined with parchment paper.
  8. Use one egg to brush an egg wash over the top of the loaf.
  9. Let sit for one hour.
  10. Use another egg to brush a second coat of egg wash. (At this point, you can sprinkle poppy seeds, sesame seeds, or any other seeded topping you want).
  11. Bake at 350 for 20-25 minutes, or until golden brown.


Enhanced by Zemanta
%d bloggers like this: