Saly Cortile Cucina – A Pizza Party To Remember!

Peach and Mascarpone Pizza

Many moons ago, my brother and I were regulars at a local Jewish summer camp. We’d spend weeks bunking with our friends, Israeli dancing, and taking part in the fun activities of our choice. Being the nerd that I am, I actually really enjoyed the educational programming as well, because our advisers challenged us to see the world in new ways and to think outside the box. Our counselors, charged with keeping us alive and well during the few weeks of the year we spent away from home, were usually young adults who not long ago were campers, themselves. This camp left lasting impressions on both my brother and me, and through our experiences there, lifelong friendships were fostered.

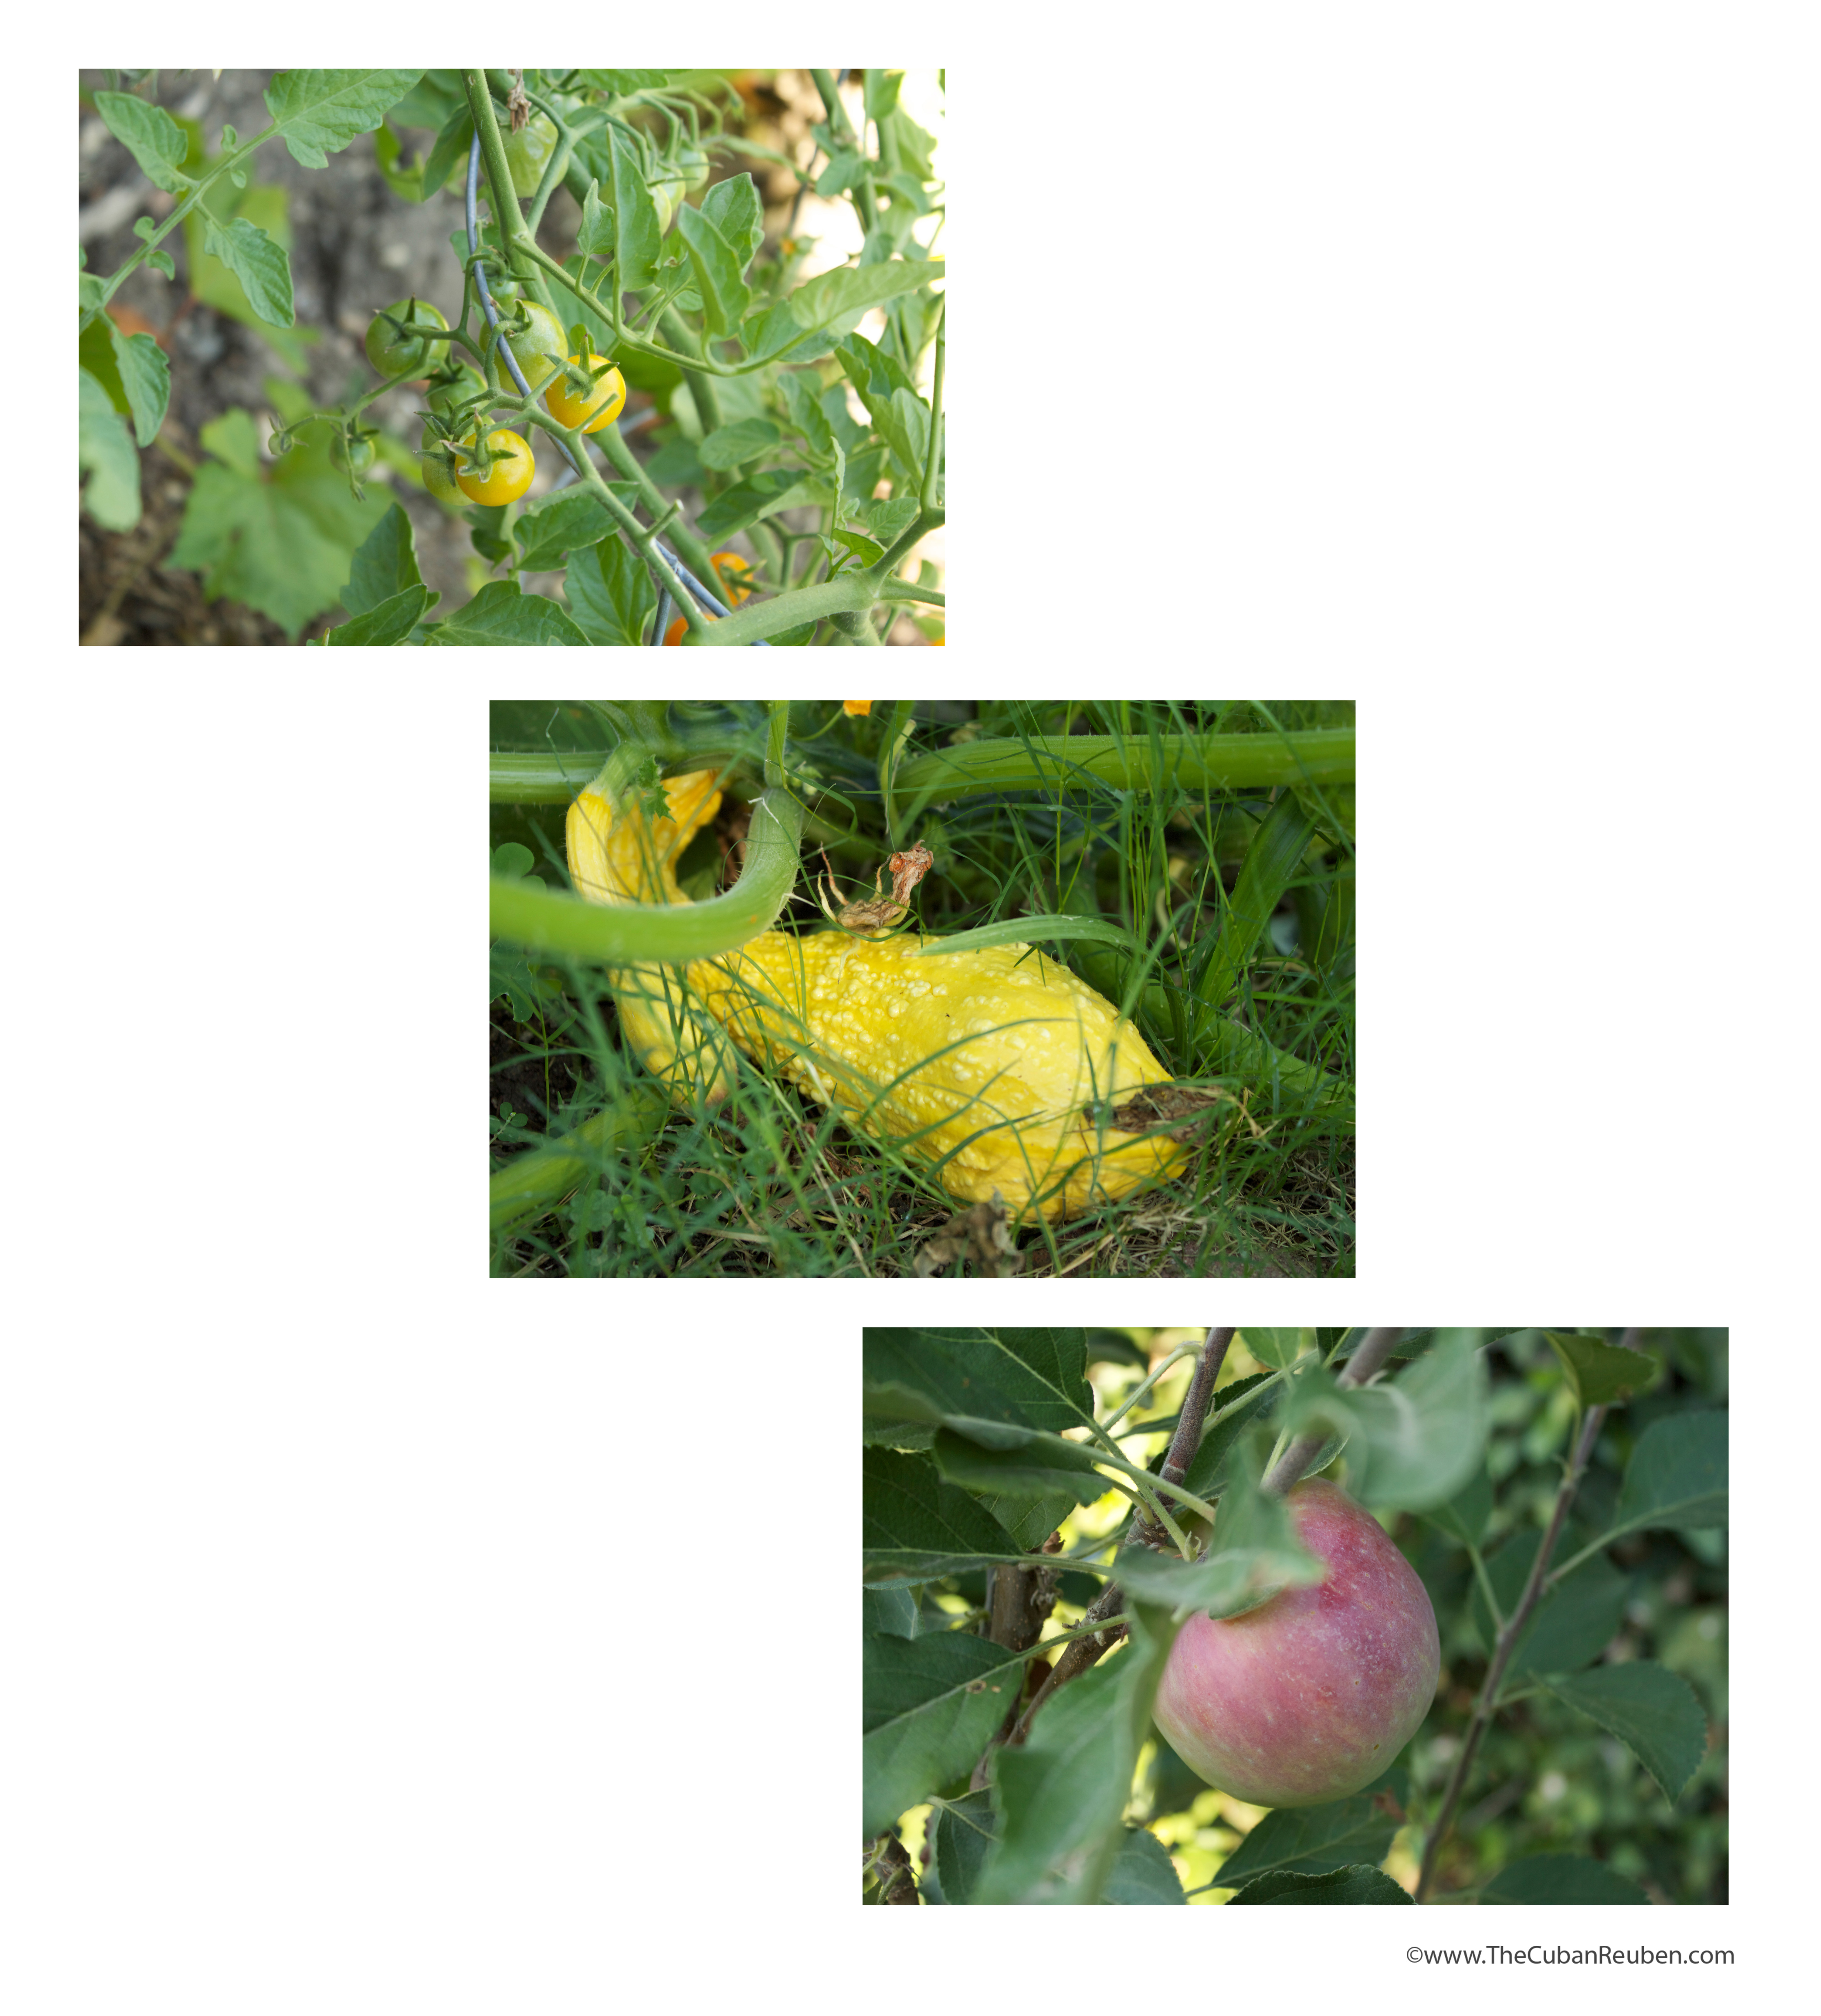
Fast-forward a good many years, and all of those little campers and counselors have grown. We lead different lives with varying interests, but through the web of social media, many of us have reconnected. In fact, after acknowledging our fellow foodie status online, an old camp friend reached out to me, and invited me to a pizza party at her house. Dana, one of my very first camp counselors, works as a registered dietitian, is mom to two incredibly cute and articulate young girls, and is wife to my brother’s former counselor, Matt. Dana and Matt have created a very inviting atmosphere in their backyard, complete with an urban garden that rivals the one I picture in my dream house and a brick pizza oven that guarantees fun and tasty gatherings.

I was so excited to be included in one of the Saly Cortile Cucina’s famous pizza parties for two reasons. First, I was going to reconnect with old camp friends. My last camp memory of Matt included him personifying one of my favorite Muppets, Kermit, as he serenaded us with The Rainbow Connection. And Dana was the counselor responsible for teaching me and my bunkmates some of the more significant lessons for any tween girl, how to shave our legs (I wonder if she remembers that), and more importantly, how to be a great and memorable counselor.  Second, Dana had recently posted photos of the bounty from her urban garden, and I couldn’t wait to forage through it, myself.

Found, growing in the garden.

When I asked Dana what I could bring to the party, she explained the guidelines. She provides the dough, and the dinner guests come bearing the toppings of their choice. They’ve had everything from Asian teriyaki mushrooms with truffle oil, garlic shrimp scampi, and everything in between. At that point, I knew the bar was set pretty high, and I had a great time dreaming up the toppings I would bring.

Dana, prepping the kids' pizza.
Dana, prepping the kids’ pizza.

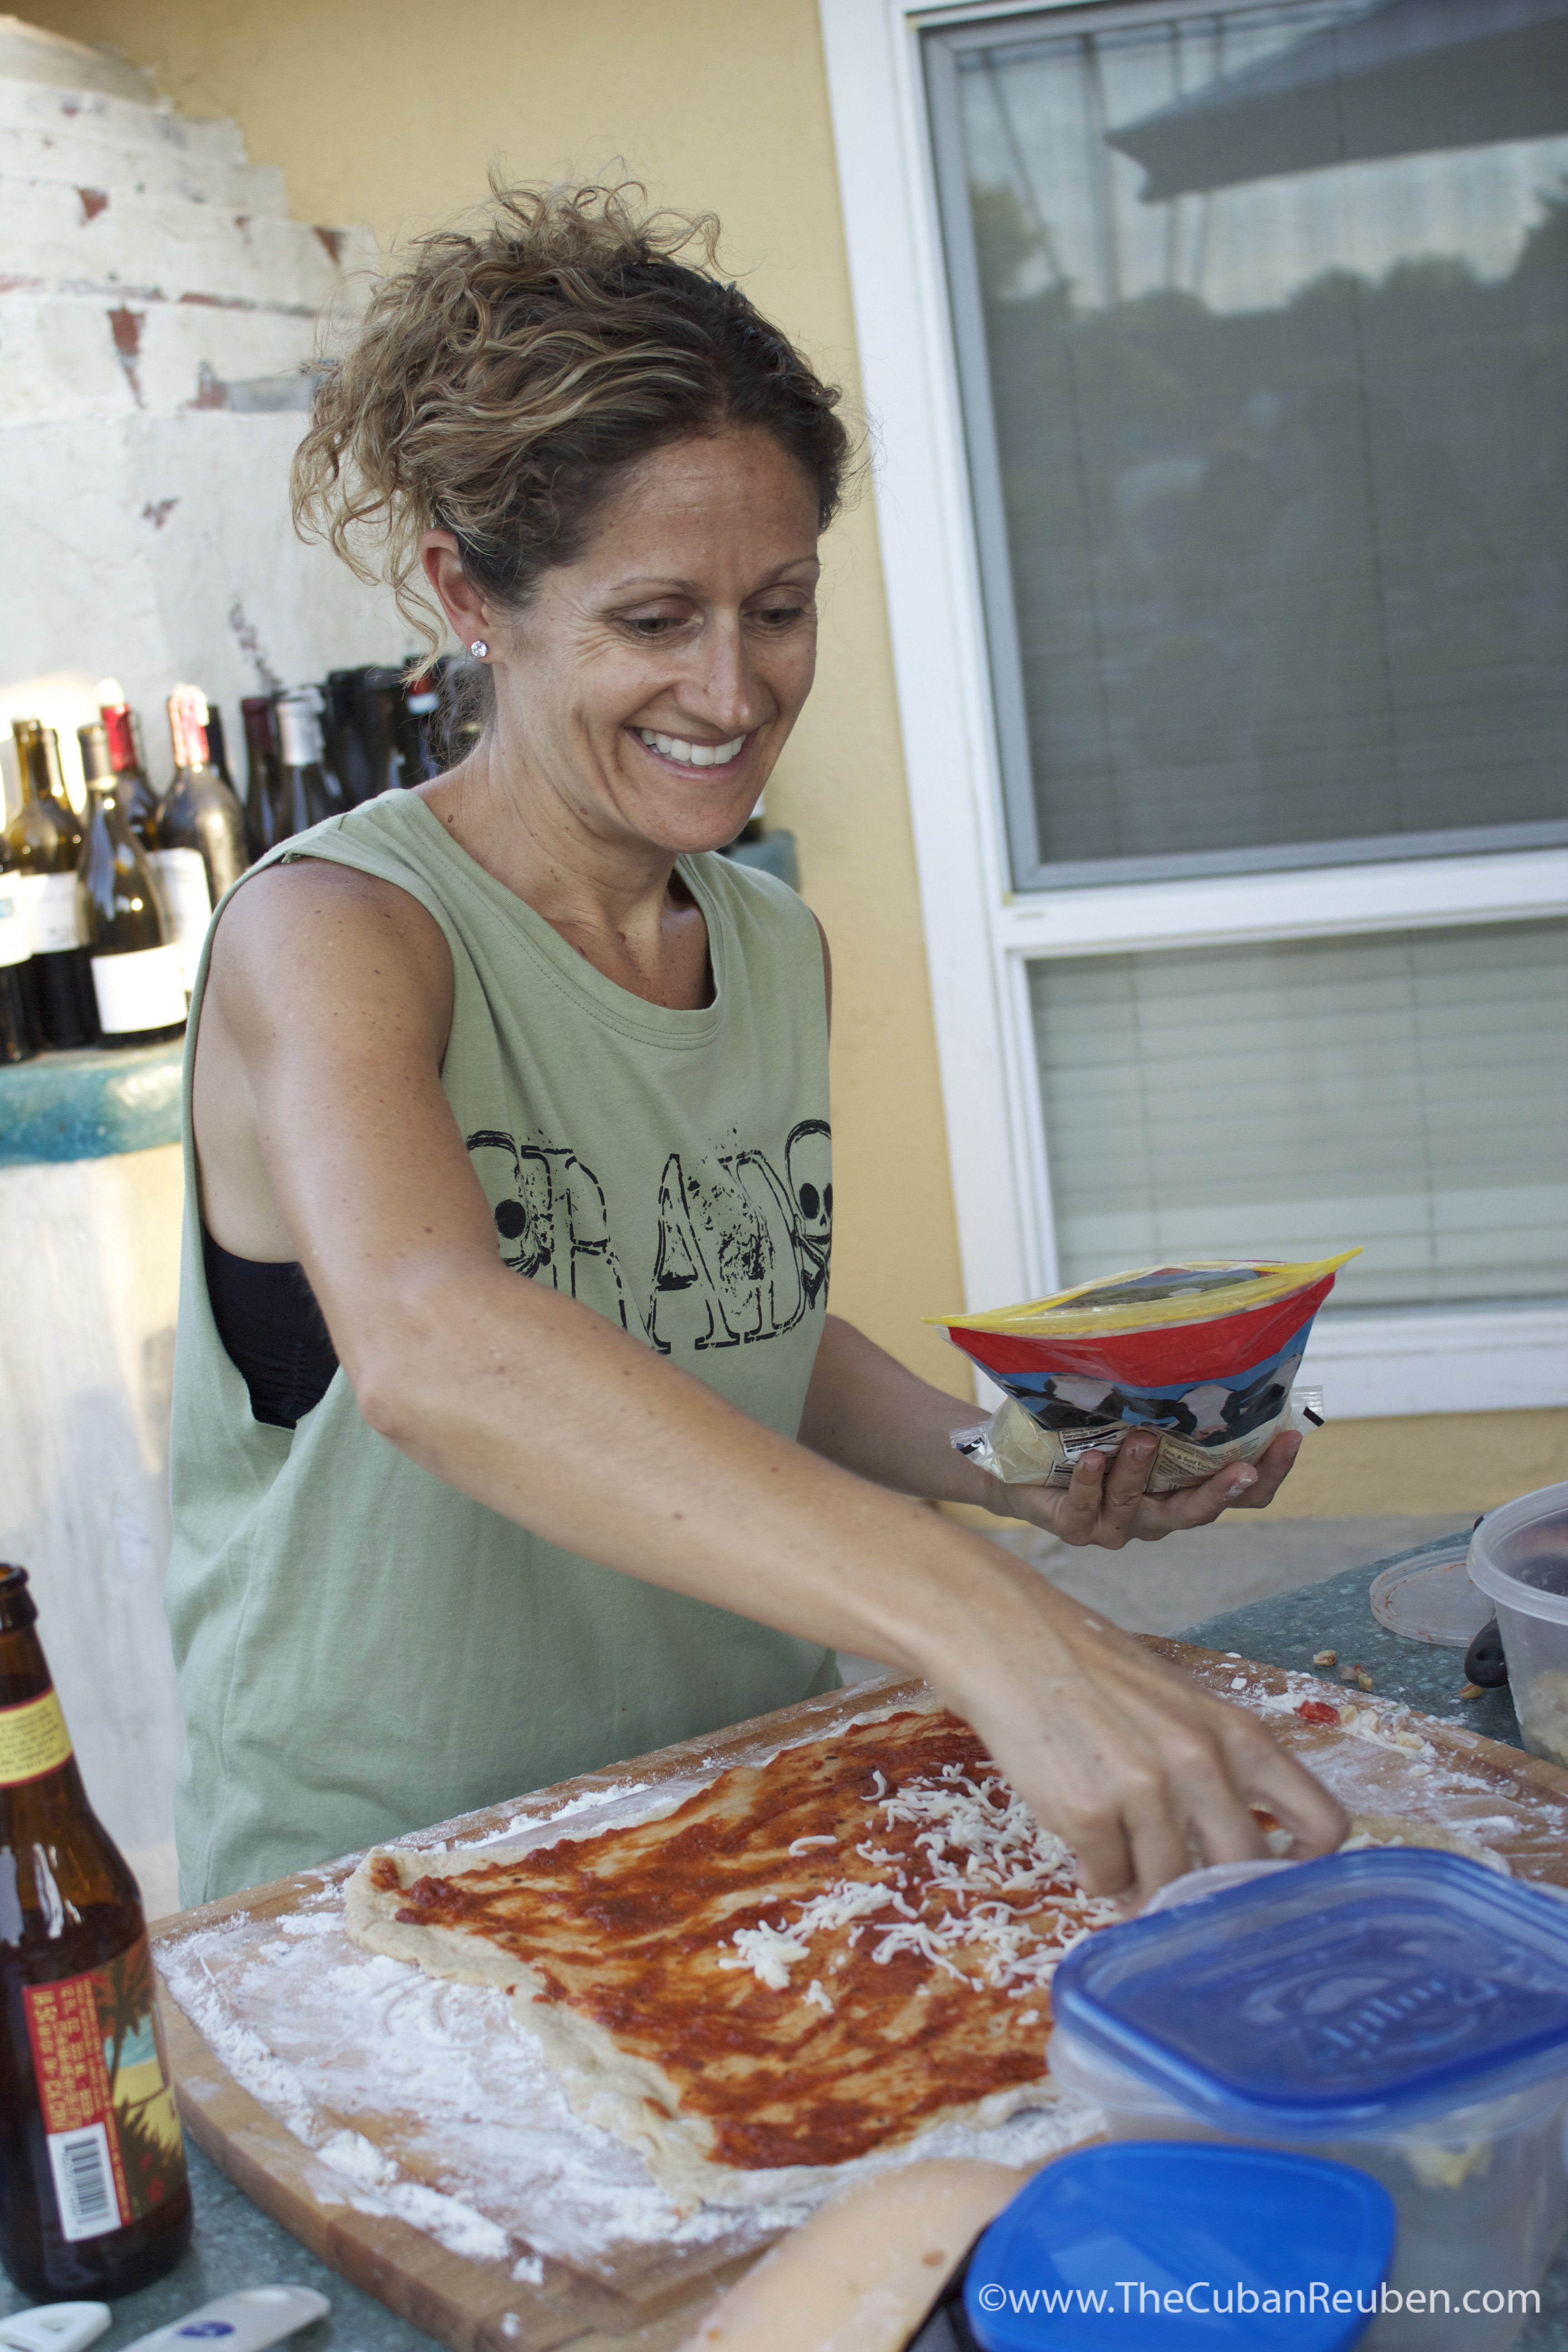
As the guests arrived for the party, many of us camp alumns, we schmoozed, imbibed on some of the best wines Paso Robles has to offer, and observed the chefs in action, each of us waiting our turn.

Matt, manning the brick oven.

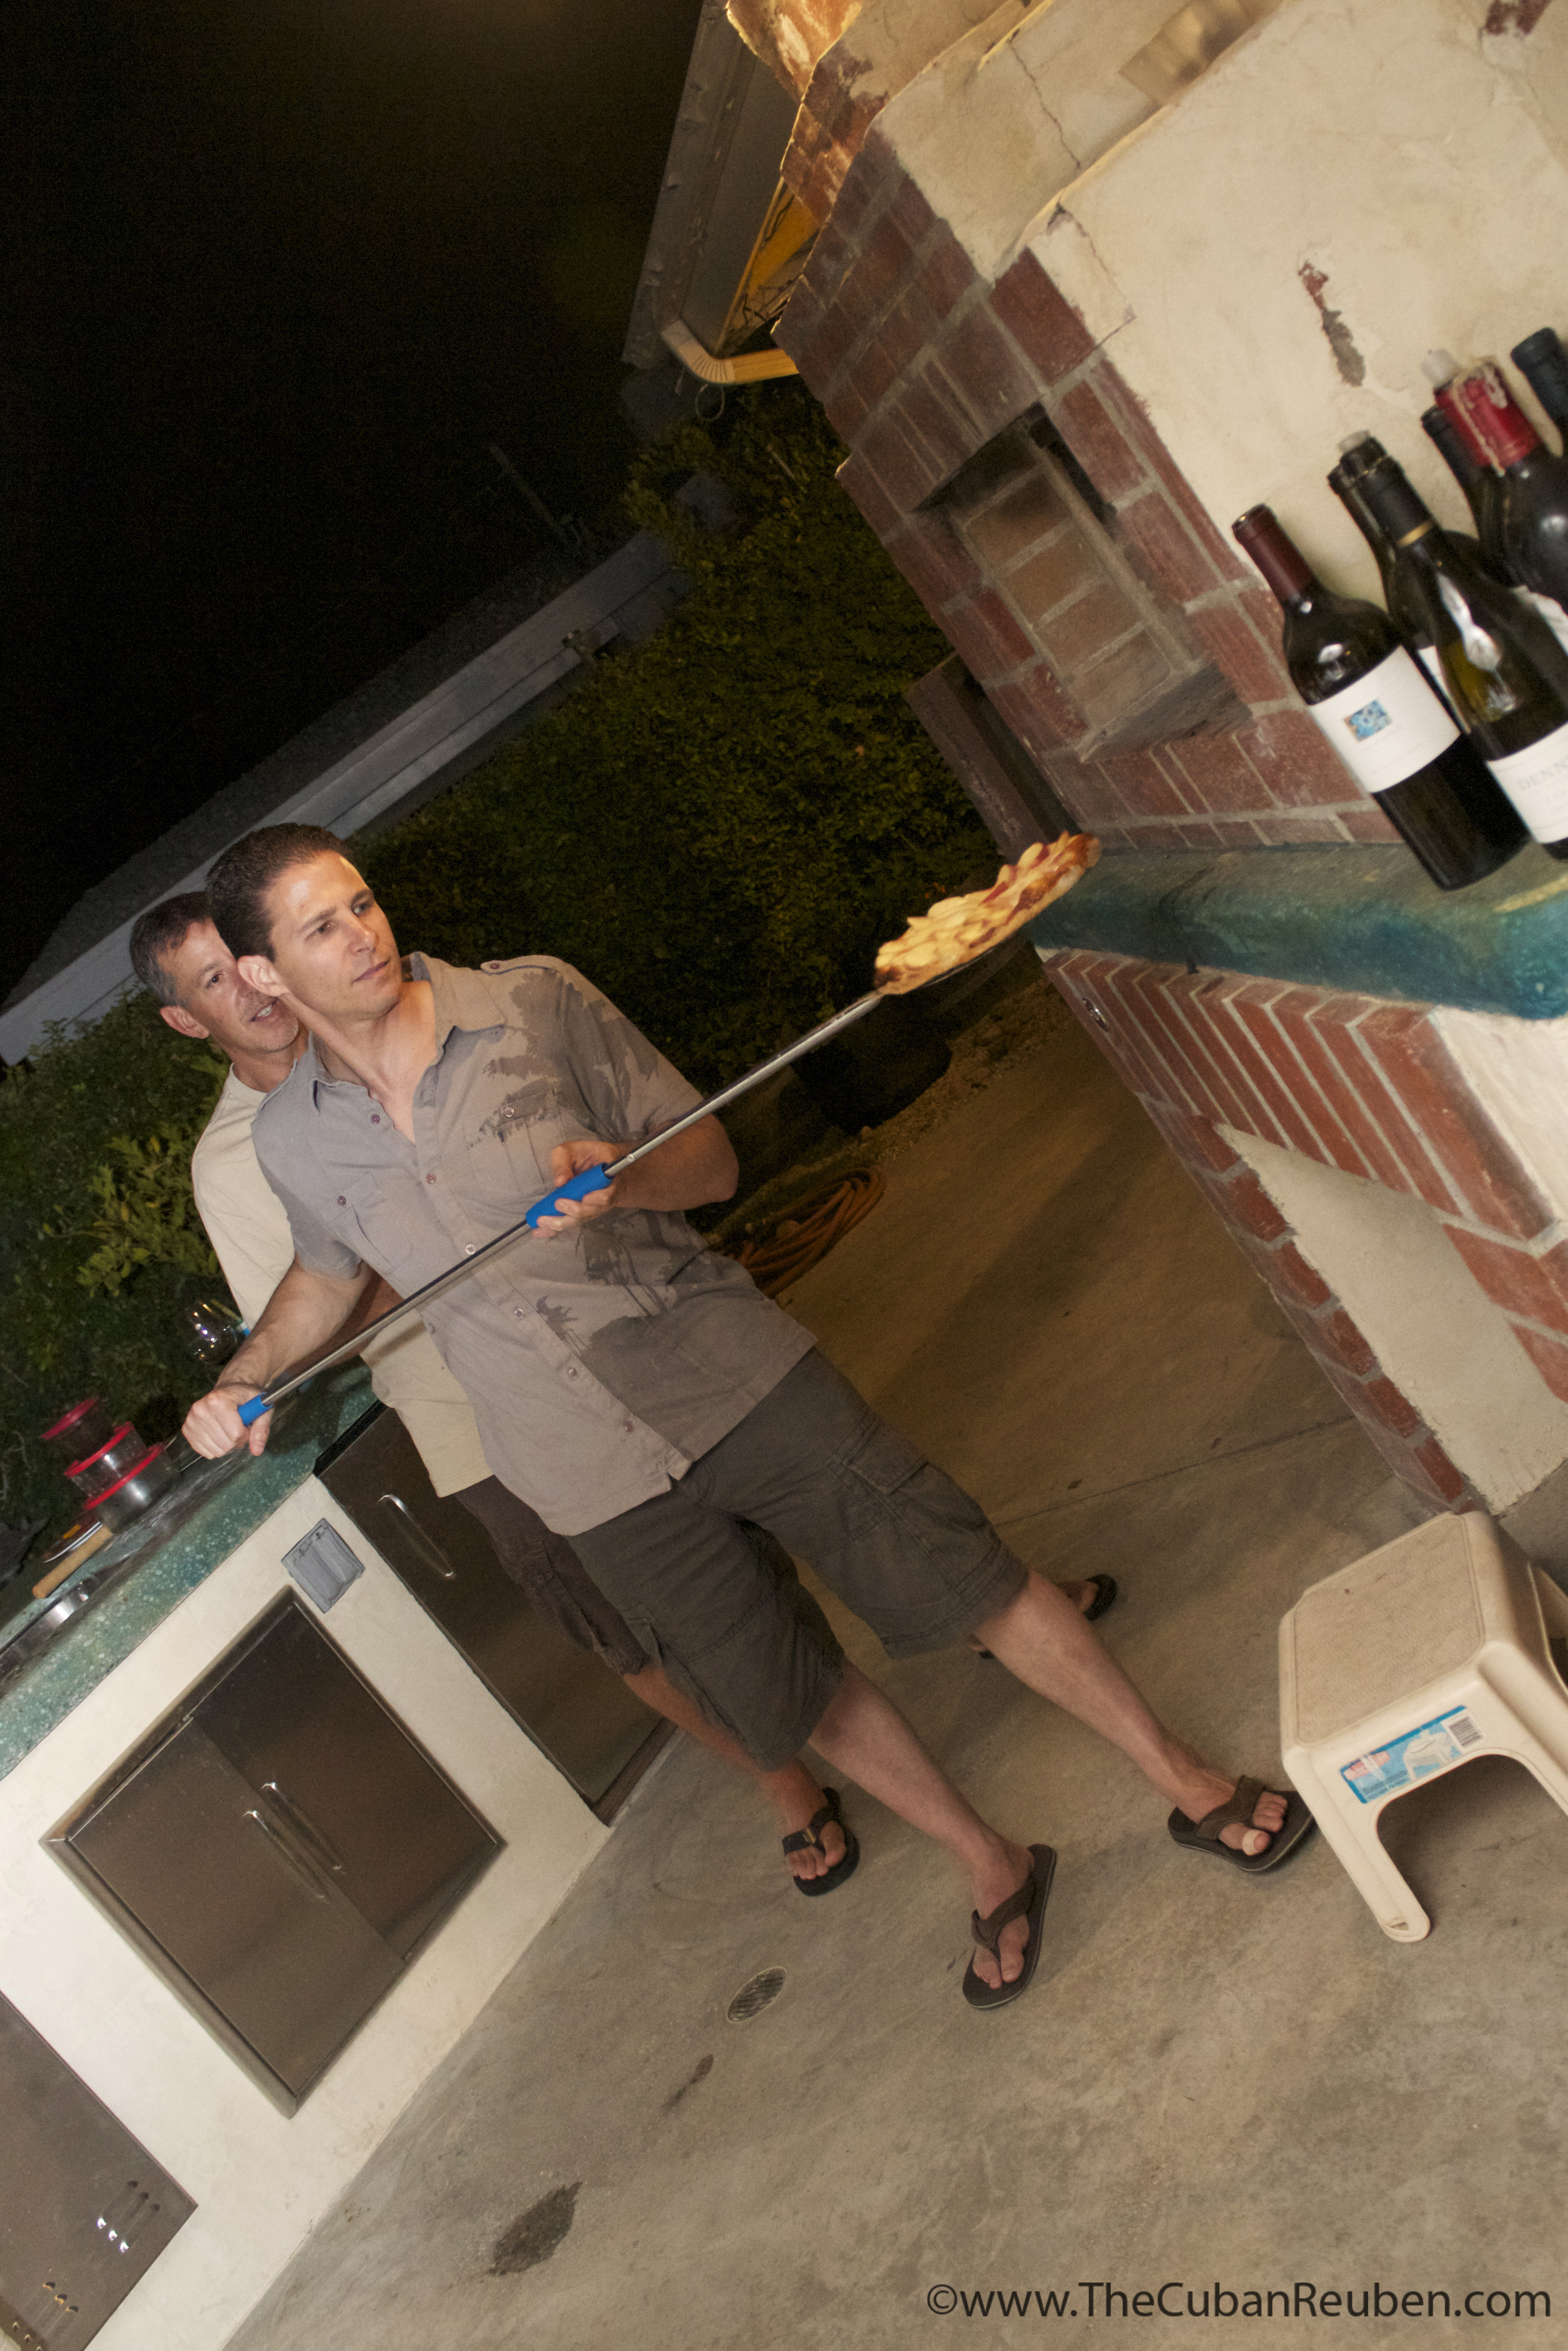
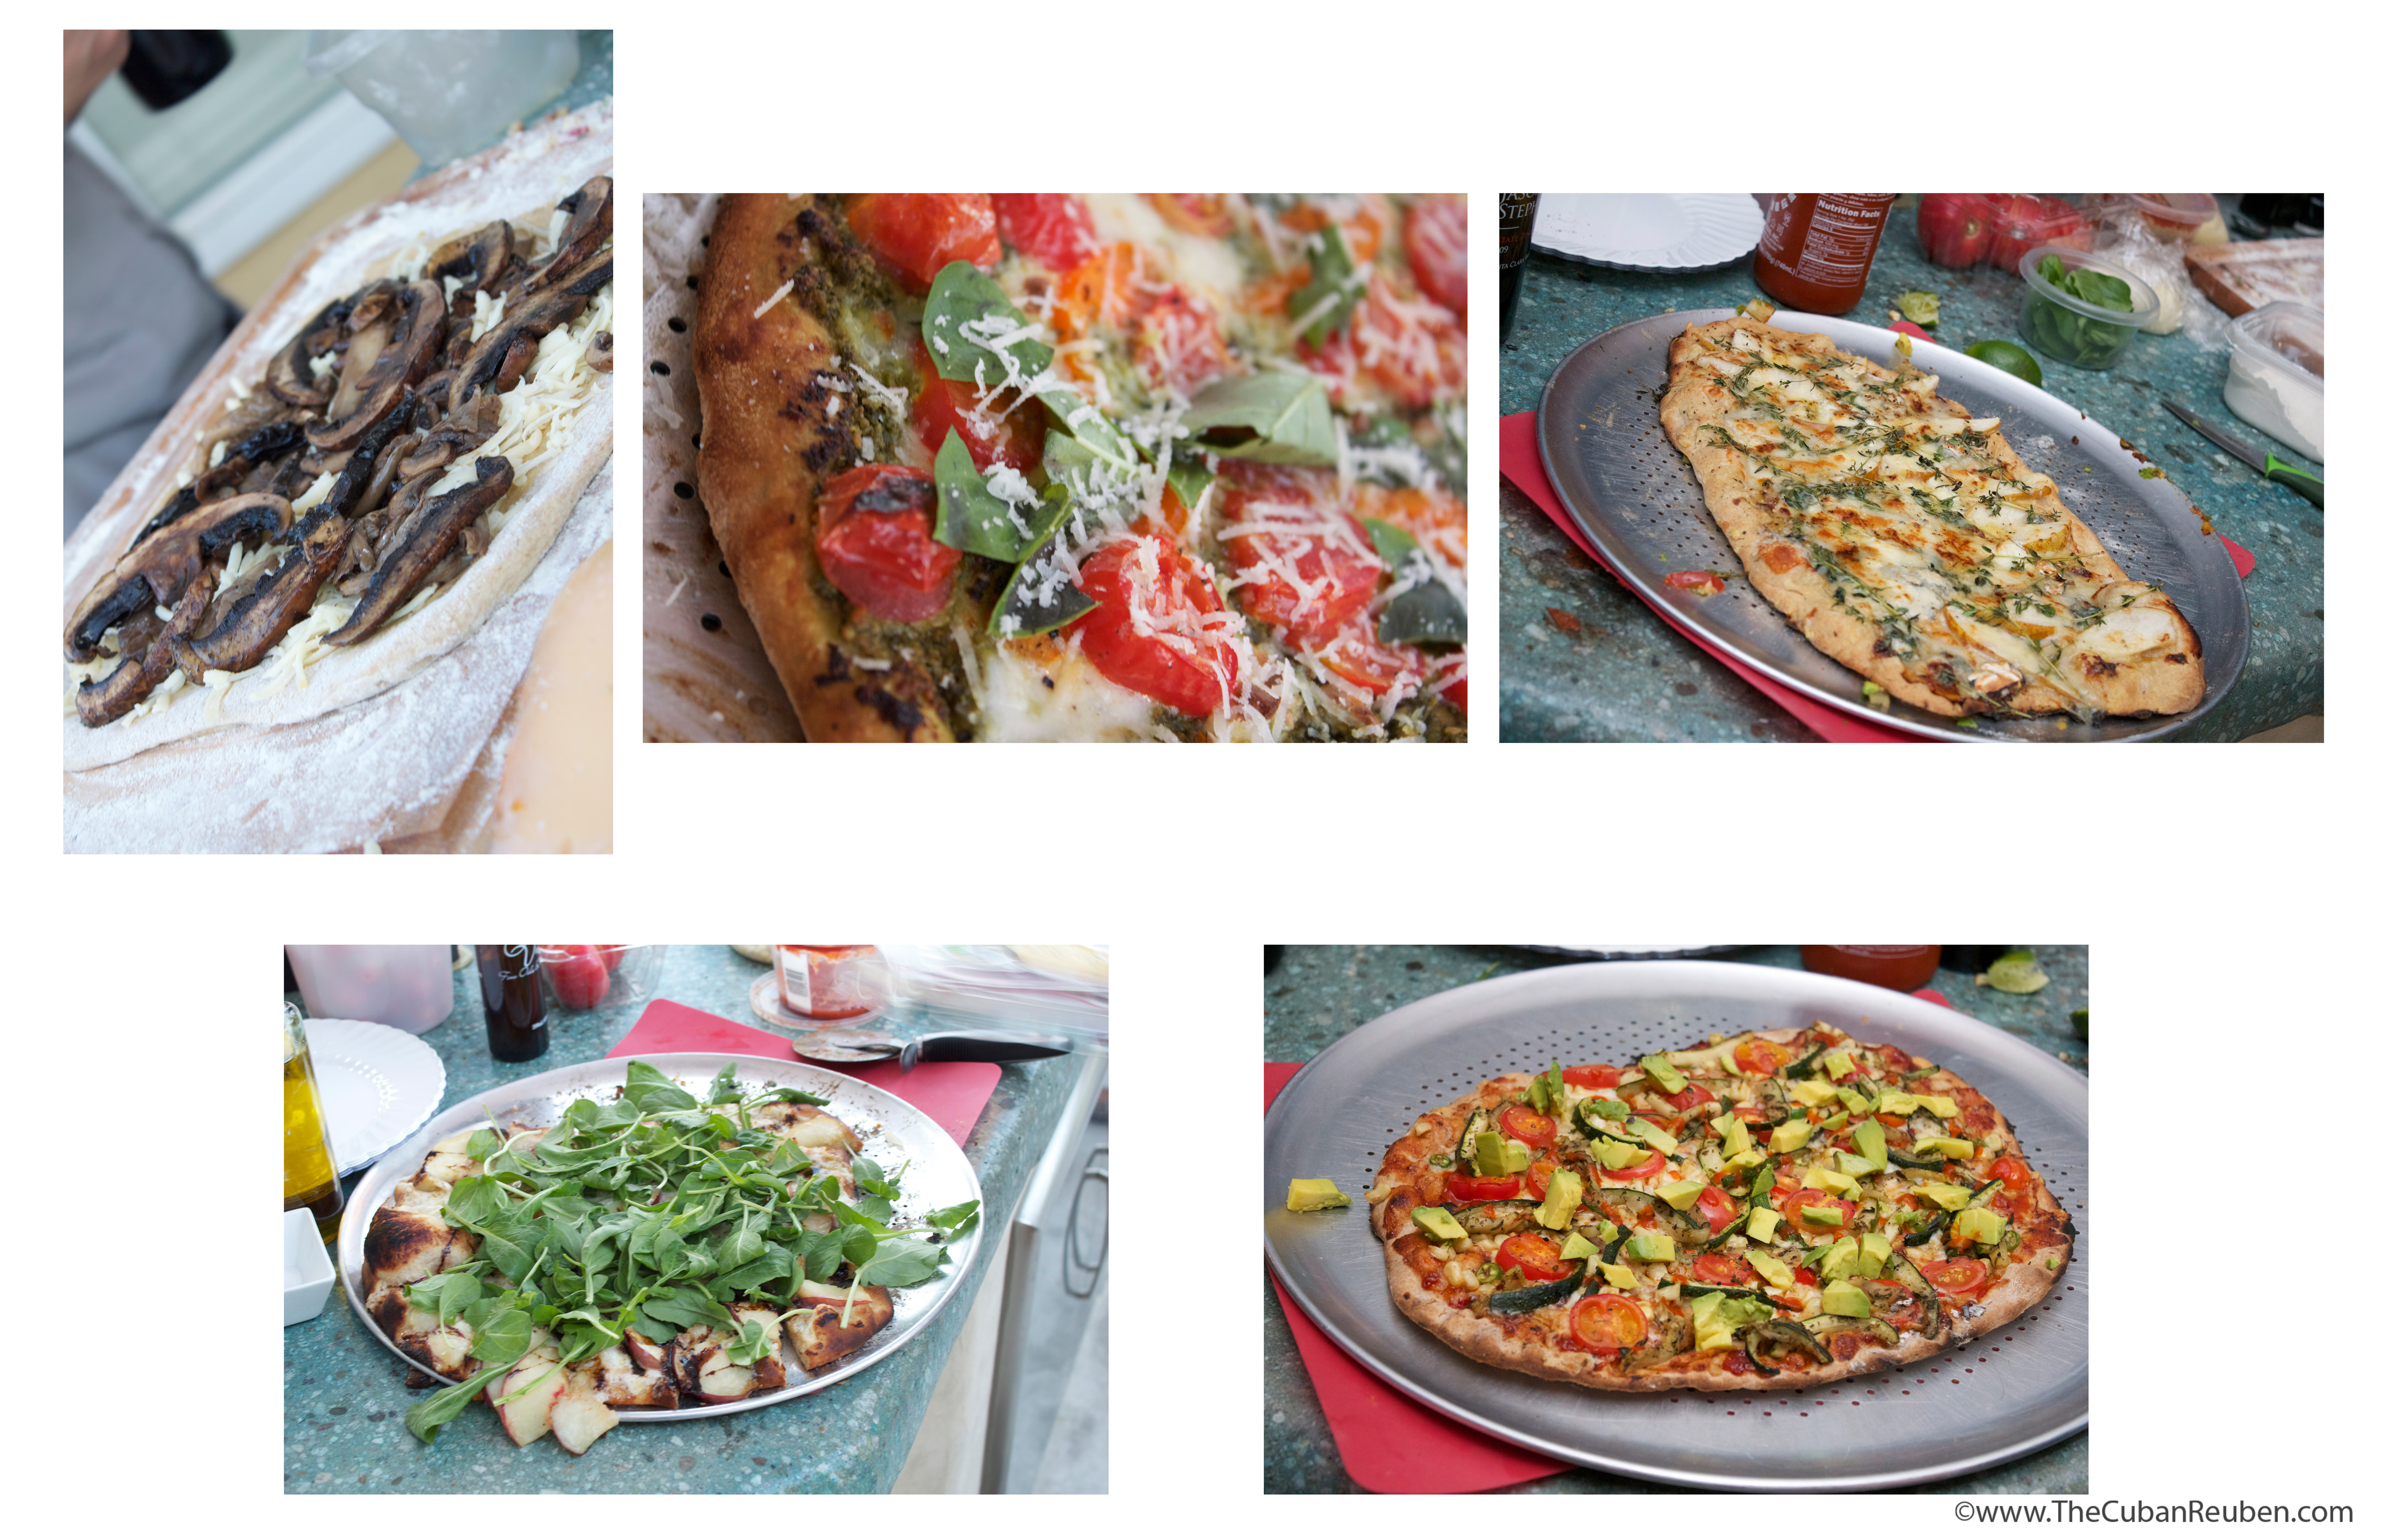
I watched guest after guest meticulously designing their colorful, mouthwatering works of art, and patiently waited as Matt attended to them in the oven. Finally, with a nudge from my sidekick, Kenny, I took my turn. The guests gathered around as I smeared honey-sweetened mascarpone cheese on the dough Dana prepared for me. Then they grew quiet as they observed me assembling slices of juicy white peaches, like a fan. Peaches on a pizza? Bare with me. I gave Matt the cue that my pizza was ready for the oven, and when it came out, I was ready with the toppings: balsamic reduction drizzled on the warm fruit, topped with a bundle of fresh peppery arugula and salty strips of prosciutto. I knew I had done well when the biggest skeptic of them all, my dear husband, nodded with his mouth full of gooey peachy goodness.

Pizza Toss
Pizza Toss

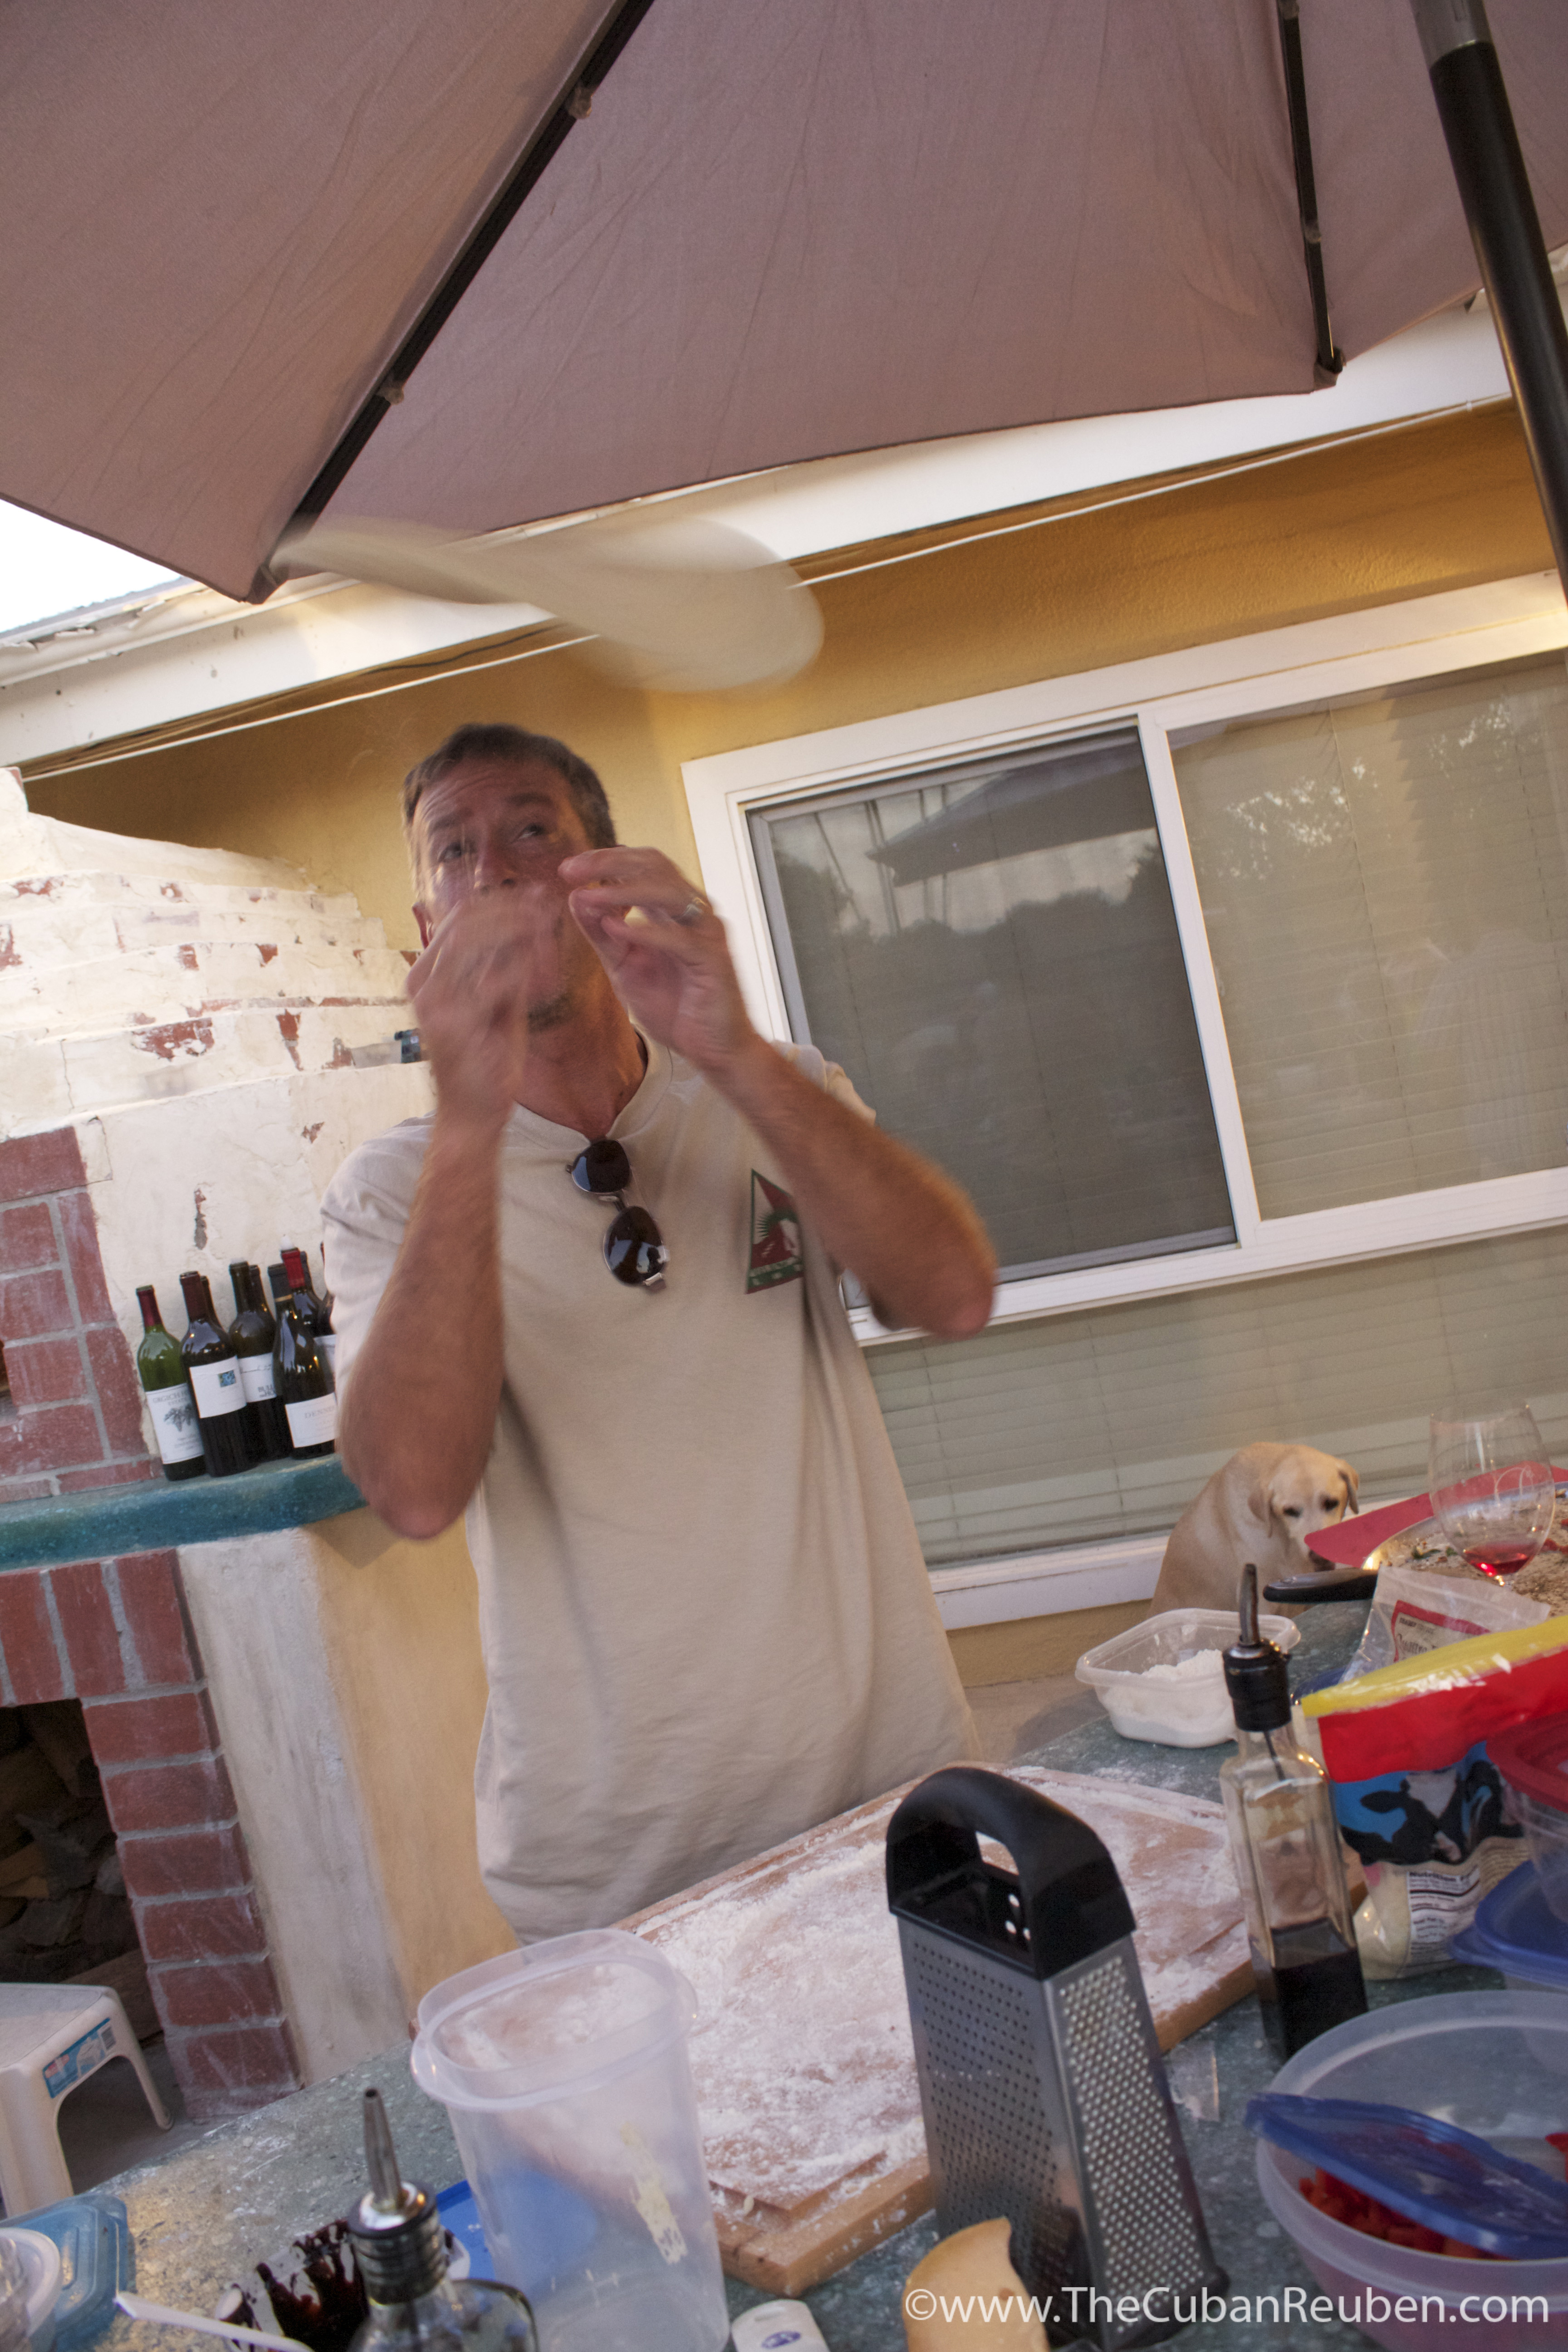
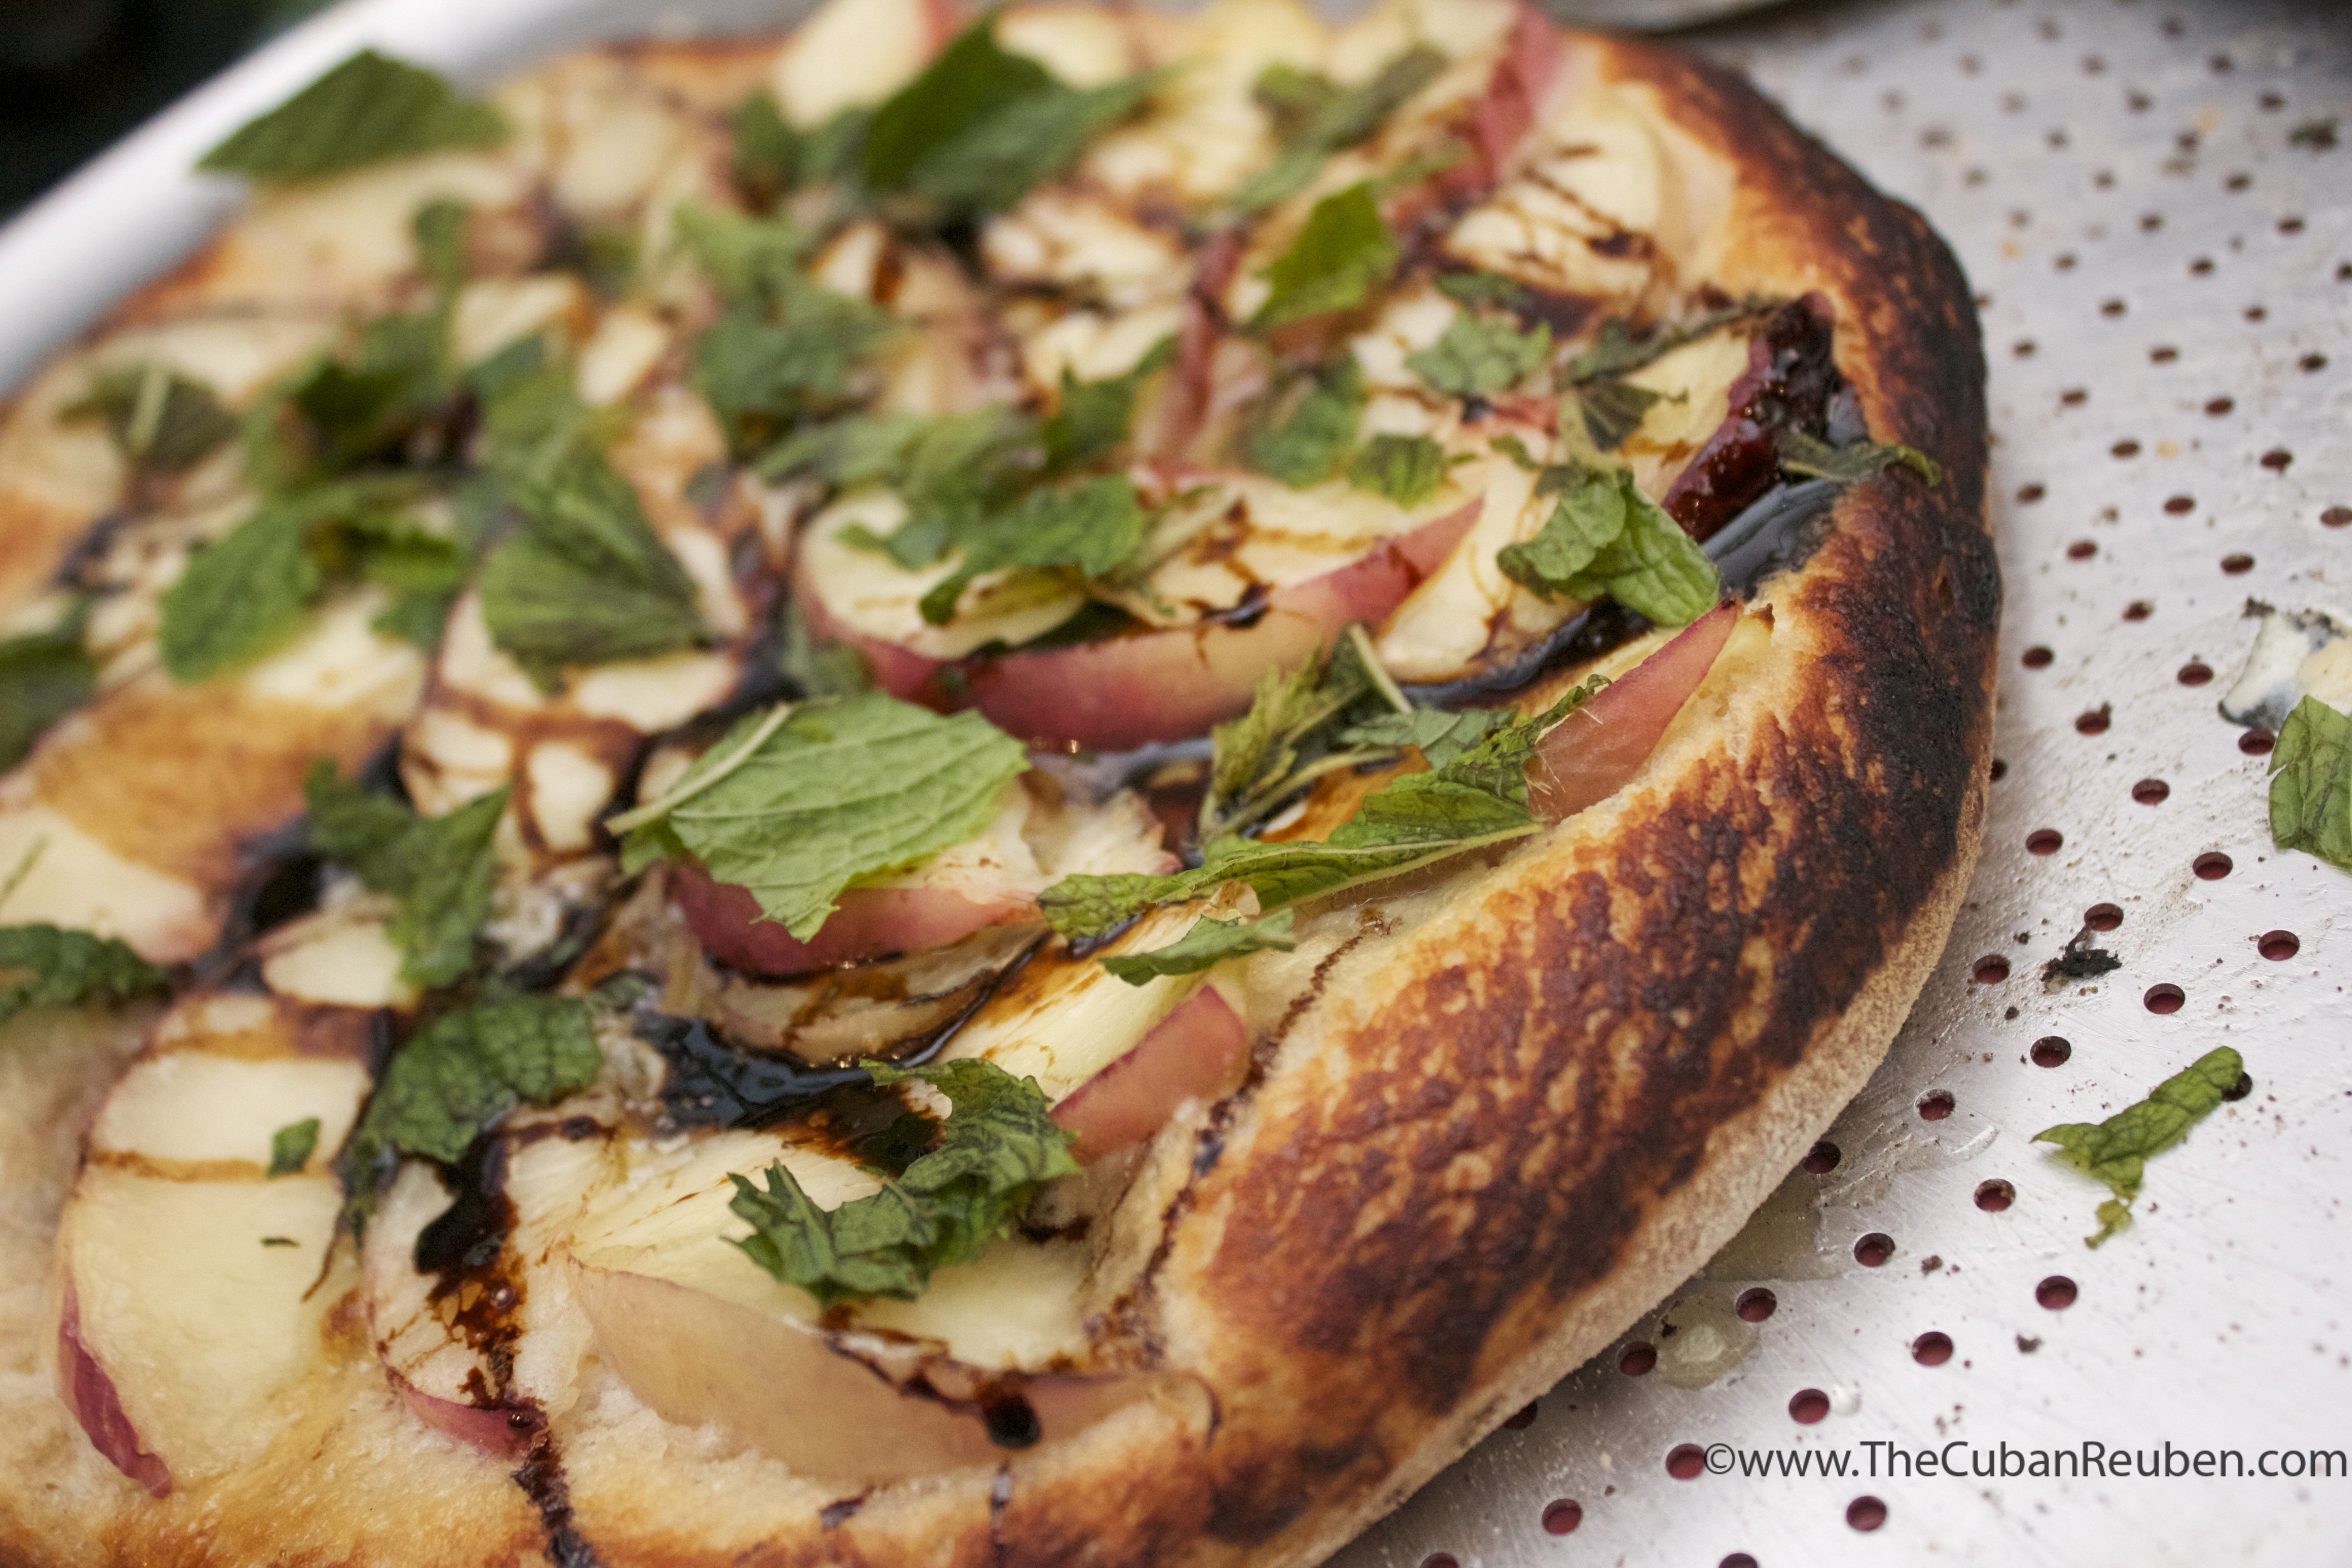
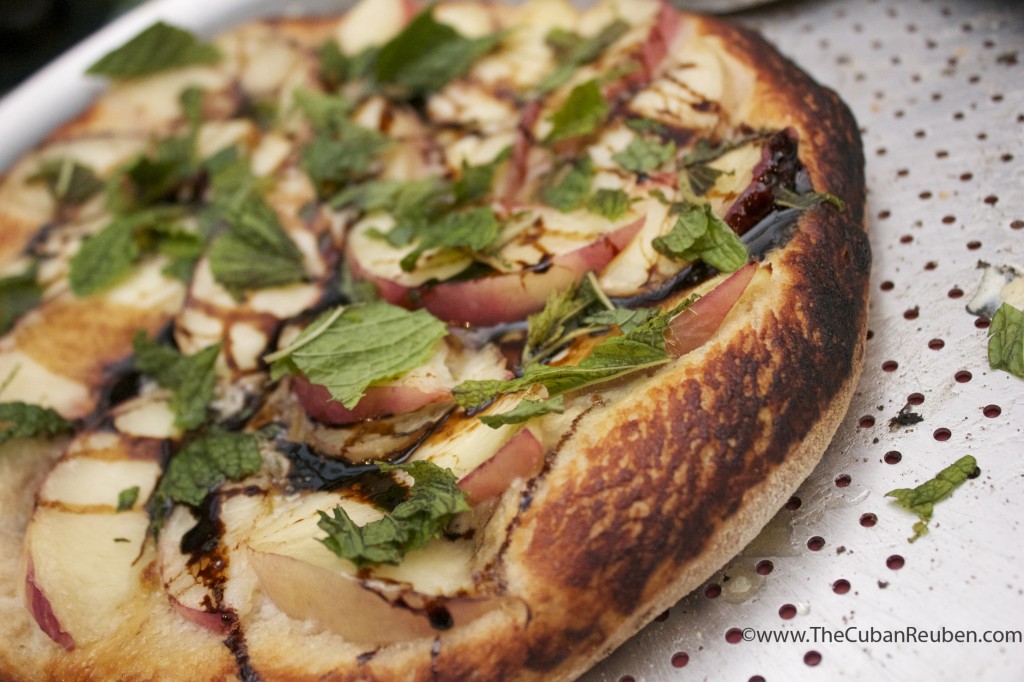
For my next trick, I tried my hand at a sweet variety of the ever-popular peach pizza. Again, Dana prepared the dough, and John, master pizza tosser, prepped it for the toppings. I smeared a layer of the honey-sweetened mascarpone cheese, fanned more slices of white peaches, and sent it to bake. When Matt returned with a bubbling pizza, I drizzled more balsamic reduction, and topped it with torn mint leaves. This pizza signified the start of the dessert pies!

Some of the delicious offerings of the evening.

As the evening wound down, Kenny and I said our good-byes to both old and new friends, with our stomachs full and hearts content. I can’t imagine a better way to spend a warm summer night than with a group of friends, playing around in the outdoor kitchen, tasting each others experiments, and enjoying the company.

Thanks again to the good folks at the Saly Cortile Cucina!

White Peach and Mascarpone Pizza
 
Author:
Recipe type: Main
Cuisine: California-style
Serves: 6/pizza
Prep time:
Cook time:
Total time:
 
Juicy white peaches adorn this memorable summer dish.
Ingredients
For the dough
  • 1½ cups hot water
  • 1 tbs sugar
  • 1 packet of dry active yeast
  • 2 cups white flour
  • 1½ cups whole wheat flour
  • 1 tbs extra virgin olive oil
  • ½ tsp salt
  • extra flour and oil for prep
For the pizza
  • ¾ cups balsamic vinegar
  • ¾ cup mascarpone cheese
  • 1 tbs honey
  • 1-2 large white peaches, sliced
  • 6 fresh mint leaves, torn
Instructions
For the dough
  1. Dissolve sugar and yeast in hot water, and set aside for ten minutes.
  2. Meanwhile, in the bowl of a stand mixer, combine white flour and whole wheat flour. Make a well in the center of the flour.
  3. Add 1 tbs extra virgin olive oil and ½ tsp salt to the water/yeast, and pour into flour well. Mix with a dough hook set on second speed until fully kneaded.
  4. Remove doughball and coat in oil in a large bowl. Cover with a dish towel and let rise for one hour.
  5. Punch down, cut into three sections, and roll each into individual balls.
  6. Coat the three balls with oil, and place in individual tupperware containers for one more hour. (You can also freeze at this point. When ready to cook, make sure dough is at room temperature for at least one hour).
  7. Dump each ball into a well floured surface, flatten, turn over, and flatten again (Do not knead!). Work dough by hand into pizza shape, and brush with extra virgin olive oil.
  8. Top as desired and bake according to pizza recipe.
For the pizza
  1. In a saucepan, cook balsamic vinegar over medium heat until it reduces by about half. Set aside.
  2. Prepare pizza dough according to package directions.
  3. Preheat oven to 450 degrees.
  4. Combine the mascarpone cheese and honey together until they are well blended, and smear the mixture onto the pizza dough.
  5. Fan the peach slices on top of the cheese, and bake for 10-15 minutes, until pizza bubbles.
  6. Remove the pizza from the oven, drizzle balsamic reduction to taste, and top with torn mint leaves.
  7. Serve immediately.
Notes
If you want to save time, I recommend the wheat pizza dough from Trader Joe's. It's certainly not as good as homemade, but it works well if you are in a pinch for time.

This recipe was written for a conventional kitchen oven. If you are lucky enough to have a brick pizza oven, adjust cooking time accordingly.


Enhanced by Zemanta

The Only Challah Recipe You Will Ever Need, Amen.

Shabbat Challah
Shabbat Challah

I consider myself a connoisseur of all things challah, but for whatever reason, the thought of producing my own always eluded me. After trying many a challah in my hometown, I found the unequivocally most aromatic, decadent, light and airy strands of braided dough at my local Cuban bakery, Porto’s. I am well aware that a Cuban bakery is not naturally the first place to come to mind when in search of the best challah in town, but trust me when I tell you that these people know bread. Sadly, a few years back, I moved to another part of town, and have since been chasing the memory of that yellow-tinged, sweet-as-honey loaf. On the rare occasion when I found myself in that part of town, my insides would do a little happy dance, since it was a forgone conclusion that I’d stop at the bakery. However, no nearby purveyor of fine baked goods was able to replicate the craving-inducing, funny sounding bread I so longed for. Therefore, I set on the challenge of finding a recipe to replicate it myself.

Close up of the detail on my 6-strand braided challah.

Deb Perlman, of SmittenKitchen.com fame, adapted a challah recipe from Joan Nathan, and I am pretty sure she hit the jackpot. After a bit of trial and error with her recipe,  I have found that what works best for me is to make smaller, more controlled batches, which in turn, yield smaller, more uniform loaves. Rather than follow her recipe to a tee, I always halve it now, and produce picture-perfect challahs to adorn my table or to gift to my ever-gracious neighbors. Much to my delight, many a Shabbat guest has mistaken my handiwork for its store-bought cousin…and I don’t usually jump at correcting their mistake.

This past Sunday was the final class in a series I taught at my synagogue on Jewish Holiday Cooking. While the previous classes featured dish upon festive dish typical for a number of Jewish holidays, this crowning jewel of a class was entirely devoted to the 6-strand braided loaf of challah.

My students' beautifully braided dough rises, waiting to be baked to golden perfection.
My students’ beautifully braided dough rises, waiting to be baked to golden perfection.

It was the perfect way to end the series, as many friendships were fostered in the class, and there was plenty of down-time for visiting while the dough was rising. Given my experience braiding challah, I warned my students that since this was their first time attempting the 6-strand braid, it may not look exactly as they expected, and that it only gets better with practice. As it turns out, my warning was for not, because they produced some of the most delicious challahs I’ve seen.

Challah class
Poppy and Sesame Seed Challahs made by my students.

By far, the best part of the class was the taste test. We all gathered around the table, noshed on several different varieties of freshly baked challah, and reminisced about our experience in the series. We laughed remembering silly mistakes that happened in the kitchen, and we shared stories about friendships that started there.

Chocolate challah
Chocolate Chip Challah, sprinkled with coarse sugar, prepared by my students.

With my students’ encouragement, I think I will likely teach the series again. Though, it will definitely be hard to top this group of students. They came from all walks of life, but shared a common enthusiasm for cooking. They impressed me with their skills, and even taught me a thing or two about their personal family’s cooking cultures. As I shared with them on the very first class, every family has their own culinary traditions, and I am honored that I got to share mine with them.

Holiday loaf
A High Holiday rounded loaf of challah, prepared by my students.

5.0 from 25 reviews
Traditional Challah
 
Author:
Recipe type: Side Dish
Cuisine: Jewish
 
Neighbors will come knocking when your house smells like this fresh-baked challah. Be warned.
Ingredients
  • 2¼ tsp dry active yeast
  • 1½ tsp plus ¼ cup sugar
  • ¾-1 cup warm water
  • ¼ cup vegetable oil
  • 4 eggs, divided
  • 1 egg yolk
  • 1½ tsp table salt
  • 4 cups flour (or less)
Instructions
  1. In the bowl of your stand mixer, add yeast, 1½ tsp sugar, and between ¾ to 1 cup of warm water, and mix until dissolved. Let sit for 10 minutes.
  2. Mix in vegetable oil, 2 eggs (1 at a time) and egg yolk, with remaining sugar and salt.
  3. Slowly add flour, ½ cup at a time.
  4. When the dough holds together, switch to the bread hook, and knead until smooth.
  5. Transfer dough to a greased bowl, cover with plastic wrap, and let rise in a warm place for at least 1 hour.
  6. Punch dough down, and leave it to rise again for 2 hours.
  7. You can now either make 1 large challah or 2 smaller challahs. To make one large challah, cut dough into 6 pieces, and roll into approximately 12 inch strands. Pinch the top of the strands together. Take the strand all the way to the right, and move it over to the left by 2 strands. Take the strand that is second to the left, and move it all the way over to the right. Take the strand that is all the way over to the left, and move it to the right by 2 strands. Take the strand that is second from the right, and move it all the way to the left. Repeat this process until the challah is completely braided. Pinch ends, and tuck them under the loaf. Place braided loaf on a cookie sheet lined with parchment paper.
  8. Use one egg to brush an egg wash over the top of the loaf.
  9. Let sit for one hour.
  10. Use another egg to brush a second coat of egg wash. (At this point, you can sprinkle poppy seeds, sesame seeds, or any other seeded topping you want).
  11. Bake at 350 for 20-25 minutes, or until golden brown.


Enhanced by Zemanta
%d bloggers like this: