Marinated Flank Steak

Flank Steak a la Bette

Several years ago, when I had a lot less confidence in the kitchen, my husband and I invited a friend over for Shabbat dinner, as we often do. Knowing that I don’t keep a kosher kitchen, and that this friend kept kosher, I wanted him to feel comfortable welcoming the sabbath at my dinner table. I had a storage cabinet full of appliances that were gifted to us for our wedding that we hadn’t yet used, and in it, I found an electric grill. My husband and I agreed that we would only cook kosher meats on the grill, thus giving us an option for entertaining our friends who keep kosher.

(*note, we have since kashered our rotisserie, and invested in separate place settings and serveware designated for our kosher friends.)

I imagined that with his winning personality and friendly nature, Howard, our guest of honor, must get invited to countless shabbat tables, and must be sick of the traditional roasted chicken fare. So, I set out to find something different for our dinner menu. Luckily, I live near one of the most densely populated areas of kosher markets, and had the opportunity to shop around for the basics I was looking for. I knew I didn’t want to make chicken, and I also knew that it had to be something that worked on the grill. When I arrived at the busy meat market, and explained to the kosher butcher that I was thinking flank steak for shabbat dinner, he gave me a good chuckle as he packaged up my cut. “What?,” I said. “There’s no rule about eating chicken on Shabbat. I want to change it up a bit.”

Marinated flank steak sizzling on the grill with bell pepper pieces.

Despite the giggles and smirks I received at the kosher market, I was determined to make a killer flank steak. Fortunately for me, my Midwestern meat-and-potatoes husband reminded me that his mom is famous for her steak marinades. On her flank steaks, she uses a marinade consisting of soy sauce and Italian dressing, two ingredients that don’t necessarily scream cohesiveness, but surprisingly bring out the best elements in each other.

That night, when we broke bread with our soon-to-be Rabbi friend, Howard, we were treated to a flavorful, juicy, cooked-just-right piece of steak, and we opened up the doors to opportunity for trying  new and exciting dishes for Shabbat.

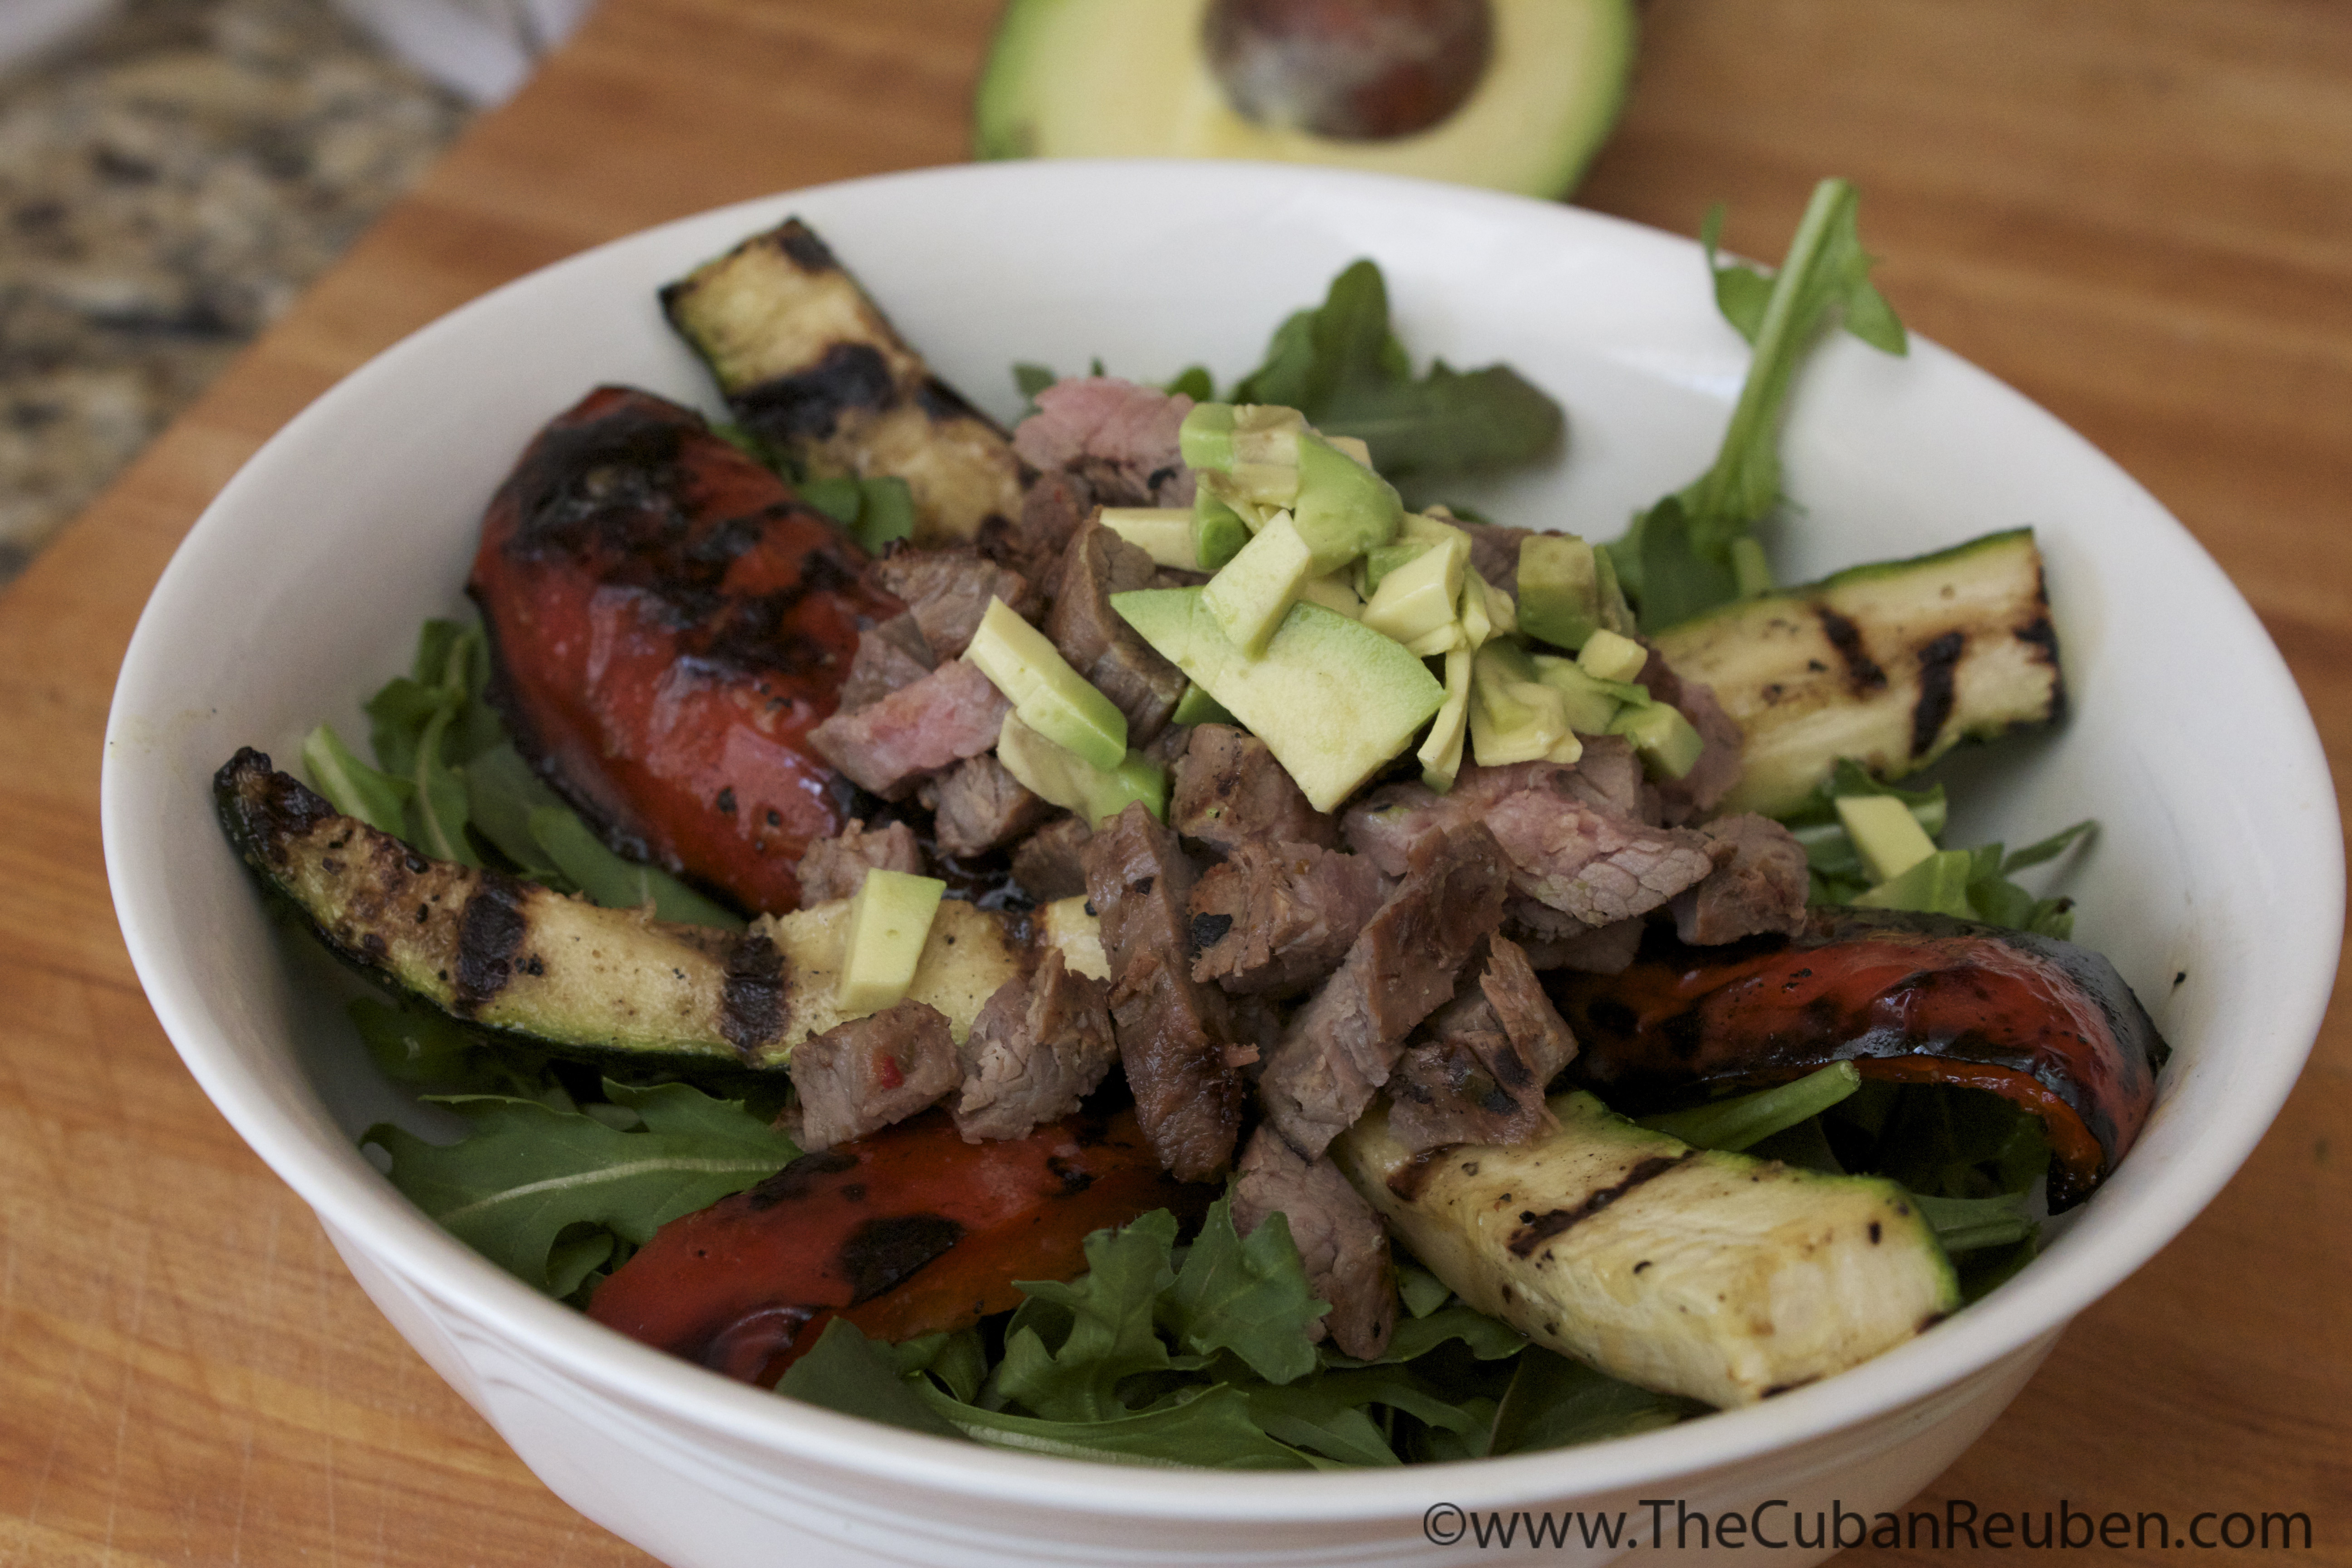
I’ve since taken my mother-in-law’s original recipe, and “Cuba-fied” it by adding garlic. I also splash in a bit of Worcestershire sauce, because I like the taste, and think it adds a certain depth of flavor. Depending on what I’m service alongside and whether or not I have some squirreled away in the fridge, I’ll add sliced green onions to the marinade. Ultimately, the base is always the same (soy sauce and Italian dressing), but can easily be enhanced with a plethora of flavors you might have in your kitchen.

Plus, the leftover possibilities are endless!

Grilled flank steak, peppers, and zucchini over a bed of arugula, topped with chunks of avocado.


5.0 from 1 reviews
Marinated Flank Steak
 
Author:
Recipe type: Main
Cuisine: American
Serves: 6
Prep time:
Cook time:
Total time:
 
Heat your grill up, and get ready to smell the aromatic wonders that will permeate the air with this marinated flank steak!
Ingredients
  • ¼ cup soy sauce
  • ½ cup Italian dressing
  • 2 tsp Worcestershire sauce
  • 4 cloves garlic, finely minced
  • fresh ground pepper
  • 1-1½ lbs. flank steak, cleaned and trimmed
Instructions
  1. In a plastic resealable bag, combine soy sauce, dressing, Worcestershire sauce, garlic, and fresh ground pepper. Add flank steak, seal bag, and massage meat, making sure it is evenly coated with the marinade.
  2. Refrigerate for at least 1 hour, turning once.
  3. Remove bag from refrigerator, and allow to come to room temperature.
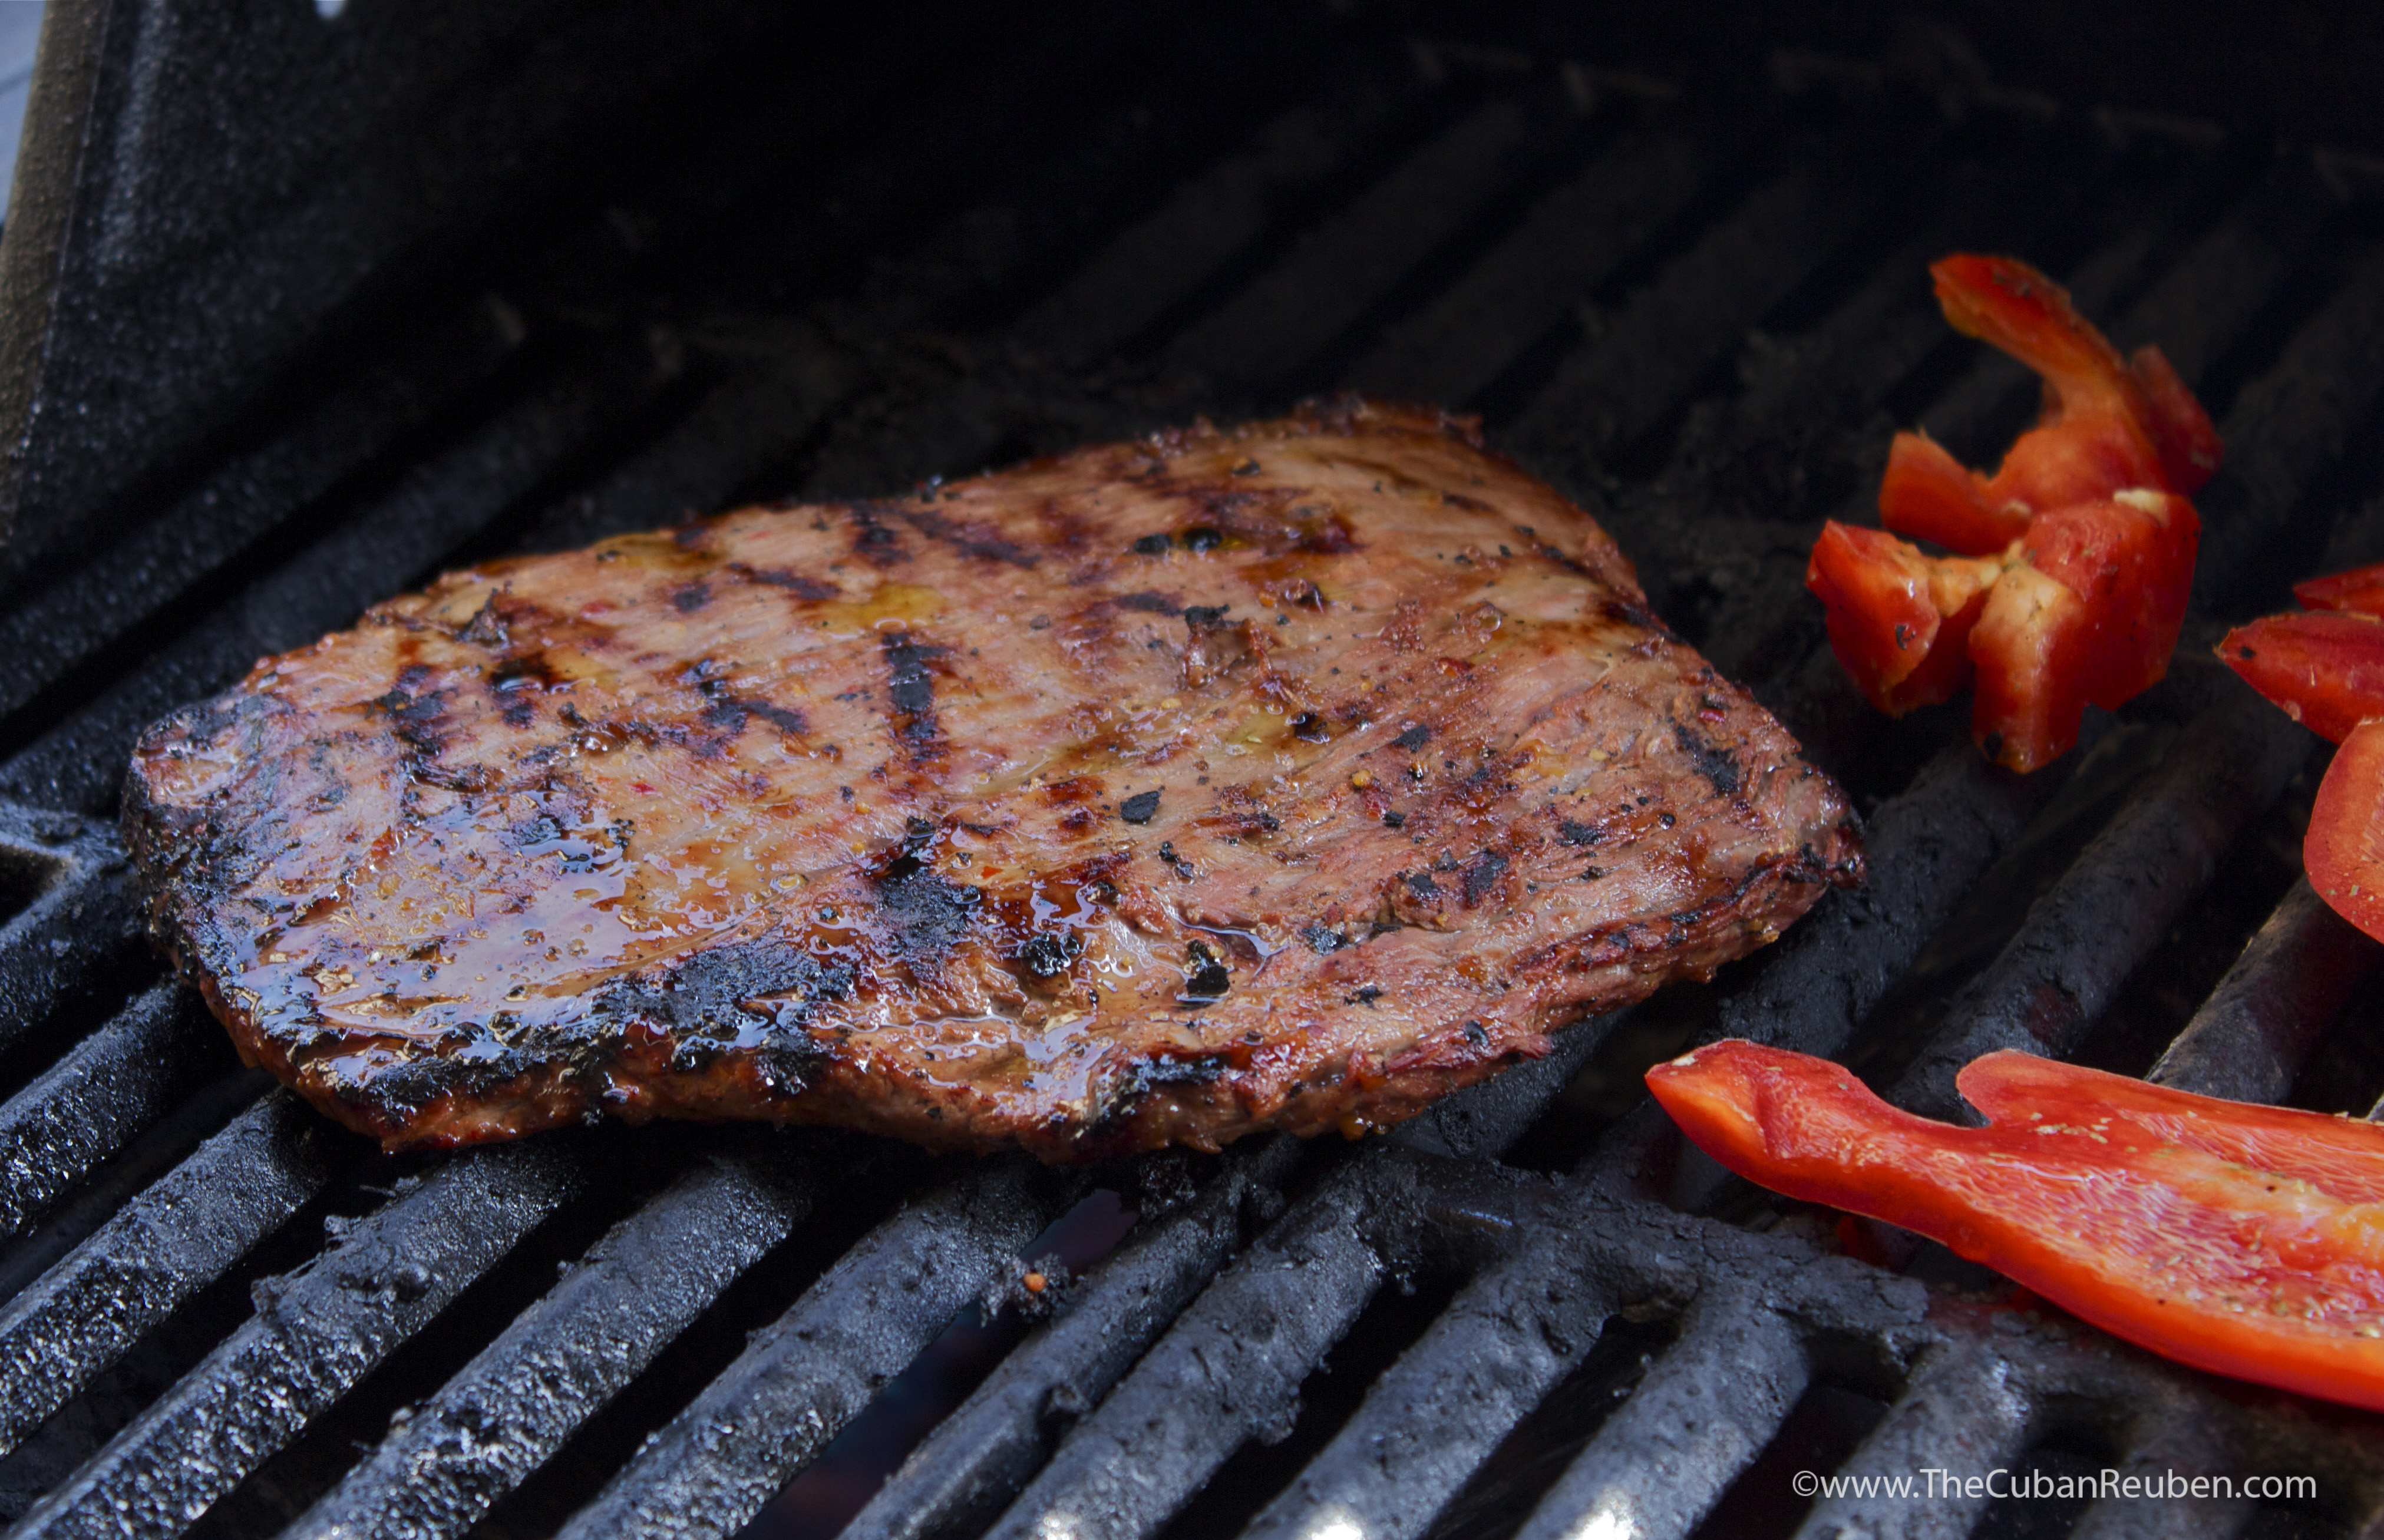
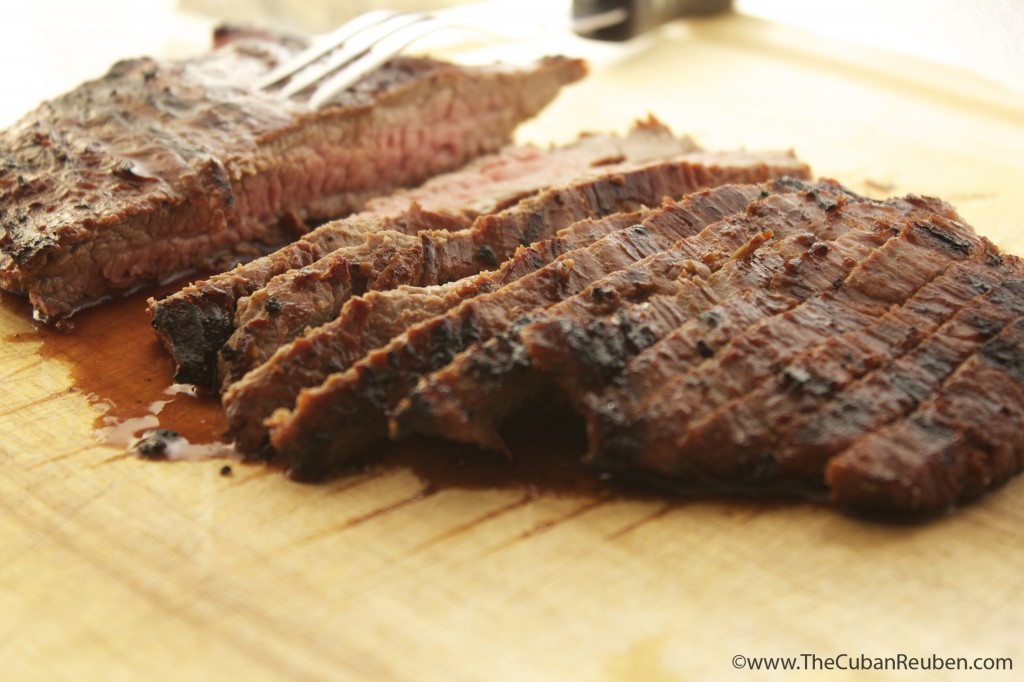
  4. Heat grill to medium-high, and grill steak 5-7 minutes on each side.
  5. Allow meat to rest for 10-15 minutes before slicing thinly.
  6. Serve immediately, or reserve for leftover dishes.


Enhanced by Zemanta

The Only Challah Recipe You Will Ever Need, Amen.

Shabbat Challah
Shabbat Challah

I consider myself a connoisseur of all things challah, but for whatever reason, the thought of producing my own always eluded me. After trying many a challah in my hometown, I found the unequivocally most aromatic, decadent, light and airy strands of braided dough at my local Cuban bakery, Porto’s. I am well aware that a Cuban bakery is not naturally the first place to come to mind when in search of the best challah in town, but trust me when I tell you that these people know bread. Sadly, a few years back, I moved to another part of town, and have since been chasing the memory of that yellow-tinged, sweet-as-honey loaf. On the rare occasion when I found myself in that part of town, my insides would do a little happy dance, since it was a forgone conclusion that I’d stop at the bakery. However, no nearby purveyor of fine baked goods was able to replicate the craving-inducing, funny sounding bread I so longed for. Therefore, I set on the challenge of finding a recipe to replicate it myself.

Close up of the detail on my 6-strand braided challah.

Deb Perlman, of SmittenKitchen.com fame, adapted a challah recipe from Joan Nathan, and I am pretty sure she hit the jackpot. After a bit of trial and error with her recipe,  I have found that what works best for me is to make smaller, more controlled batches, which in turn, yield smaller, more uniform loaves. Rather than follow her recipe to a tee, I always halve it now, and produce picture-perfect challahs to adorn my table or to gift to my ever-gracious neighbors. Much to my delight, many a Shabbat guest has mistaken my handiwork for its store-bought cousin…and I don’t usually jump at correcting their mistake.

This past Sunday was the final class in a series I taught at my synagogue on Jewish Holiday Cooking. While the previous classes featured dish upon festive dish typical for a number of Jewish holidays, this crowning jewel of a class was entirely devoted to the 6-strand braided loaf of challah.

My students' beautifully braided dough rises, waiting to be baked to golden perfection.
My students’ beautifully braided dough rises, waiting to be baked to golden perfection.

It was the perfect way to end the series, as many friendships were fostered in the class, and there was plenty of down-time for visiting while the dough was rising. Given my experience braiding challah, I warned my students that since this was their first time attempting the 6-strand braid, it may not look exactly as they expected, and that it only gets better with practice. As it turns out, my warning was for not, because they produced some of the most delicious challahs I’ve seen.

Challah class
Poppy and Sesame Seed Challahs made by my students.

By far, the best part of the class was the taste test. We all gathered around the table, noshed on several different varieties of freshly baked challah, and reminisced about our experience in the series. We laughed remembering silly mistakes that happened in the kitchen, and we shared stories about friendships that started there.

Chocolate challah
Chocolate Chip Challah, sprinkled with coarse sugar, prepared by my students.

With my students’ encouragement, I think I will likely teach the series again. Though, it will definitely be hard to top this group of students. They came from all walks of life, but shared a common enthusiasm for cooking. They impressed me with their skills, and even taught me a thing or two about their personal family’s cooking cultures. As I shared with them on the very first class, every family has their own culinary traditions, and I am honored that I got to share mine with them.

Holiday loaf
A High Holiday rounded loaf of challah, prepared by my students.

5.0 from 25 reviews
Traditional Challah
 
Author:
Recipe type: Side Dish
Cuisine: Jewish
 
Neighbors will come knocking when your house smells like this fresh-baked challah. Be warned.
Ingredients
  • 2¼ tsp dry active yeast
  • 1½ tsp plus ¼ cup sugar
  • ¾-1 cup warm water
  • ¼ cup vegetable oil
  • 4 eggs, divided
  • 1 egg yolk
  • 1½ tsp table salt
  • 4 cups flour (or less)
Instructions
  1. In the bowl of your stand mixer, add yeast, 1½ tsp sugar, and between ¾ to 1 cup of warm water, and mix until dissolved. Let sit for 10 minutes.
  2. Mix in vegetable oil, 2 eggs (1 at a time) and egg yolk, with remaining sugar and salt.
  3. Slowly add flour, ½ cup at a time.
  4. When the dough holds together, switch to the bread hook, and knead until smooth.
  5. Transfer dough to a greased bowl, cover with plastic wrap, and let rise in a warm place for at least 1 hour.
  6. Punch dough down, and leave it to rise again for 2 hours.
  7. You can now either make 1 large challah or 2 smaller challahs. To make one large challah, cut dough into 6 pieces, and roll into approximately 12 inch strands. Pinch the top of the strands together. Take the strand all the way to the right, and move it over to the left by 2 strands. Take the strand that is second to the left, and move it all the way over to the right. Take the strand that is all the way over to the left, and move it to the right by 2 strands. Take the strand that is second from the right, and move it all the way to the left. Repeat this process until the challah is completely braided. Pinch ends, and tuck them under the loaf. Place braided loaf on a cookie sheet lined with parchment paper.
  8. Use one egg to brush an egg wash over the top of the loaf.
  9. Let sit for one hour.
  10. Use another egg to brush a second coat of egg wash. (At this point, you can sprinkle poppy seeds, sesame seeds, or any other seeded topping you want).
  11. Bake at 350 for 20-25 minutes, or until golden brown.


Enhanced by Zemanta
%d bloggers like this: