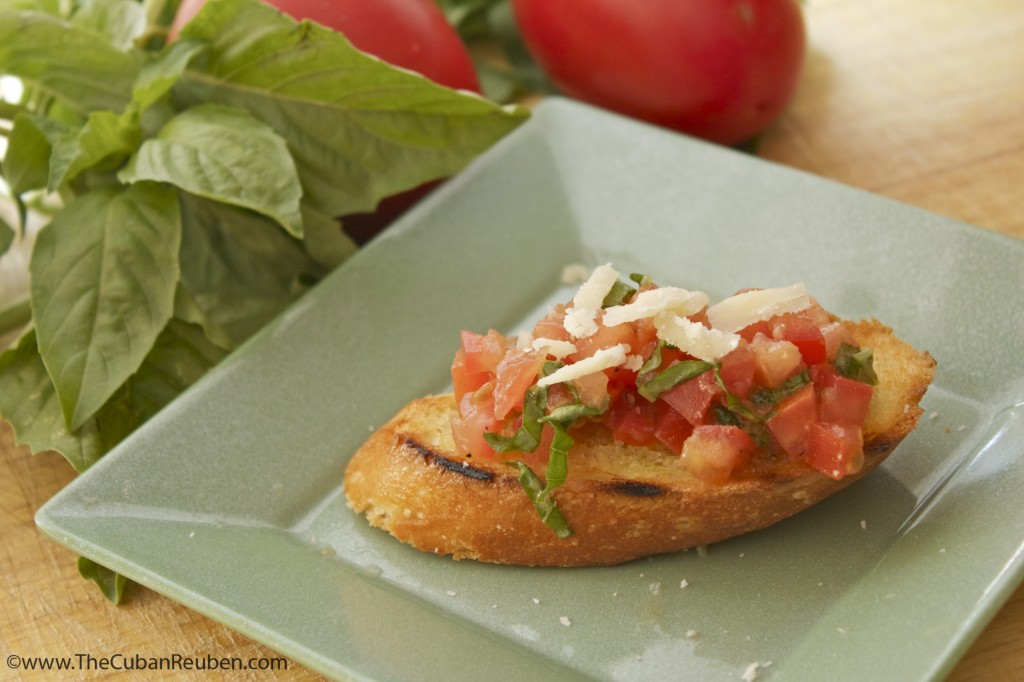
Fresh Tomato Bruschetta with Grilled Crostini

Fresh Tomato Bruschetta with Grilled Crostini

I’m often asked how I got started teaching cooking classes, especially when my career is in a completely different field. Usually, I just tell people that I am very passionate about food and cooking, and I like sharing that passion with other people, but that is really the short answer. The real story is a bit more detailed than that.

It all started at a casual dinner where many of our closest family friends got together to share a meal. My lifelong friend had developed a bit of a reputation for her fear and distaste of the kitchen, and as was routine, was the butt of some jabbing jokes about the type of wife she would be, since she recently got married. These jabs and teasing were always done in good fun, but I sensed that they had begun to sting a little. So, I took my friend aside, and in secret, we scheduled a date for her to come over to my house for a fun cooking lesson. Soon, we were meeting monthly.

My goal for each lesson was to teach her an appetizer, soup or salad, main dish and dessert, so that if she were called to make any of those dishes for a potluck of sorts, she would have something she could fall back on. I kept all the recipes in a binder, with the hopes that at the end of the day, she would have her own “cookbook”  with recipes she felt confident making on her own. As her confidence grew in the kitchen, she started sharing our secret with our other friends, and little by little, everyone wanted in. What started as one-on-one lessons quickly grew to couples’ date nights and children’s classes, as well.
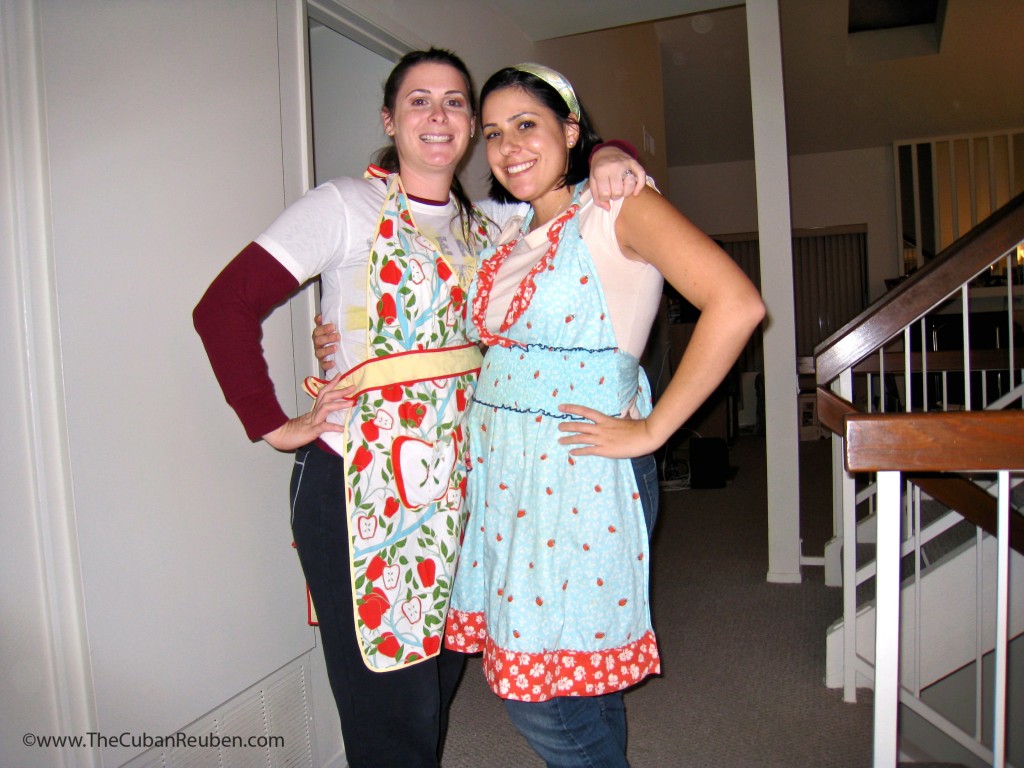
The two young chefs.

A few months after we initially started meeting, my friend arrived to a family party with an appetizer in tow. She had tried her hand at the very first dish we made together: Fresh Tomato Bruschetta with Grilled Crostini. She shared with me that her husband served as her sous chef, and together, they prepared this dish. I have to say that I was absolutely beaming with pride as the party guests tasted and enjoyed every bite of her appetizer until there was none left to speak of. What’s more, now that my friend is the mother of two beautiful munchkins, her confidence in the kitchen has grown in such a way that she happily makes her own baby food for the kids.

Yes, I have a passion for food and for cooking. And yes, I really do love sharing that passion with others. But watching my friends and loved ones succeed at something they were once afraid to try is precisely what fuels me from class to class.
 

5.0 from 1 reviews
Fresh Tomato Bruschetta with Grilled Crostini
 
Author:
Recipe type: Appetizer
Cuisine: Italian
Serves: 8
Prep time:
Cook time:
Total time:
 
Kosher salt activates the natural juices in the tomatoes, and makes this appetizer a simple and delicious crowd-pleaser.
Ingredients
Bruschetta
  • 4 Roma tomatoes, diced
  • 7-8 fresh basil leaves
  • 1 clove of garlic, finely minced
  • 1 tbs extra virgin olive oil
  • 1 three-finger pinch of kosher salt
  • fresh ground pepper
  • shaved parmesan cheese
Crostini
  • 8 diagonally sliced pieces of French baguette
  • extra virgin olive oil
  • Kosher salt
  • Fresh ground pepper
Instructions
Bruschetta
  1. In a bowl, add the diced roma tomatoes. Stack the basil leaves, roll them into a cigar, and run your knife, making thin slices. Add the sliced basil to the tomatoes. Finely mince the garlic (I use a microplane zester for this). Add olive oil, salt, and pepper.
  2. Gently stir and combine all ingredients. Cover and refrigerate for 1 hour.
  3. Serve over grilled crostini and top with parmesan cheese.
Crostini
  1. Brush olive oil over the bread pieces, and sprinkle with salt and pepper. Place on grill over medium to high heat, and cook until grill marks appear.
  2. Top with bruschetta, and serve.
Notes
Make sure you use good quality parmesan cheese, and not the powdery stuff that comes from the green can. It really makes all the difference.


Enhanced by Zemanta

Grilled Artichokes

Grilled Artichokes

For centuries, Jews throughout the Mediterranean have made good use of artichokes. Most notably, in Rome, crisp and lightly fried varieties adorn many a holiday table. I’ve always loved the simplicity and approachable nature of Italian cuisine, so much so that my husband and I partook in a local Tuscan cooking class on our whirlwind honeymoon adventure through Italy. When I returned home, I was thrilled to observe that since the climate and terrain in California are so similar to that in Italy, I am spoiled by the riches in produce we get here that resemble true Italian fare.

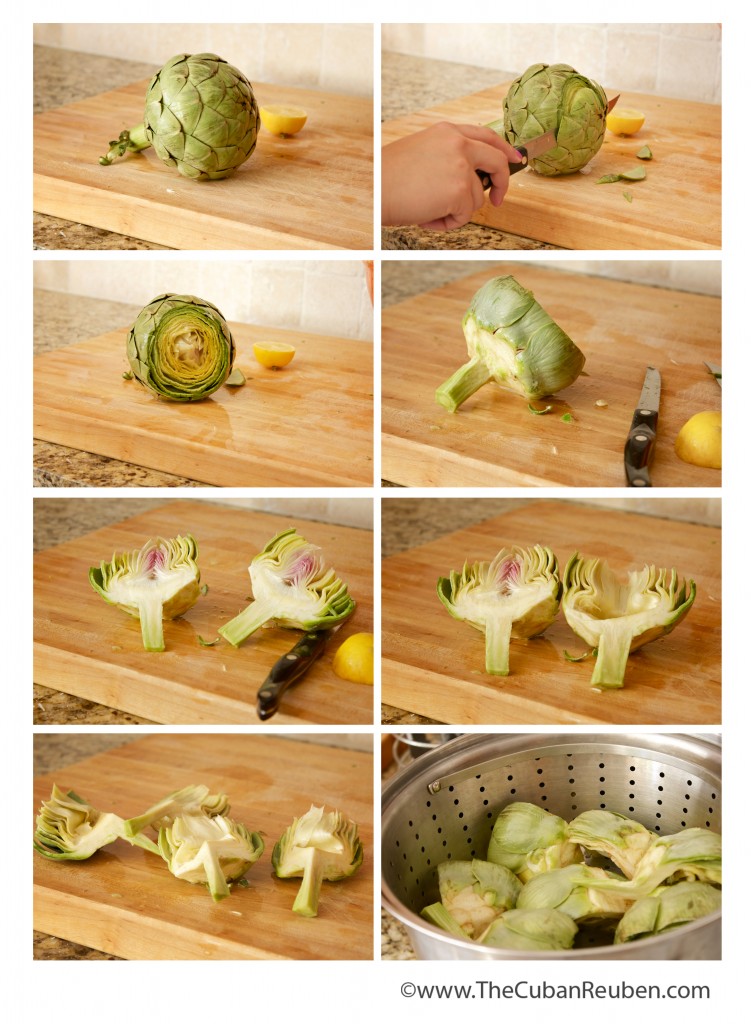
Preparing an artichoke for cooking may sound daunting, but can really be done quickly with a sharp knife.

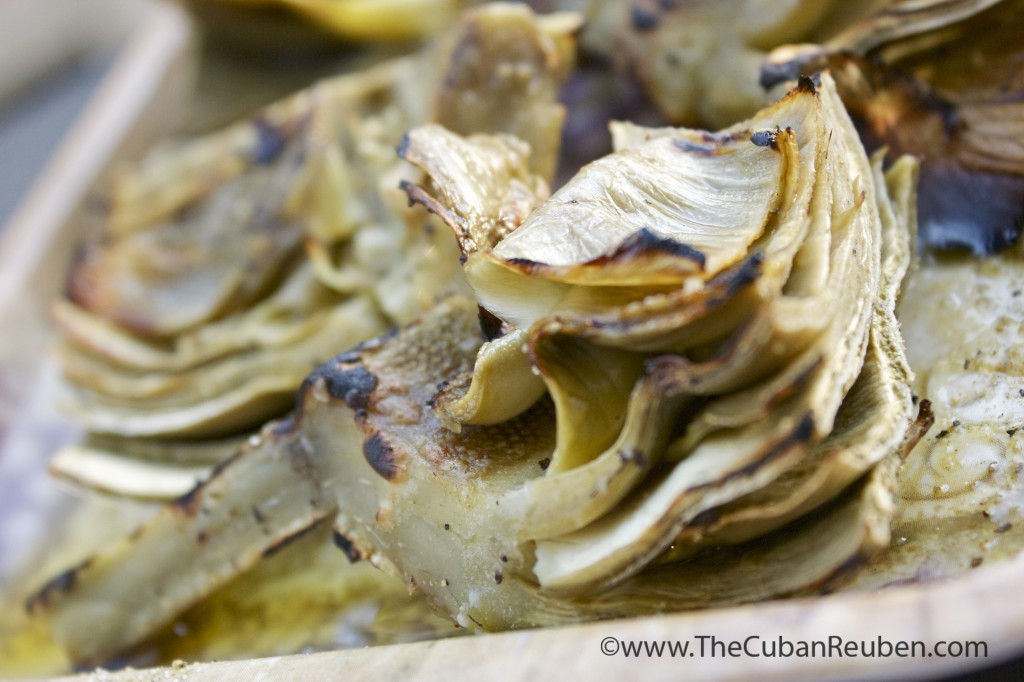
Perhaps it is because I grew up in an image-conscious city, or because healthy eating and cooking is important to me, but I often like finding ways to lighten up a recipe while maintaining great flavor. Lucky for me, I prefer my artichokes grilled, rather than fried. I know that just about everything tastes better fried, but I love the smoky, crisp bite of a charred edge that only a grill can produce.

As featured on The Nosher.

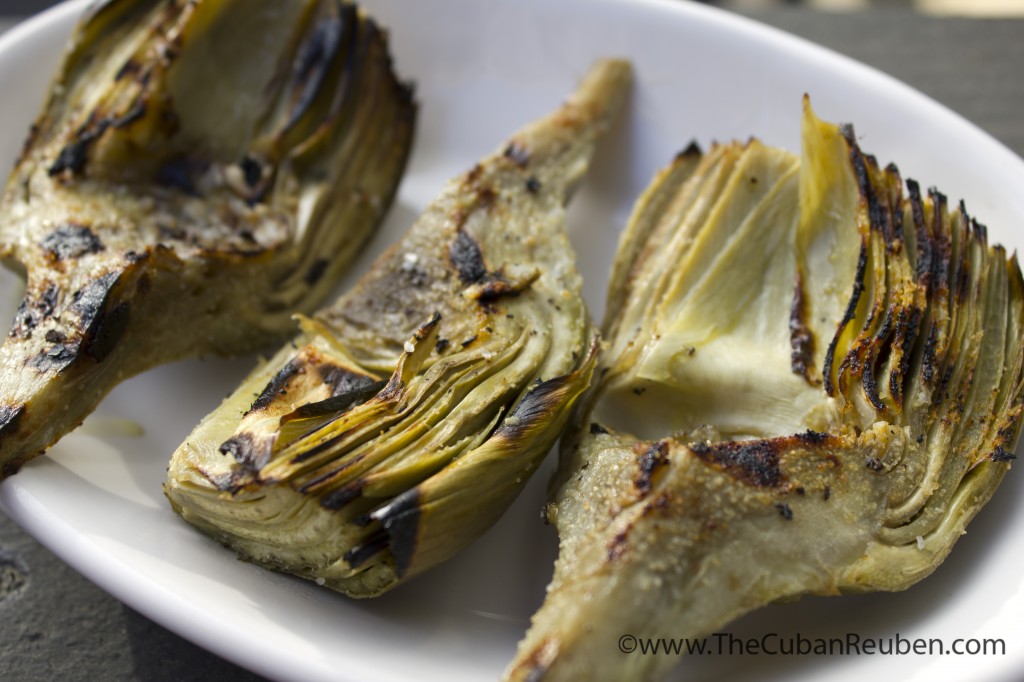
Artichokes kissed from the grill produce char marks with tons of flavor.

Often times, artichokes act as a vehicle for rich, creamy sauces, but with just the right amount of seasoning and the slight kiss of the grill, these babies need no doctoring, and are exceptional on their own. And don’t be too intimidated about preparing and cleaning fresh artichokes. Once you try your hand at the first one, you’ll get the hang of it. Served hot off the grill or at room temperature, grilled artichokes are the perfect accompaniment to any summer meal.

The finished product!

Grilled Artichokes
 
Author:
Recipe type: Side Dish
Serves: 8
Prep time:
Cook time:
Total time:
 
No need for calorie-heavy sauces or dips. The charred flavor and the tender leaves of these artichokes are fantastic on their own!
Ingredients
  • 2 large whole artichokes
  • 2 lemons, cut in half
  • 1 head of garlic, sliced in half
  • 1 bay leaf
  • 1 tbs Old Bay seasoning
  • water
  • Olive oil
  • Seasoning blend of your choice (I really like Regular and Salt-Free Greek Seasoning)
Instructions
  1. In a large stock pot with the steamer insert removed, add 2 halves of the lemon (1 whole lemon), garlic, bay leaf, and Old Bay seasoning. Fill the pot with water until it just meets the bottom of the steamer insert. Place over medium heat, and let sit.
  2. Meanwhile, to prepare the artichokes for steaming, first cut about an inch off the top of the artichoke. Then, with your hand, peel off the tougher leaves (about 1 layer into the artichoke).
  3. Using a pairing knife, cut off the base of the leaves you just peeled, and continue pairing down the stem until you have a single, uniform layer. Rub the exposed areas with lemon, squeezing the juice from the lemon a bit.
  4. Cut the artichoke in half, and again, run the lemon over the cut sides to keep from browning too much.
  5. Remove the fibrous choke at the center, as well as any colored (purple) leaves. Run the lemon over the exposed cuts.
  6. Slice the halves into quarters, and assemble on the steaming insert of the stock pot.
  7. Cover and let the water simmer for 30-40 minutes, or until the artichokes are fork tender.
  8. (You can stop here, and eat them as is, but you'd miss out on the next step!)
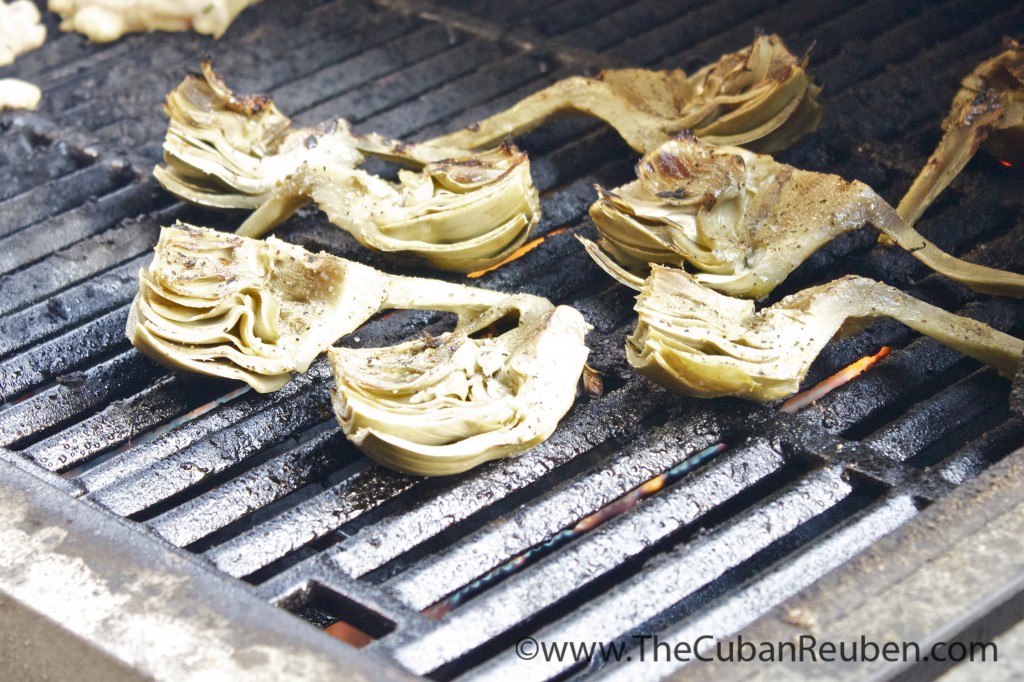
  9. Drizzle olive oil and seasoning blend over the steamed artichokes, then place them over high heat on a grill. Grill 1-2 minutes per side.
  10. As the artichokes are already cooked, the goal here is just to get grill marks and the flavor of the char.


Enhanced by Zemanta
%d bloggers like this: