The Only Challah Recipe You Will Ever Need, Amen.

Shabbat Challah
Shabbat Challah

I consider myself a connoisseur of all things challah, but for whatever reason, the thought of producing my own always eluded me. After trying many a challah in my hometown, I found the unequivocally most aromatic, decadent, light and airy strands of braided dough at my local Cuban bakery, Porto’s. I am well aware that a Cuban bakery is not naturally the first place to come to mind when in search of the best challah in town, but trust me when I tell you that these people know bread. Sadly, a few years back, I moved to another part of town, and have since been chasing the memory of that yellow-tinged, sweet-as-honey loaf. On the rare occasion when I found myself in that part of town, my insides would do a little happy dance, since it was a forgone conclusion that I’d stop at the bakery. However, no nearby purveyor of fine baked goods was able to replicate the craving-inducing, funny sounding bread I so longed for. Therefore, I set on the challenge of finding a recipe to replicate it myself.

Close up of the detail on my 6-strand braided challah.

Deb Perlman, of SmittenKitchen.com fame, adapted a challah recipe from Joan Nathan, and I am pretty sure she hit the jackpot. After a bit of trial and error with her recipe,  I have found that what works best for me is to make smaller, more controlled batches, which in turn, yield smaller, more uniform loaves. Rather than follow her recipe to a tee, I always halve it now, and produce picture-perfect challahs to adorn my table or to gift to my ever-gracious neighbors. Much to my delight, many a Shabbat guest has mistaken my handiwork for its store-bought cousin…and I don’t usually jump at correcting their mistake.

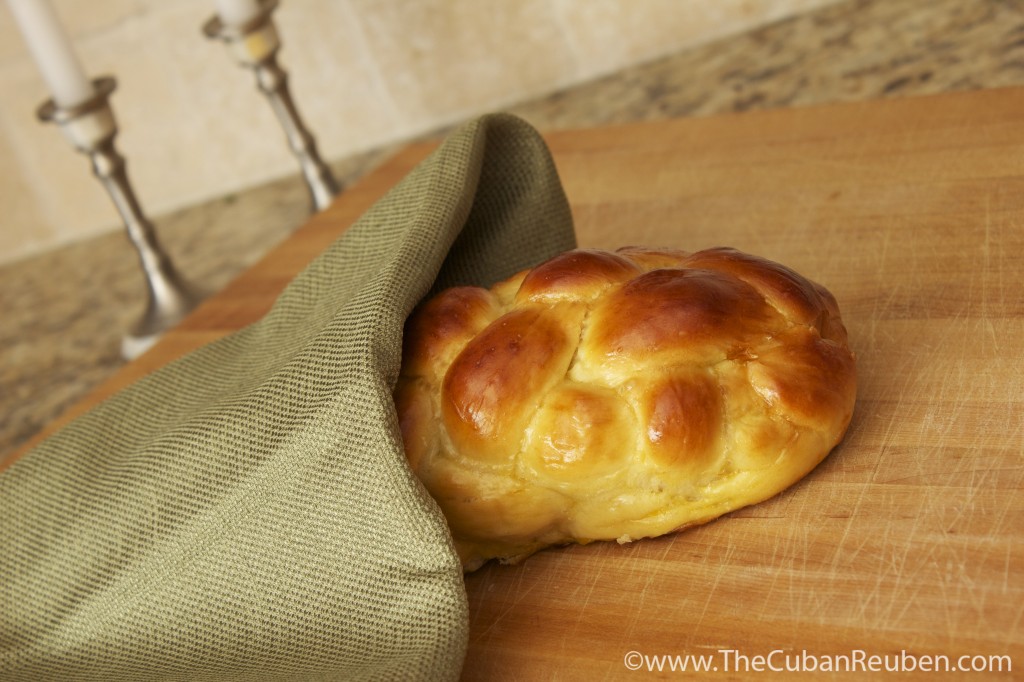
This past Sunday was the final class in a series I taught at my synagogue on Jewish Holiday Cooking. While the previous classes featured dish upon festive dish typical for a number of Jewish holidays, this crowning jewel of a class was entirely devoted to the 6-strand braided loaf of challah.

My students' beautifully braided dough rises, waiting to be baked to golden perfection.
My students’ beautifully braided dough rises, waiting to be baked to golden perfection.

It was the perfect way to end the series, as many friendships were fostered in the class, and there was plenty of down-time for visiting while the dough was rising. Given my experience braiding challah, I warned my students that since this was their first time attempting the 6-strand braid, it may not look exactly as they expected, and that it only gets better with practice. As it turns out, my warning was for not, because they produced some of the most delicious challahs I’ve seen.

Challah class
Poppy and Sesame Seed Challahs made by my students.

By far, the best part of the class was the taste test. We all gathered around the table, noshed on several different varieties of freshly baked challah, and reminisced about our experience in the series. We laughed remembering silly mistakes that happened in the kitchen, and we shared stories about friendships that started there.

Chocolate challah
Chocolate Chip Challah, sprinkled with coarse sugar, prepared by my students.

With my students’ encouragement, I think I will likely teach the series again. Though, it will definitely be hard to top this group of students. They came from all walks of life, but shared a common enthusiasm for cooking. They impressed me with their skills, and even taught me a thing or two about their personal family’s cooking cultures. As I shared with them on the very first class, every family has their own culinary traditions, and I am honored that I got to share mine with them.

Holiday loaf
A High Holiday rounded loaf of challah, prepared by my students.

5.0 from 25 reviews
Traditional Challah
 
Author:
Recipe type: Side Dish
Cuisine: Jewish
 
Neighbors will come knocking when your house smells like this fresh-baked challah. Be warned.
Ingredients
  • 2¼ tsp dry active yeast
  • 1½ tsp plus ¼ cup sugar
  • ¾-1 cup warm water
  • ¼ cup vegetable oil
  • 4 eggs, divided
  • 1 egg yolk
  • 1½ tsp table salt
  • 4 cups flour (or less)
Instructions
  1. In the bowl of your stand mixer, add yeast, 1½ tsp sugar, and between ¾ to 1 cup of warm water, and mix until dissolved. Let sit for 10 minutes.
  2. Mix in vegetable oil, 2 eggs (1 at a time) and egg yolk, with remaining sugar and salt.
  3. Slowly add flour, ½ cup at a time.
  4. When the dough holds together, switch to the bread hook, and knead until smooth.
  5. Transfer dough to a greased bowl, cover with plastic wrap, and let rise in a warm place for at least 1 hour.
  6. Punch dough down, and leave it to rise again for 2 hours.
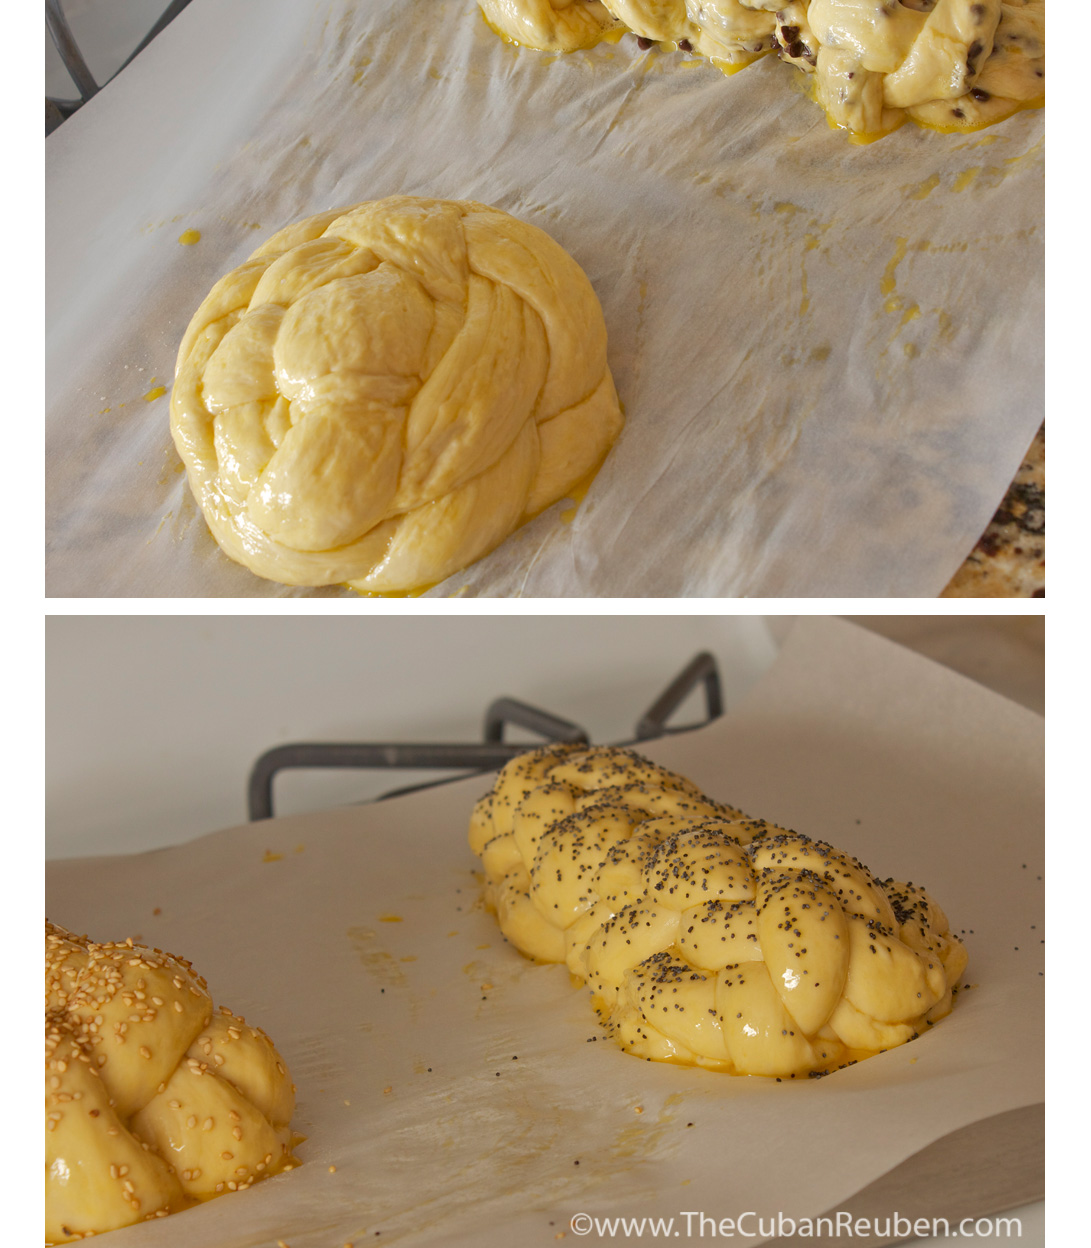
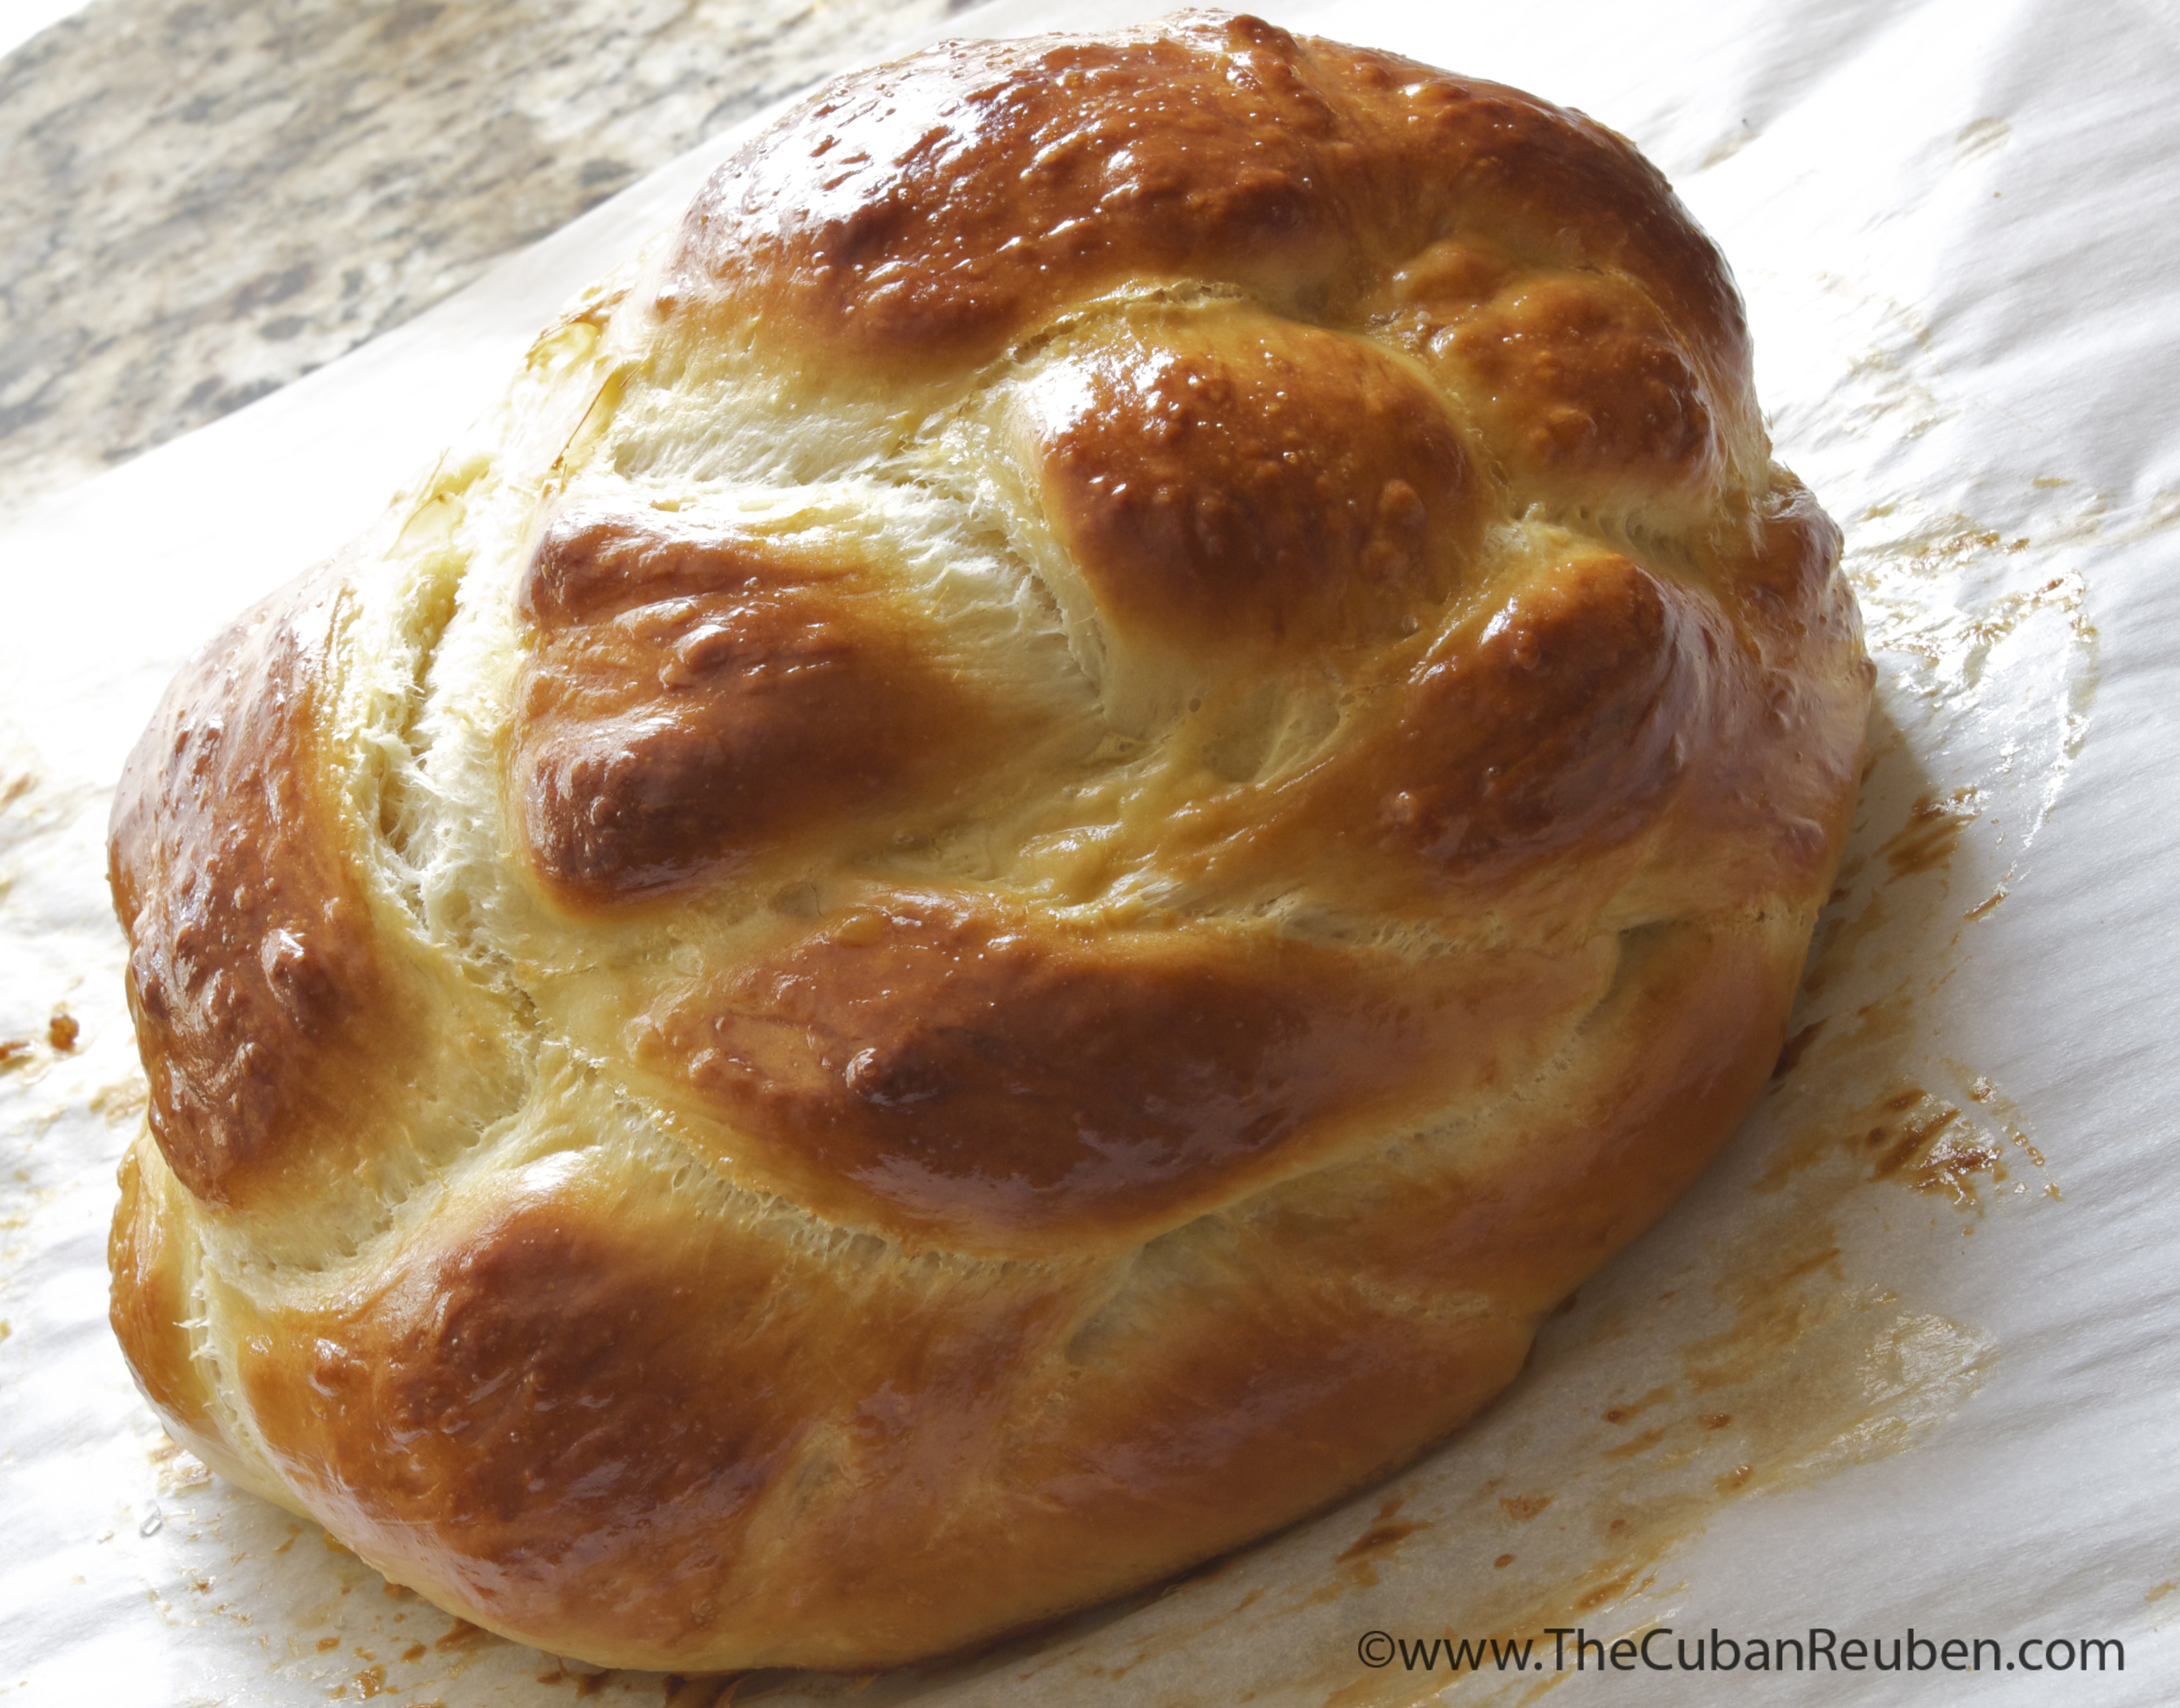
  7. You can now either make 1 large challah or 2 smaller challahs. To make one large challah, cut dough into 6 pieces, and roll into approximately 12 inch strands. Pinch the top of the strands together. Take the strand all the way to the right, and move it over to the left by 2 strands. Take the strand that is second to the left, and move it all the way over to the right. Take the strand that is all the way over to the left, and move it to the right by 2 strands. Take the strand that is second from the right, and move it all the way to the left. Repeat this process until the challah is completely braided. Pinch ends, and tuck them under the loaf. Place braided loaf on a cookie sheet lined with parchment paper.
  8. Use one egg to brush an egg wash over the top of the loaf.
  9. Let sit for one hour.
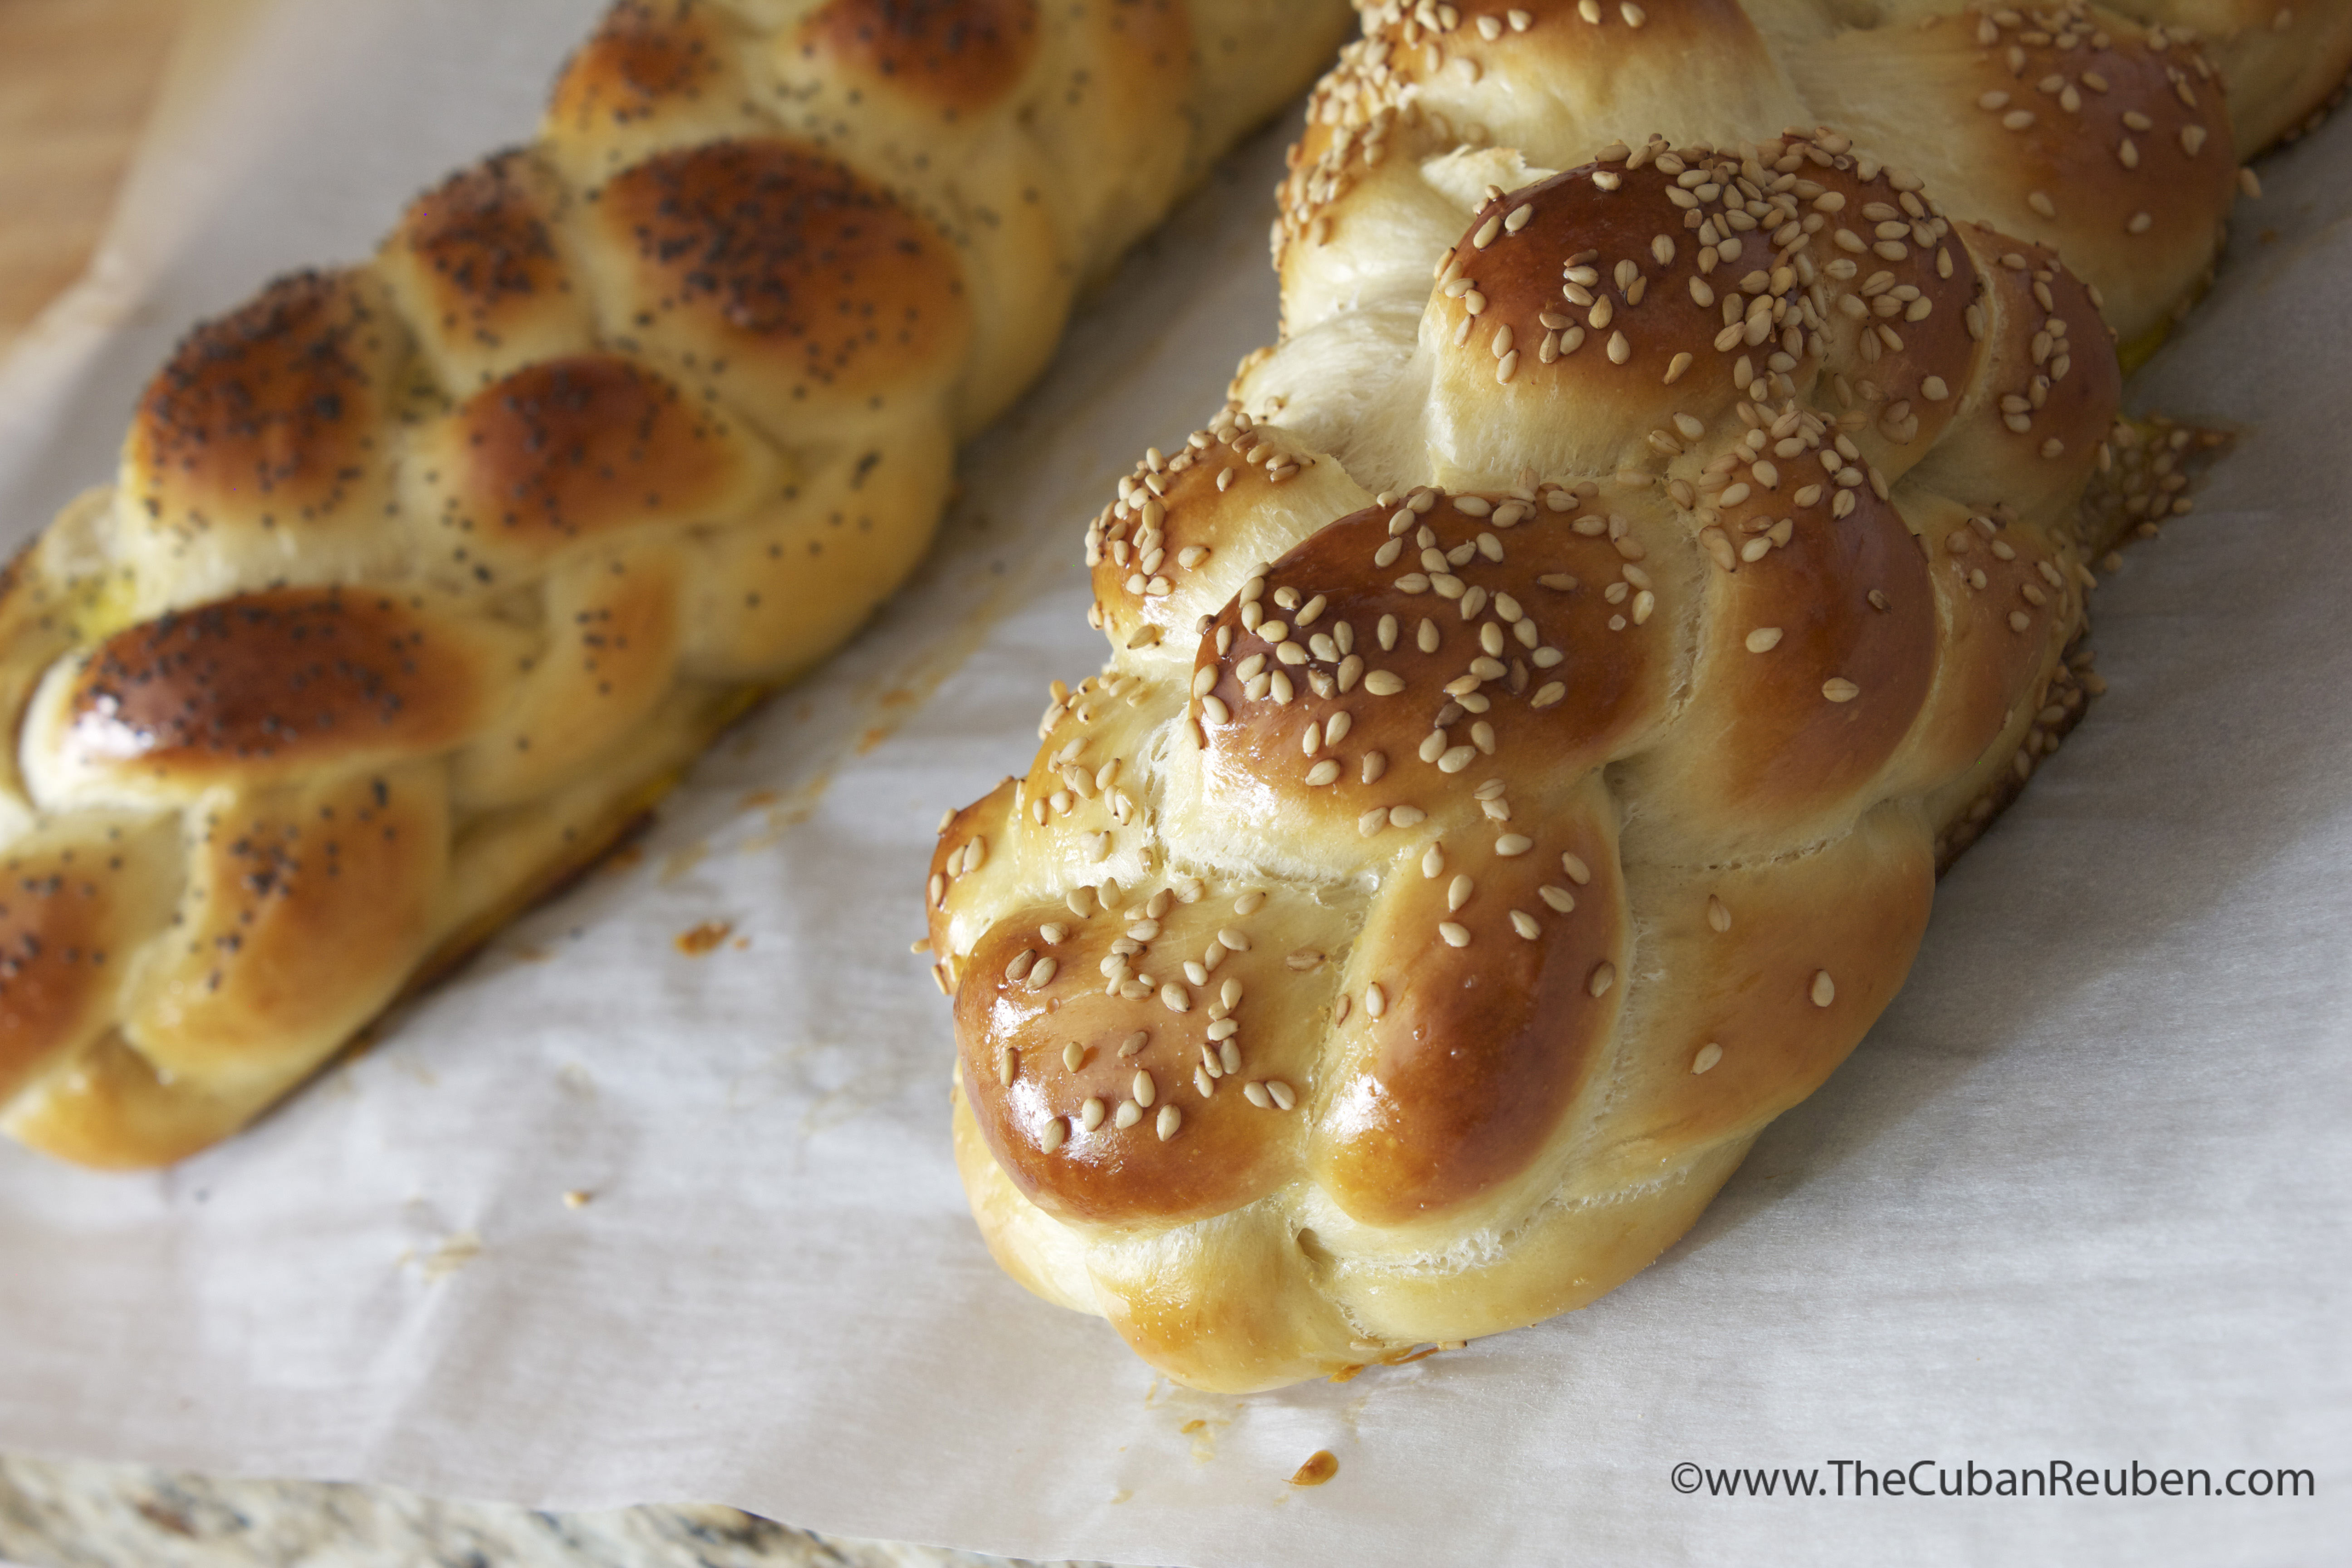
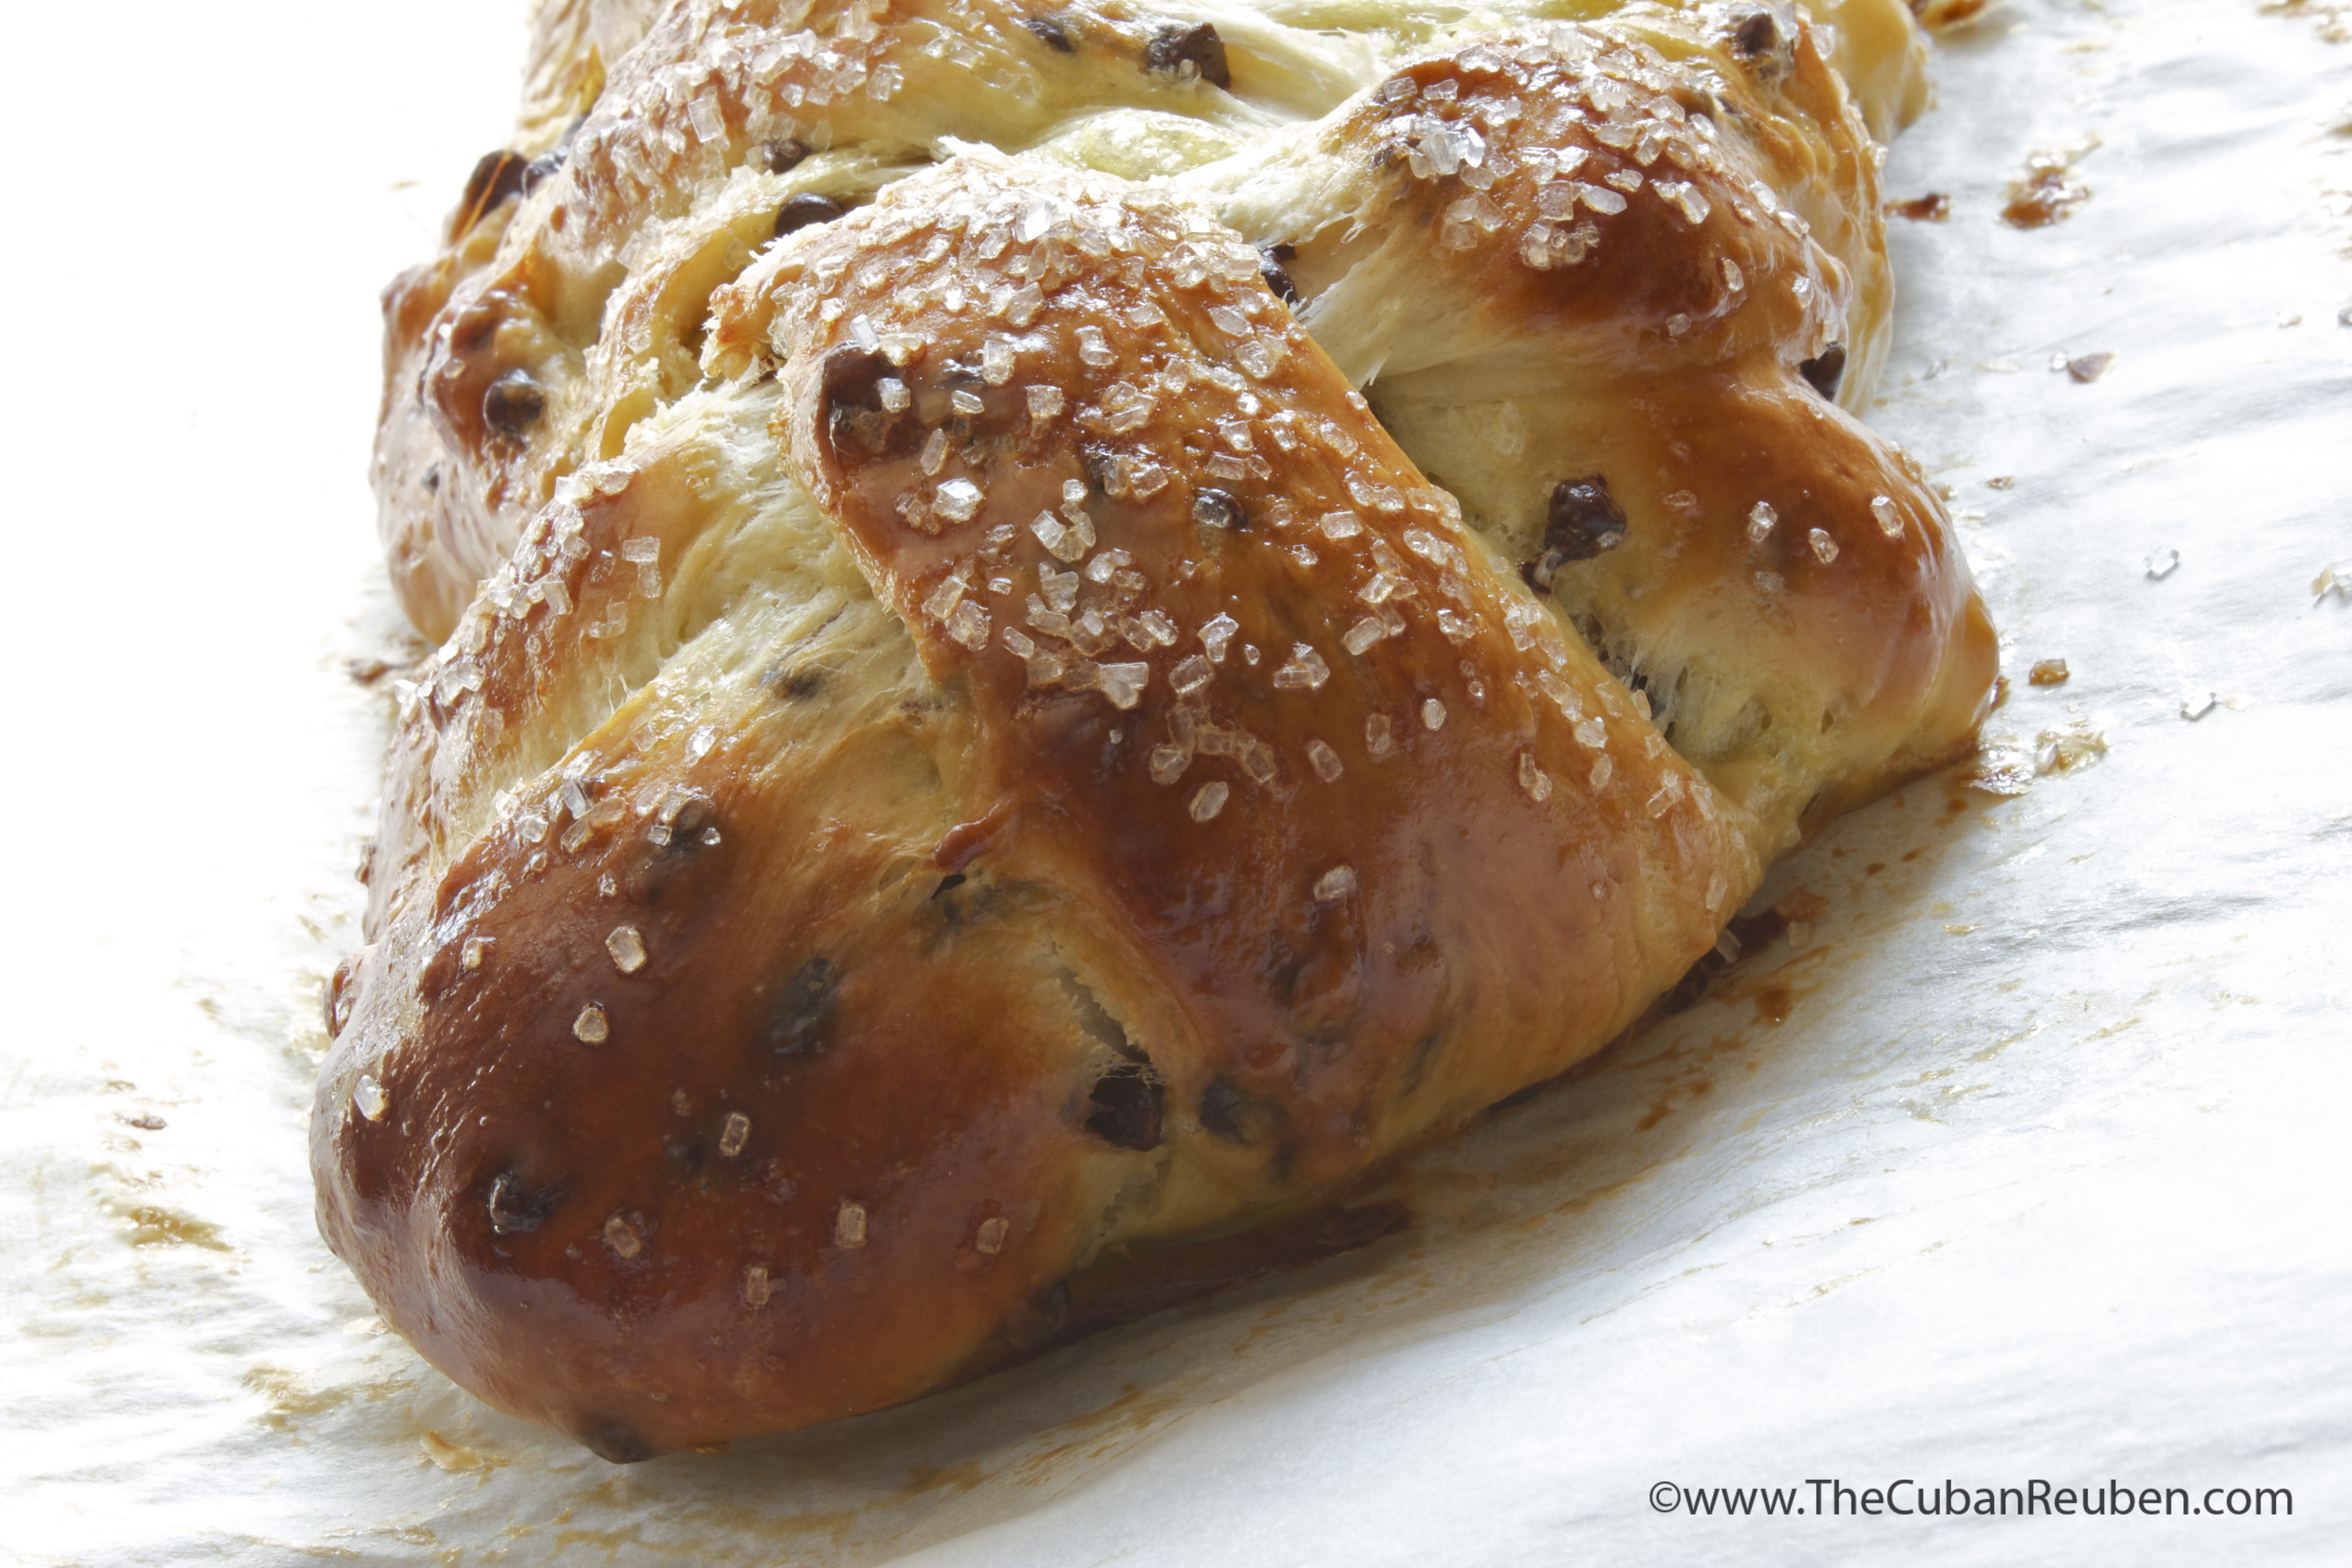
  10. Use another egg to brush a second coat of egg wash. (At this point, you can sprinkle poppy seeds, sesame seeds, or any other seeded topping you want).
  11. Bake at 350 for 20-25 minutes, or until golden brown.


Enhanced by Zemanta

A trip to remember, and a refreshing welcome home.

Refreshingly juicy bite with a nice zing.

Recently, the hubs and I went on a last minute getaway, and explored a part of the country neither one of us knows too well: The American Southwest. We had two concrete places on our itinerary, and decided that we would take the leisurely and scenic routes, stopping if anything catches our eye.

The first stop on the itinerary was The Grand Canyon National Park. Kenny had been to the Grand Canyon previously with his dad, and swore to return with me in tow. Far be it from me to deny him this pleasure, but the truth is the pleasure was all mine. We hit the ground running at the wee hours of the morning. After a brief jaunt in Barstow, CA (to caffeinate) and Laughlin, NV (to refuel. read: eat lunch), we arrived at our first destination just in time to watch the sunset.

The Grand Canyon and Kenny.

There are simply no words nor photographs that can aptly depict the awe-inspiring vista that is the Grand Canyon.  The sheer depth and scope took my breathe away. Literally. To be completely honest, I never had a huge hankering to visit the Grand Canyon, but let this act as a warning to any of you stateside readers: Get ye to the Canyon!

Once the sun set and the temperature dropped, we ventured into town in search for a bite to eat. We found what can best be described as Podunk Dinner Theater. Little did we know that Big E Steakhouse and Saloon was home to “singers,” “dancers,” “illusionists,” and more (no, the quotation marks are not there by accident). With our bellies full and our brains thoroughly stimulated, we decided to call it a night, and returned to the Yavapai lodge for some much earned shut eye.

Hiking along the Grand Canyon National Park.

The following morning, we got an early start, and hiked along the rim of the Grand Canyon. I thought the canyon was beautiful at sunset, but this hike proved to be even more spectacular. With each bend of the trail, we were greeted with better and bolder views, showcasing the different shades of rusty red, the deepest crevices and even the brilliant color of the Colorado River, whose raging rapids crashed through the canyon floor.

Despite the spectacular sites and refreshing breeze, the arid climate and high altitude were starting to take their toll on us, and we decided it was time to head towards our second point of interest on the itinerary, Sedona, AZ. Plus, Kenny had booked us a ride on one of the Pink Jeep tours, and we had a reservation to catch.

Fast forward through a beautifully lush and forested drive, and we arrive in Sedona with enough time to drop off our bags, and head in the direction of the pink jeep tours meeting place. Since we planned this trip with such haste, I didn’t do my research about the tour, and trusted Kenny, as this was something he really wanted to do. It’s probably a good thing, because had I known what I was getting myself into, I probably wouldn’t have done it (and I’m REALLY glad I did).

Sedona Pink Jeep
View from the Pink Jeep tour.

A group of 6 of us, plus the tour guide, loaded into a customized jeep painted Barbie pink, and headed for areas in the Sedona landscape that you would never reach via foot. The guide lead the jeep up rocks and down 45-degree angles, assuring us that the vehicle was built for these types of “bumpy” trails. I was definitely scared, but by taking this daredevil tour, we came up close and personal with the true beauty that Sedona has to offer (and I’m not talking about the Reiki leader at the corner store…there’s a lot of that, too). The jeep made a couple stops, and we were able to take advantage of the scenery with kodak moments. Two hours later, the tour ended as the sun was setting once again.

Happy to be on solid ground. Sedona, AZ

If there’s one thing to note about my dear husband, it’s that he appreciates a good sunset. And so…we found an inviting bench, and plopped ourselves down for the panoramic view of the passing of time.

Watching the sunset in Sedona, AZ.

The next morning, we visited a few of Arizona’s most artistic towns, Jerome and Prescott. It was in Jerome that we found our souvenir from the trip at a local art gallery called, “Pura Vida.” Pura Vida literally translates to “pure life” in Spanish, but references the Costa Rican saying that life is good. I can’t think of a better motto for this roadtrip. Life certainly is good, and it was exceptionally so on this mini-getaway.

That being said, when we returned home thoroughly dried out from the desert, I craved something refreshing and hydrating. Neither Kenny nor I were happy about heading back home after such a short trip, but I managed to whip up a little something to soften the blow back to reality. I leave you with my “welcome home” dish: chunks of juicy ruby red watermelon mixed with crumbled salty feta, coated with a dressing of mint, lime, and honey.

Enjoy!


Watermelon and Feta Salad
 
Author:
Recipe type: Main
Serves: 4
Prep time:
Total time:
 
A refreshing bite for a warm day.
Ingredients
  • 1 small seedless watermelon, peeled and cut into 1-inch chunks
  • 1 oz feta cheese, crumbled
  • 2 limes, zested and juiced
  • 1 tsp honey
  • 2 tbs mint leaves, minced
  • salt and pepper to taste
Instructions
  1. In a large bowl, combine the watermelon and feta. Set aside.
  2. In a container with a cover (a mason jar would be perfect for this), add the zest and juice of the limes, honey, mint leaves, and salt and pepper. Cover, then shake to combine.
  3. Pour the dressing over the watermelon and feta mixture, and toss to coat.
  4. Serve immediately, or refrigerate until serving time.
Notes
This makes a lot of dressing. You may use the whole amount, or reserve some for later use.


Enhanced by Zemanta
%d bloggers like this: